Welcome to Part 5 in the series “How I digitized my family’s old photos.” In this final article I’ll recap what we learned as well as offer some tips and suggestions that I’ve discovered through the past 6 months I’ve spent scanning our old photos.
Part 1 – Introduction and goals: We introduced this project and a few of the reasons I decided to undertake this project.
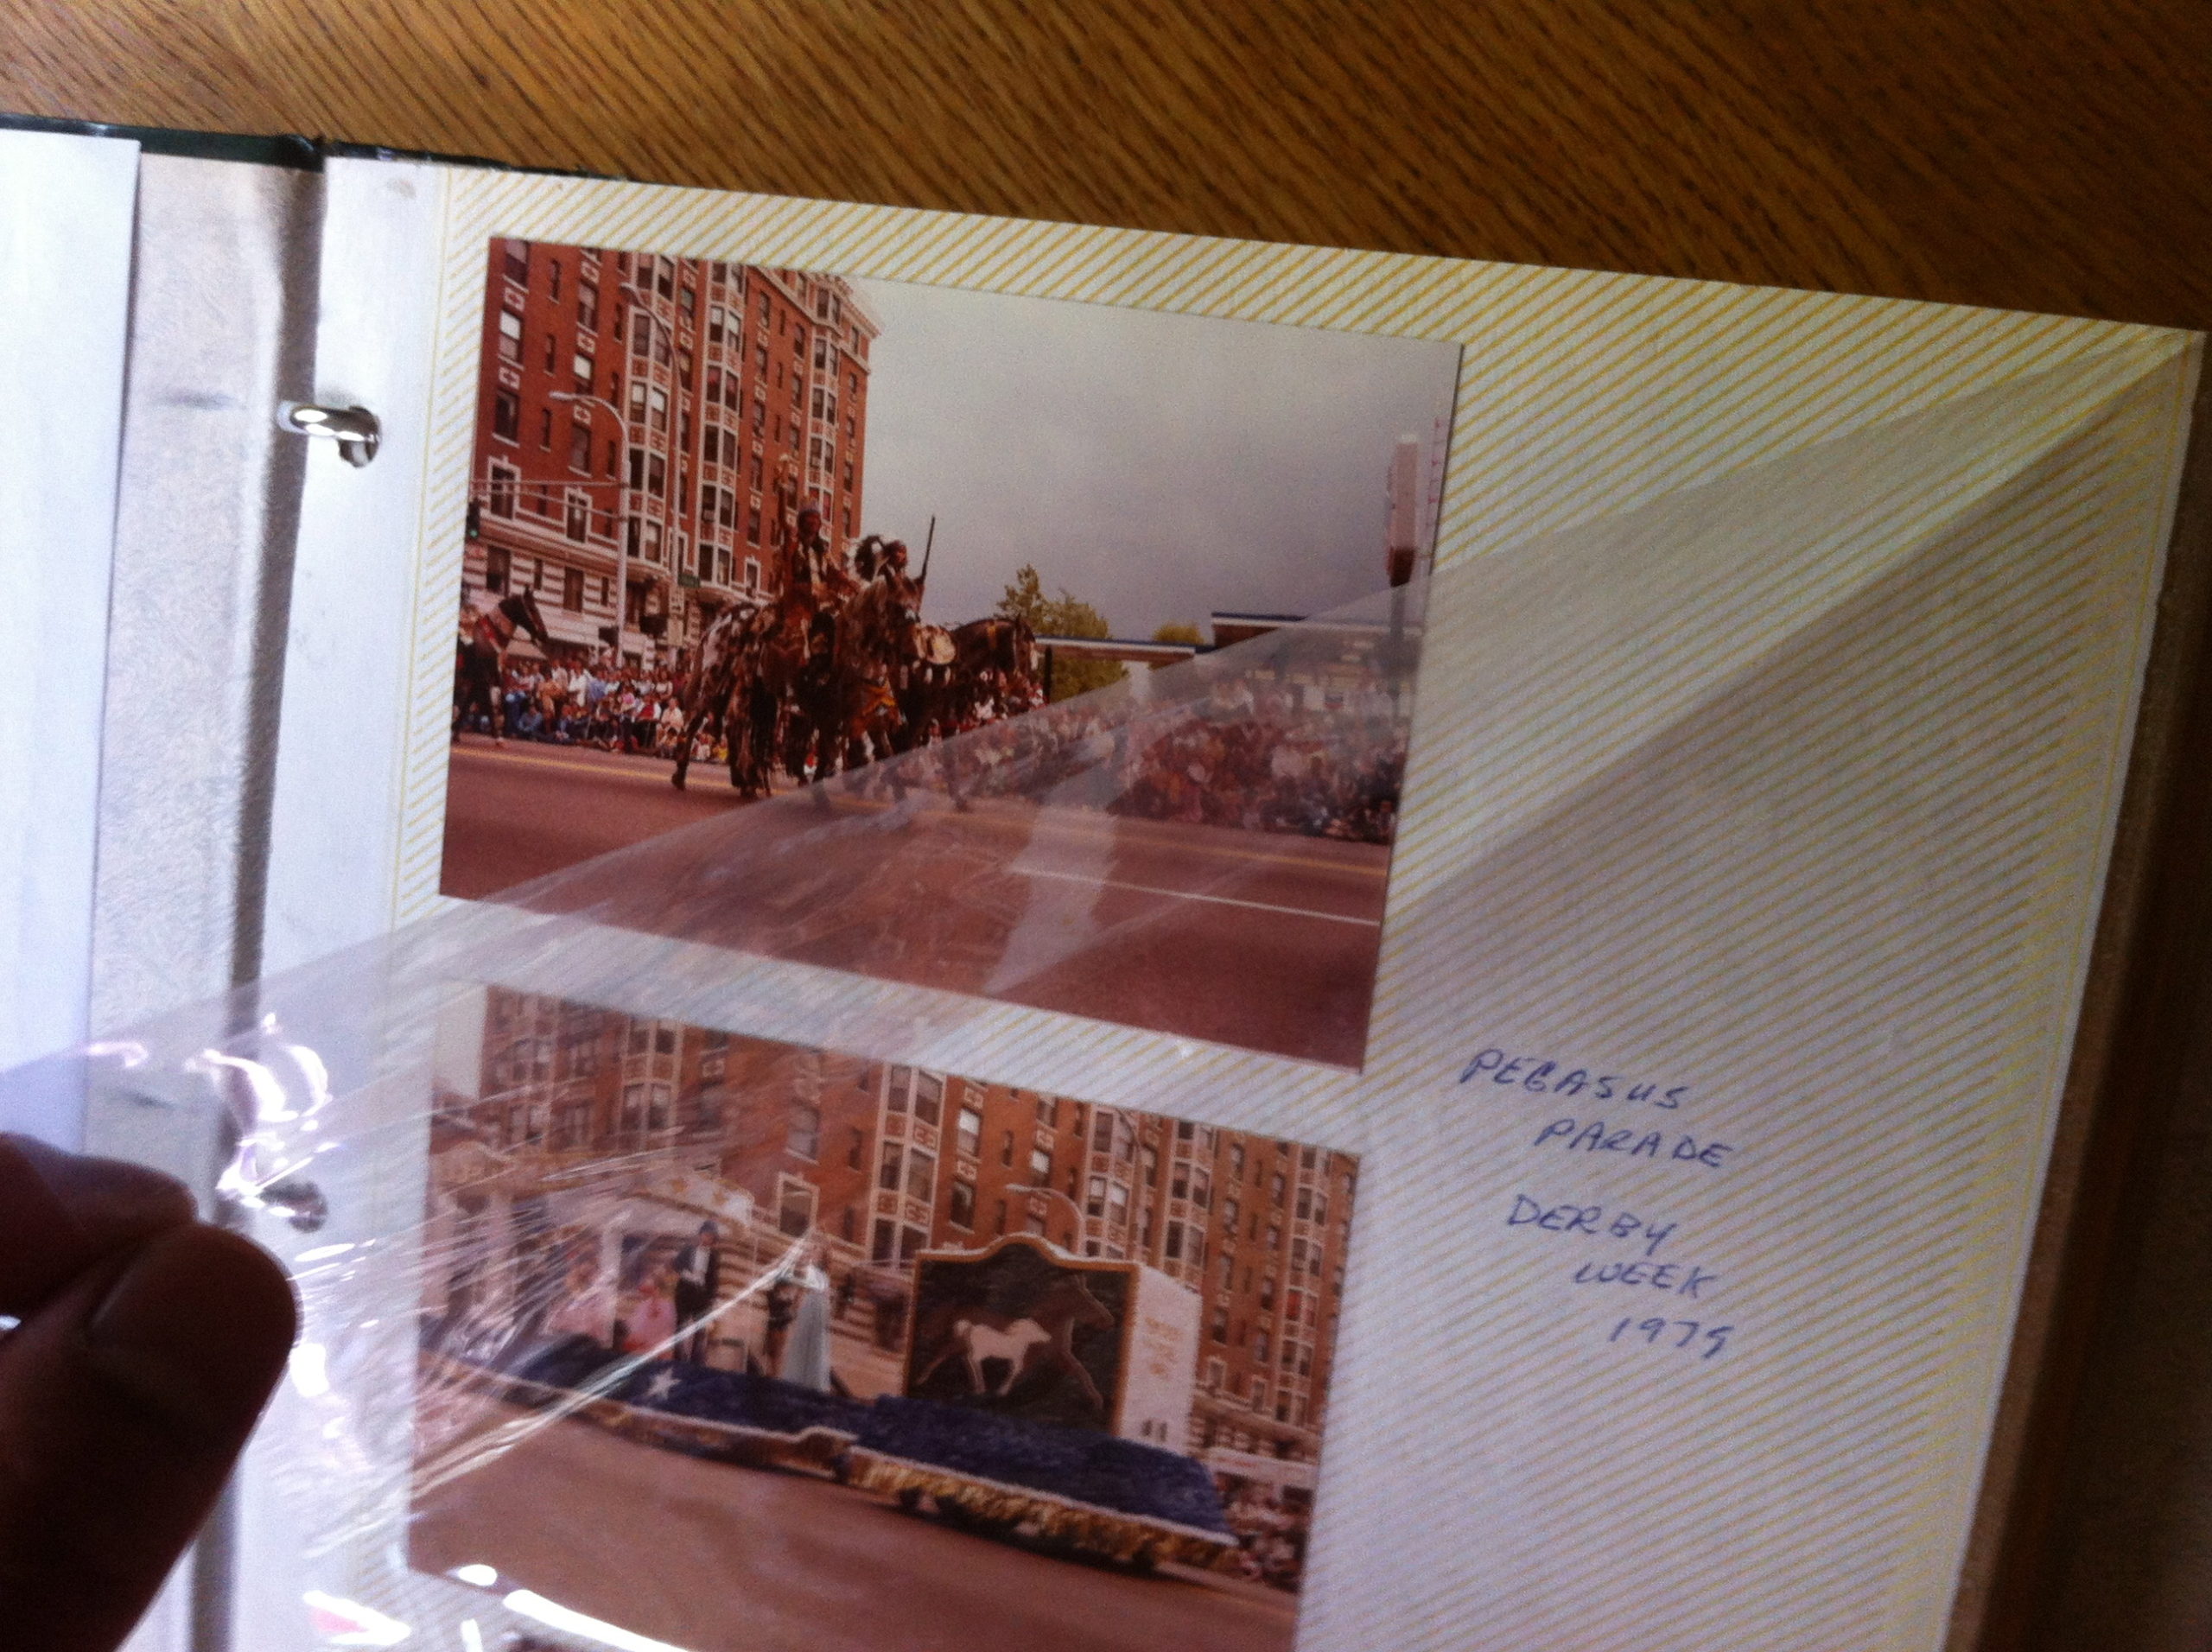
Part 2 – The physical type of albums and photos: We discussed the physical type of albums I’m working with and some of the challenges we faced.
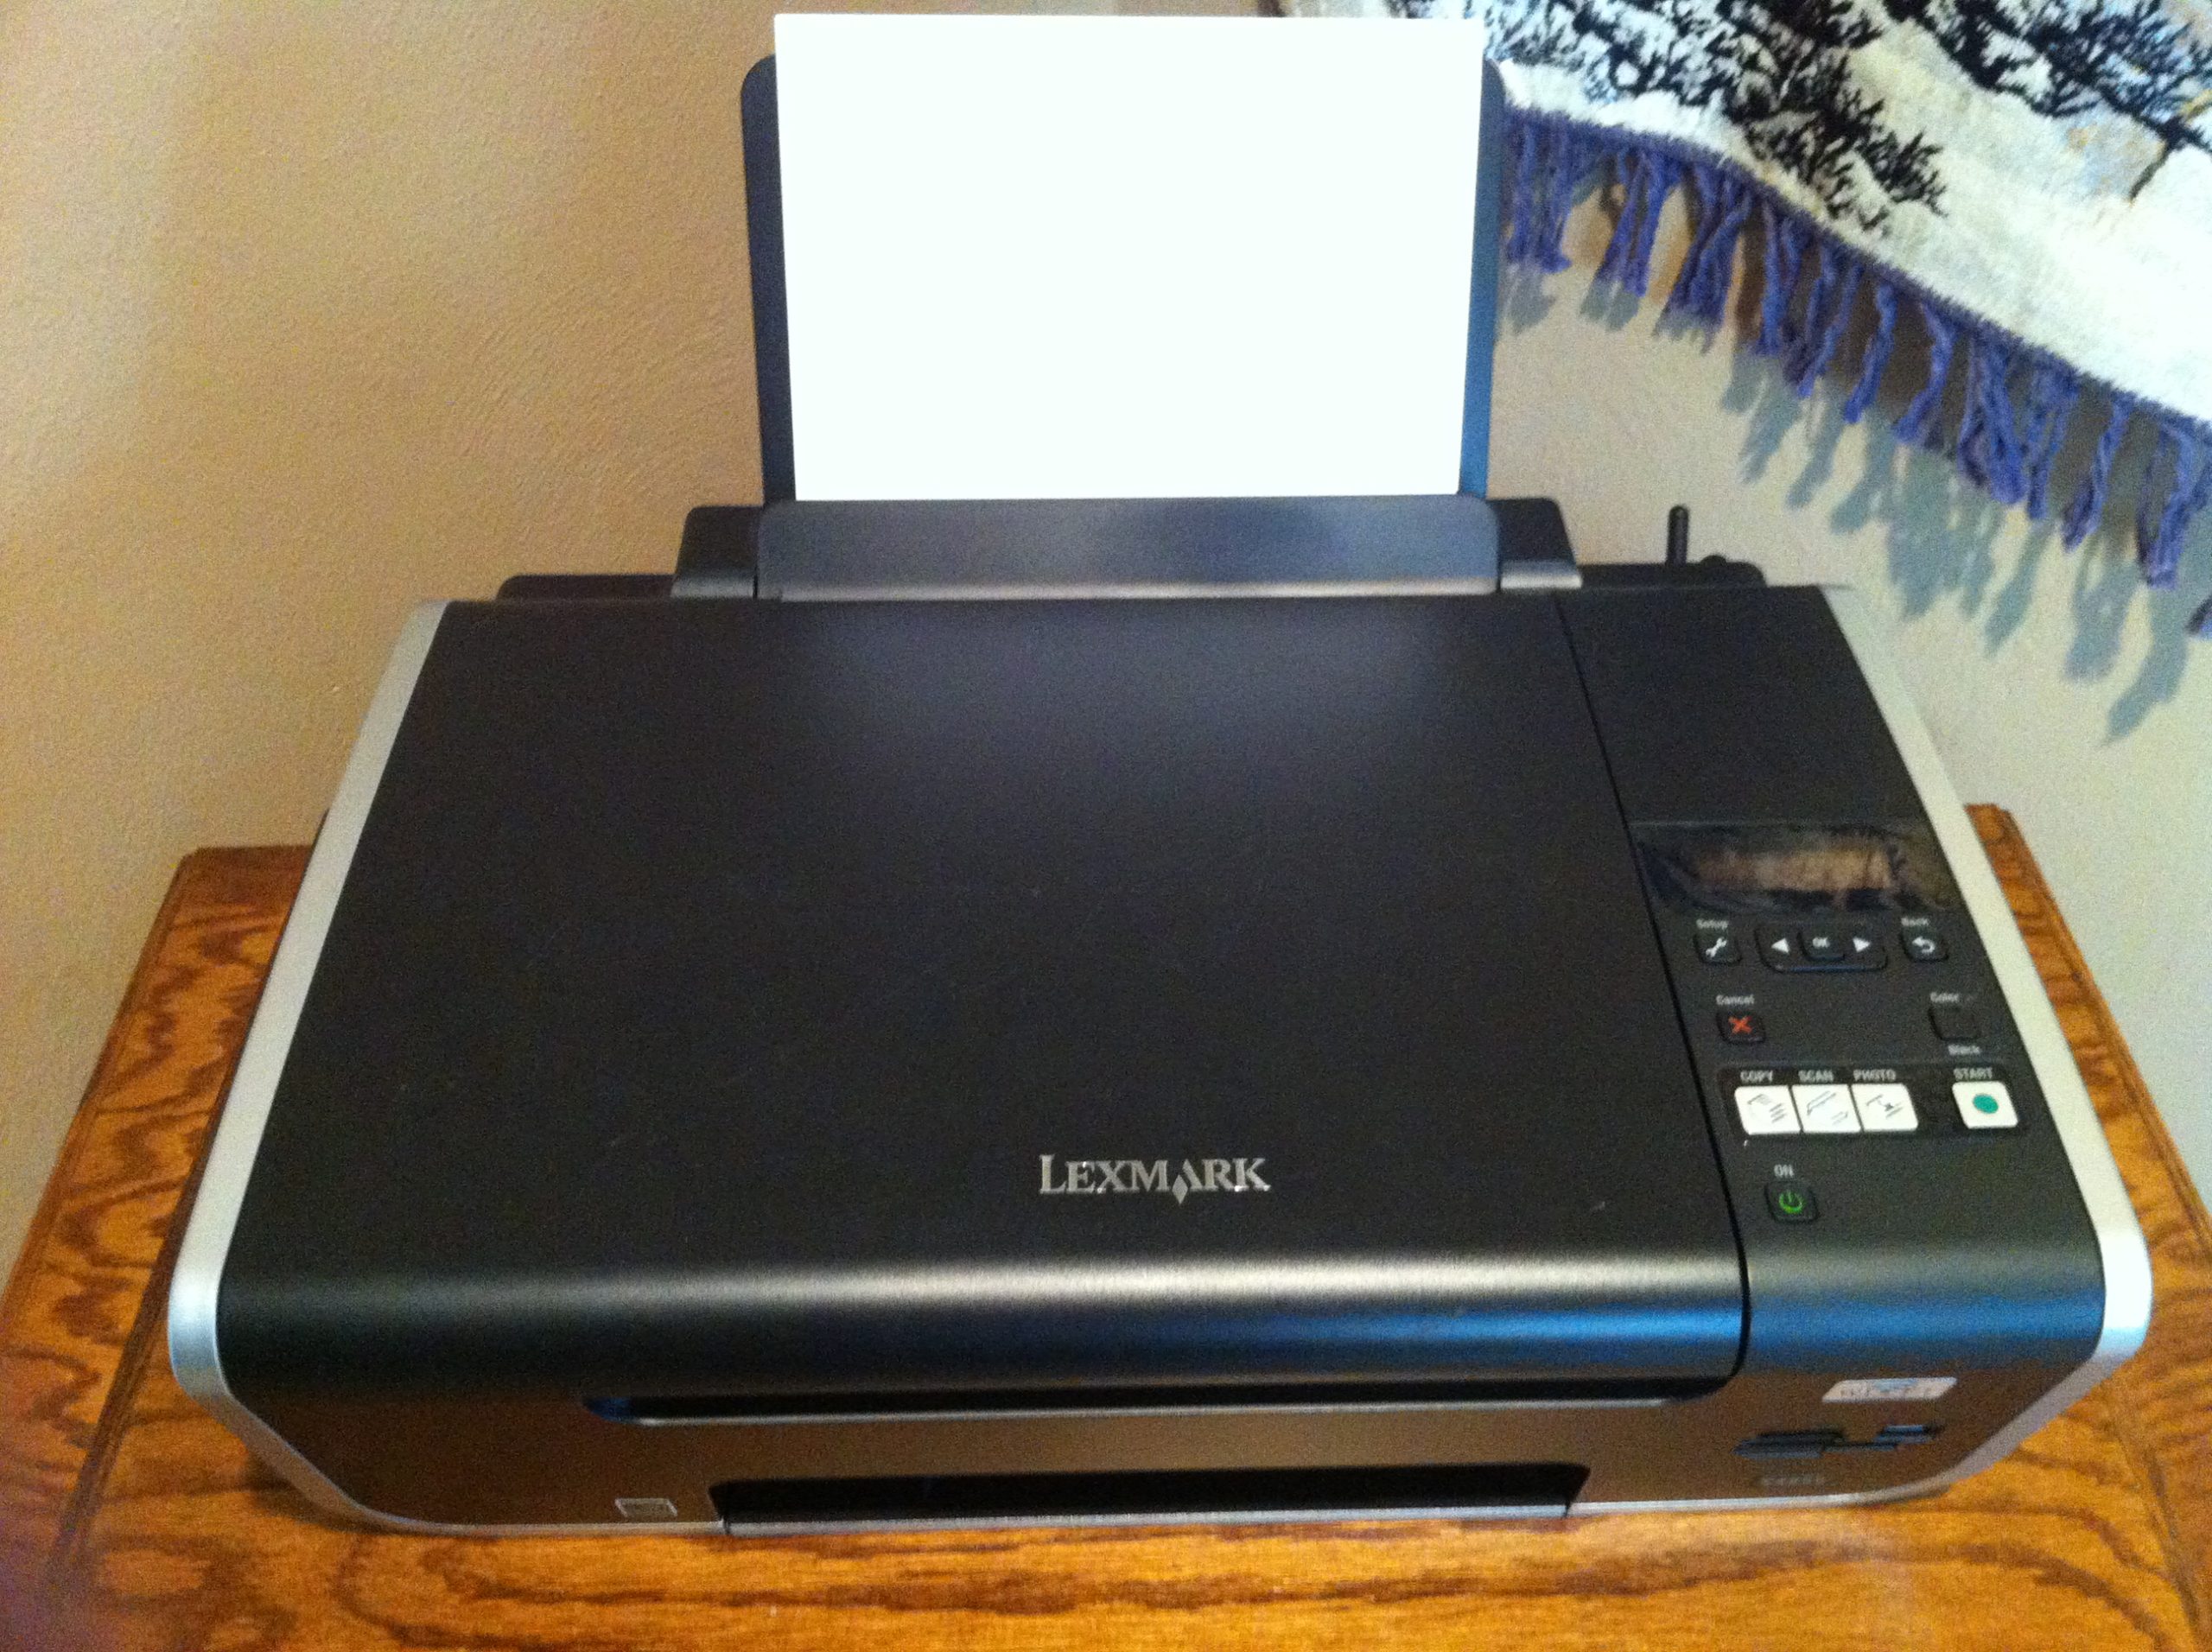
Part 3 – The physical equipment and software: I explained the physical equipment and software I’m using for this project.
Part 4 – The scanning system and process: In this article I outline the exact steps and process I’m doing to scan and work on this project.
Part 5 – Conclusion Tips and Suggestions: We recap what we have learned and I offer some tips and suggestions.
One suggestion I have is to set up your project near a TV. I don’t watch very much TV but since my project is within easy viewing distance, I can watching TV while I”m scanning. Once you have a system in place and are actively scanning it becomes second nature. You will find yourself wanting to multi-task. Having a TV with-in viewing distance allows you to scan while watching your favorite TV show or a movie. It took me several weeks to get my system running efficiently so that the work becomes almost automatic. Once it does, watching TV or listening to the radio is just icing on the cake.
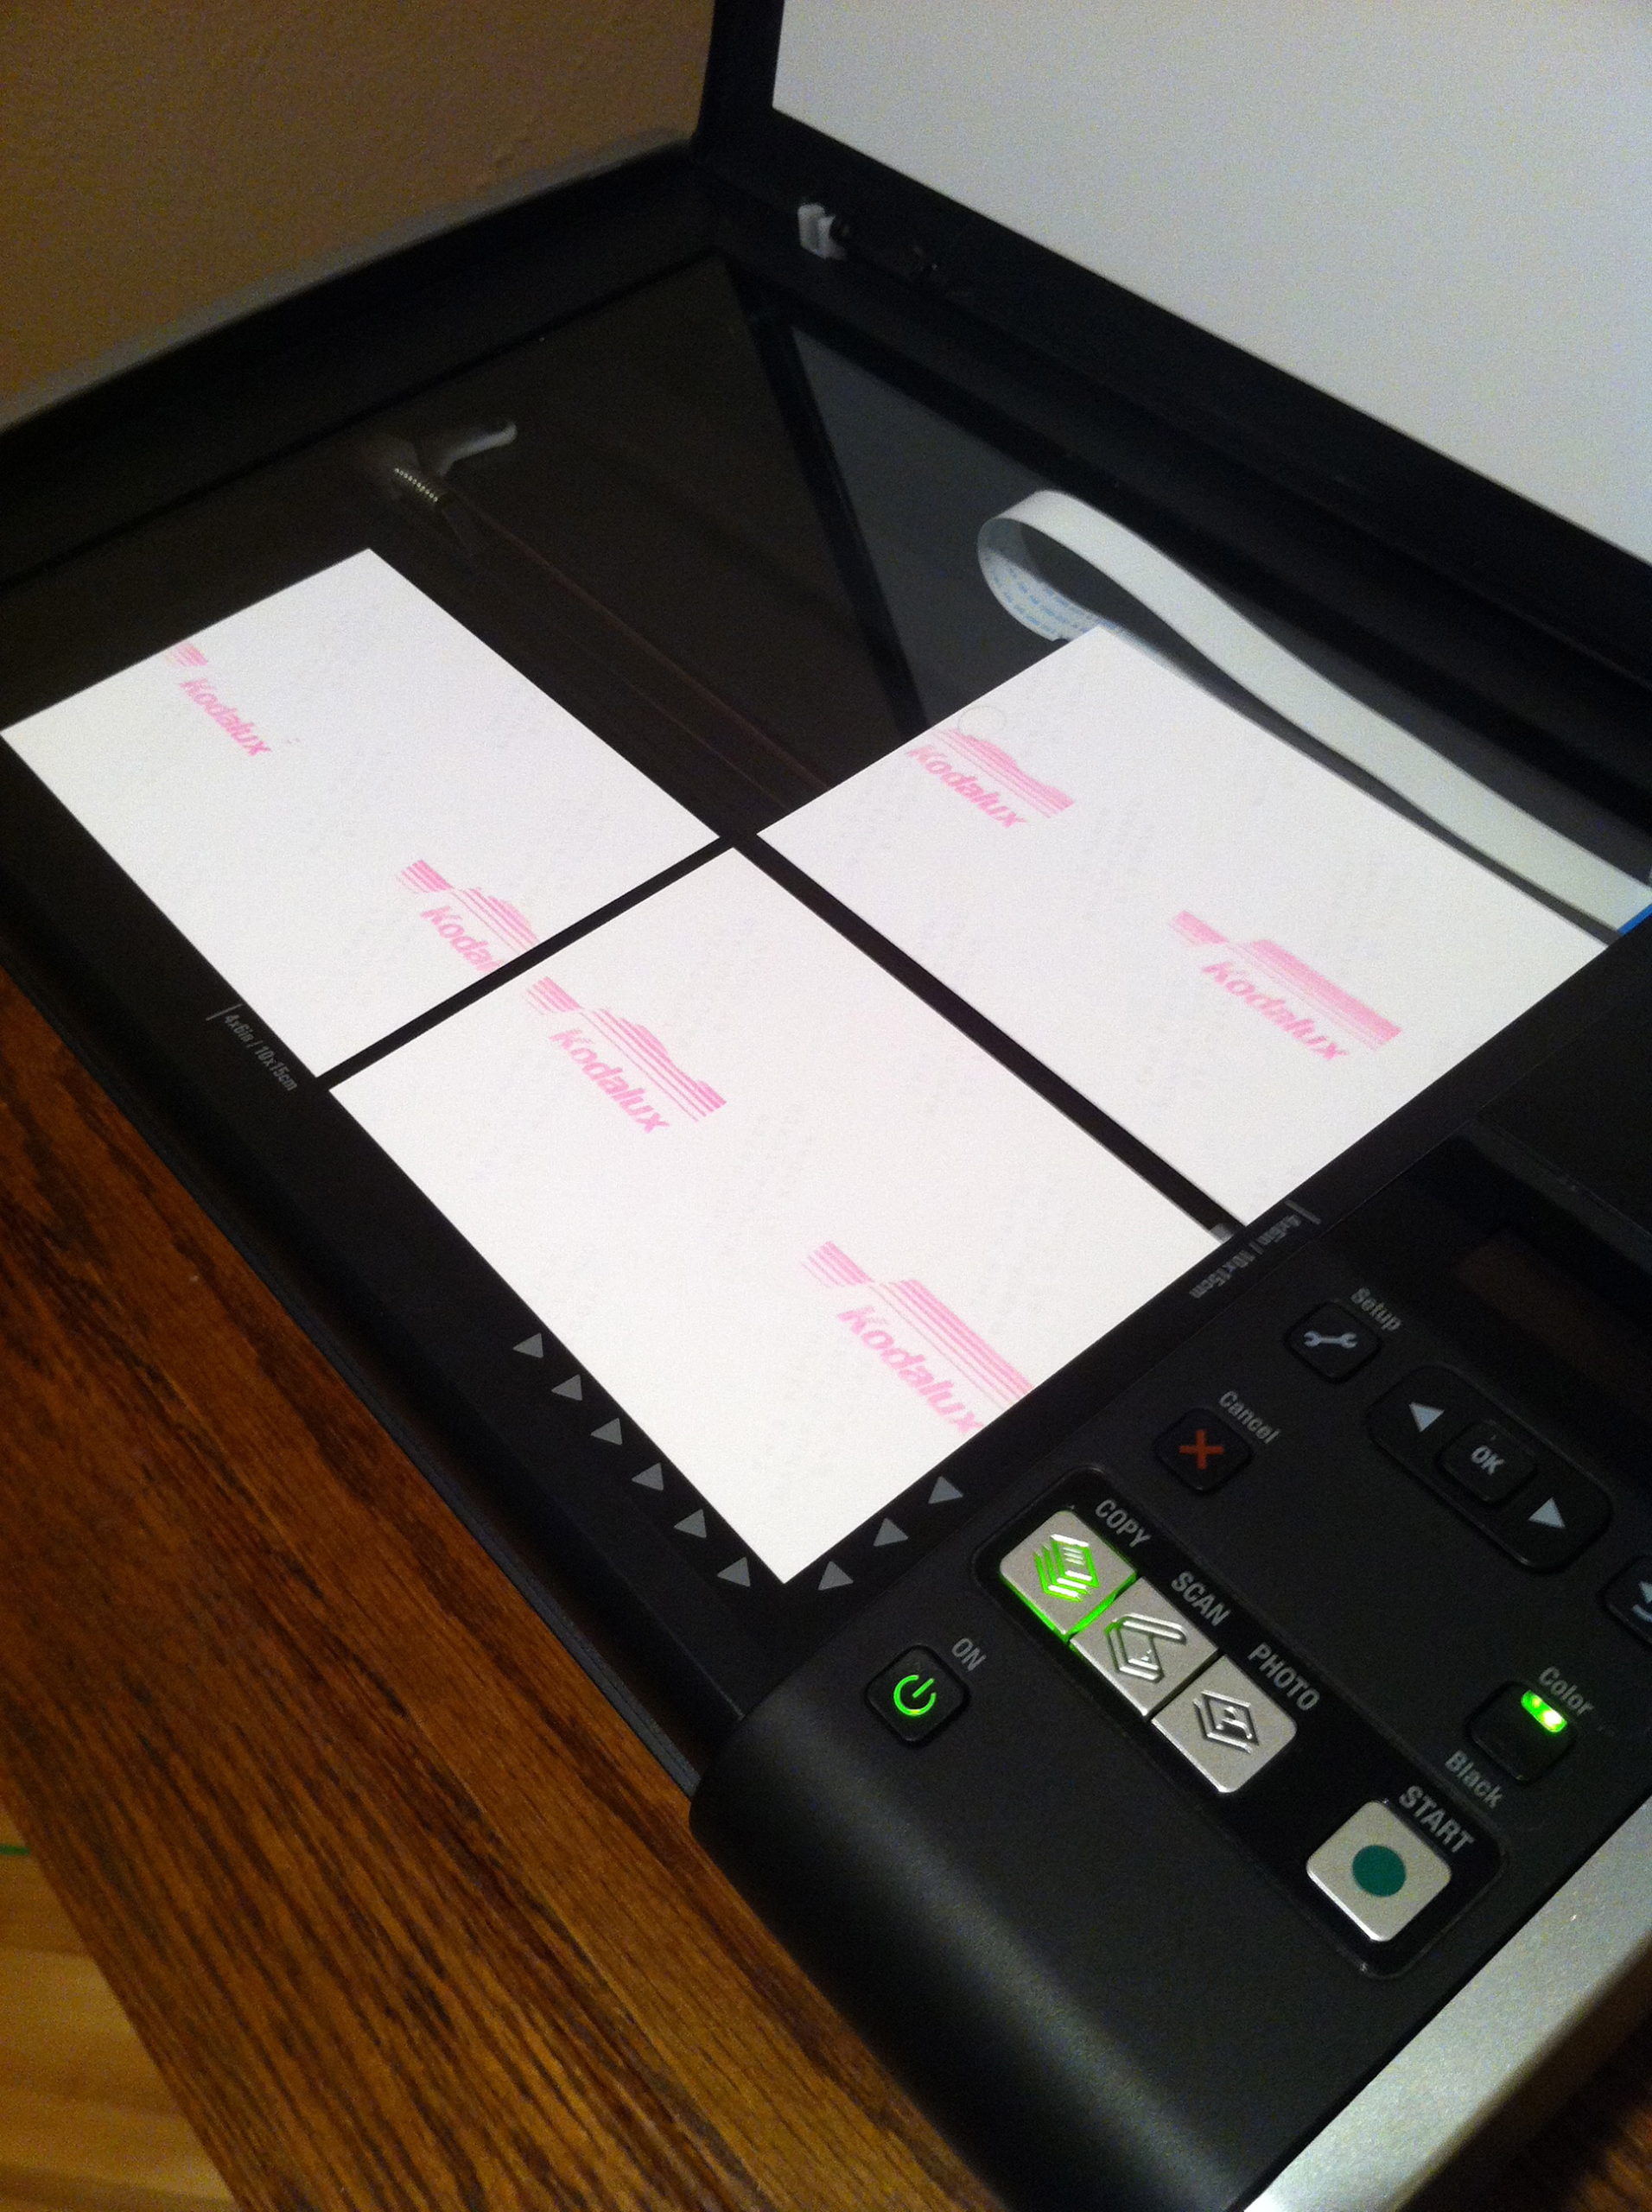
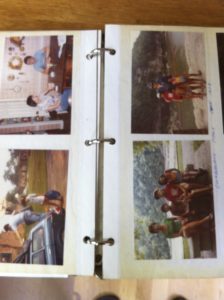
I almost forgot if you noticed in the photo to the right I only placed 3 photos on the scanner. For the setup I’m using I found this to be the best option for keeping the photos square and easier to crop once they are in the Lexmark Studio software. What I found is that if I try to randomly place a photo on the scanner, it has a tendency to move or shift slightly when I close the scanner lid. To avoid this I decided to place the photos right up against the edges of the flatbed scanner so that the photos are nice and square when I push the scan button. Just another hint that I thought I’d share. Of course you may have an entirely different scanner or software that would alleviate you form having to worry about this. For me I’d much rather have a square scan so that when I crop them in the Lexmark Studio Software I have a straight image to work with.

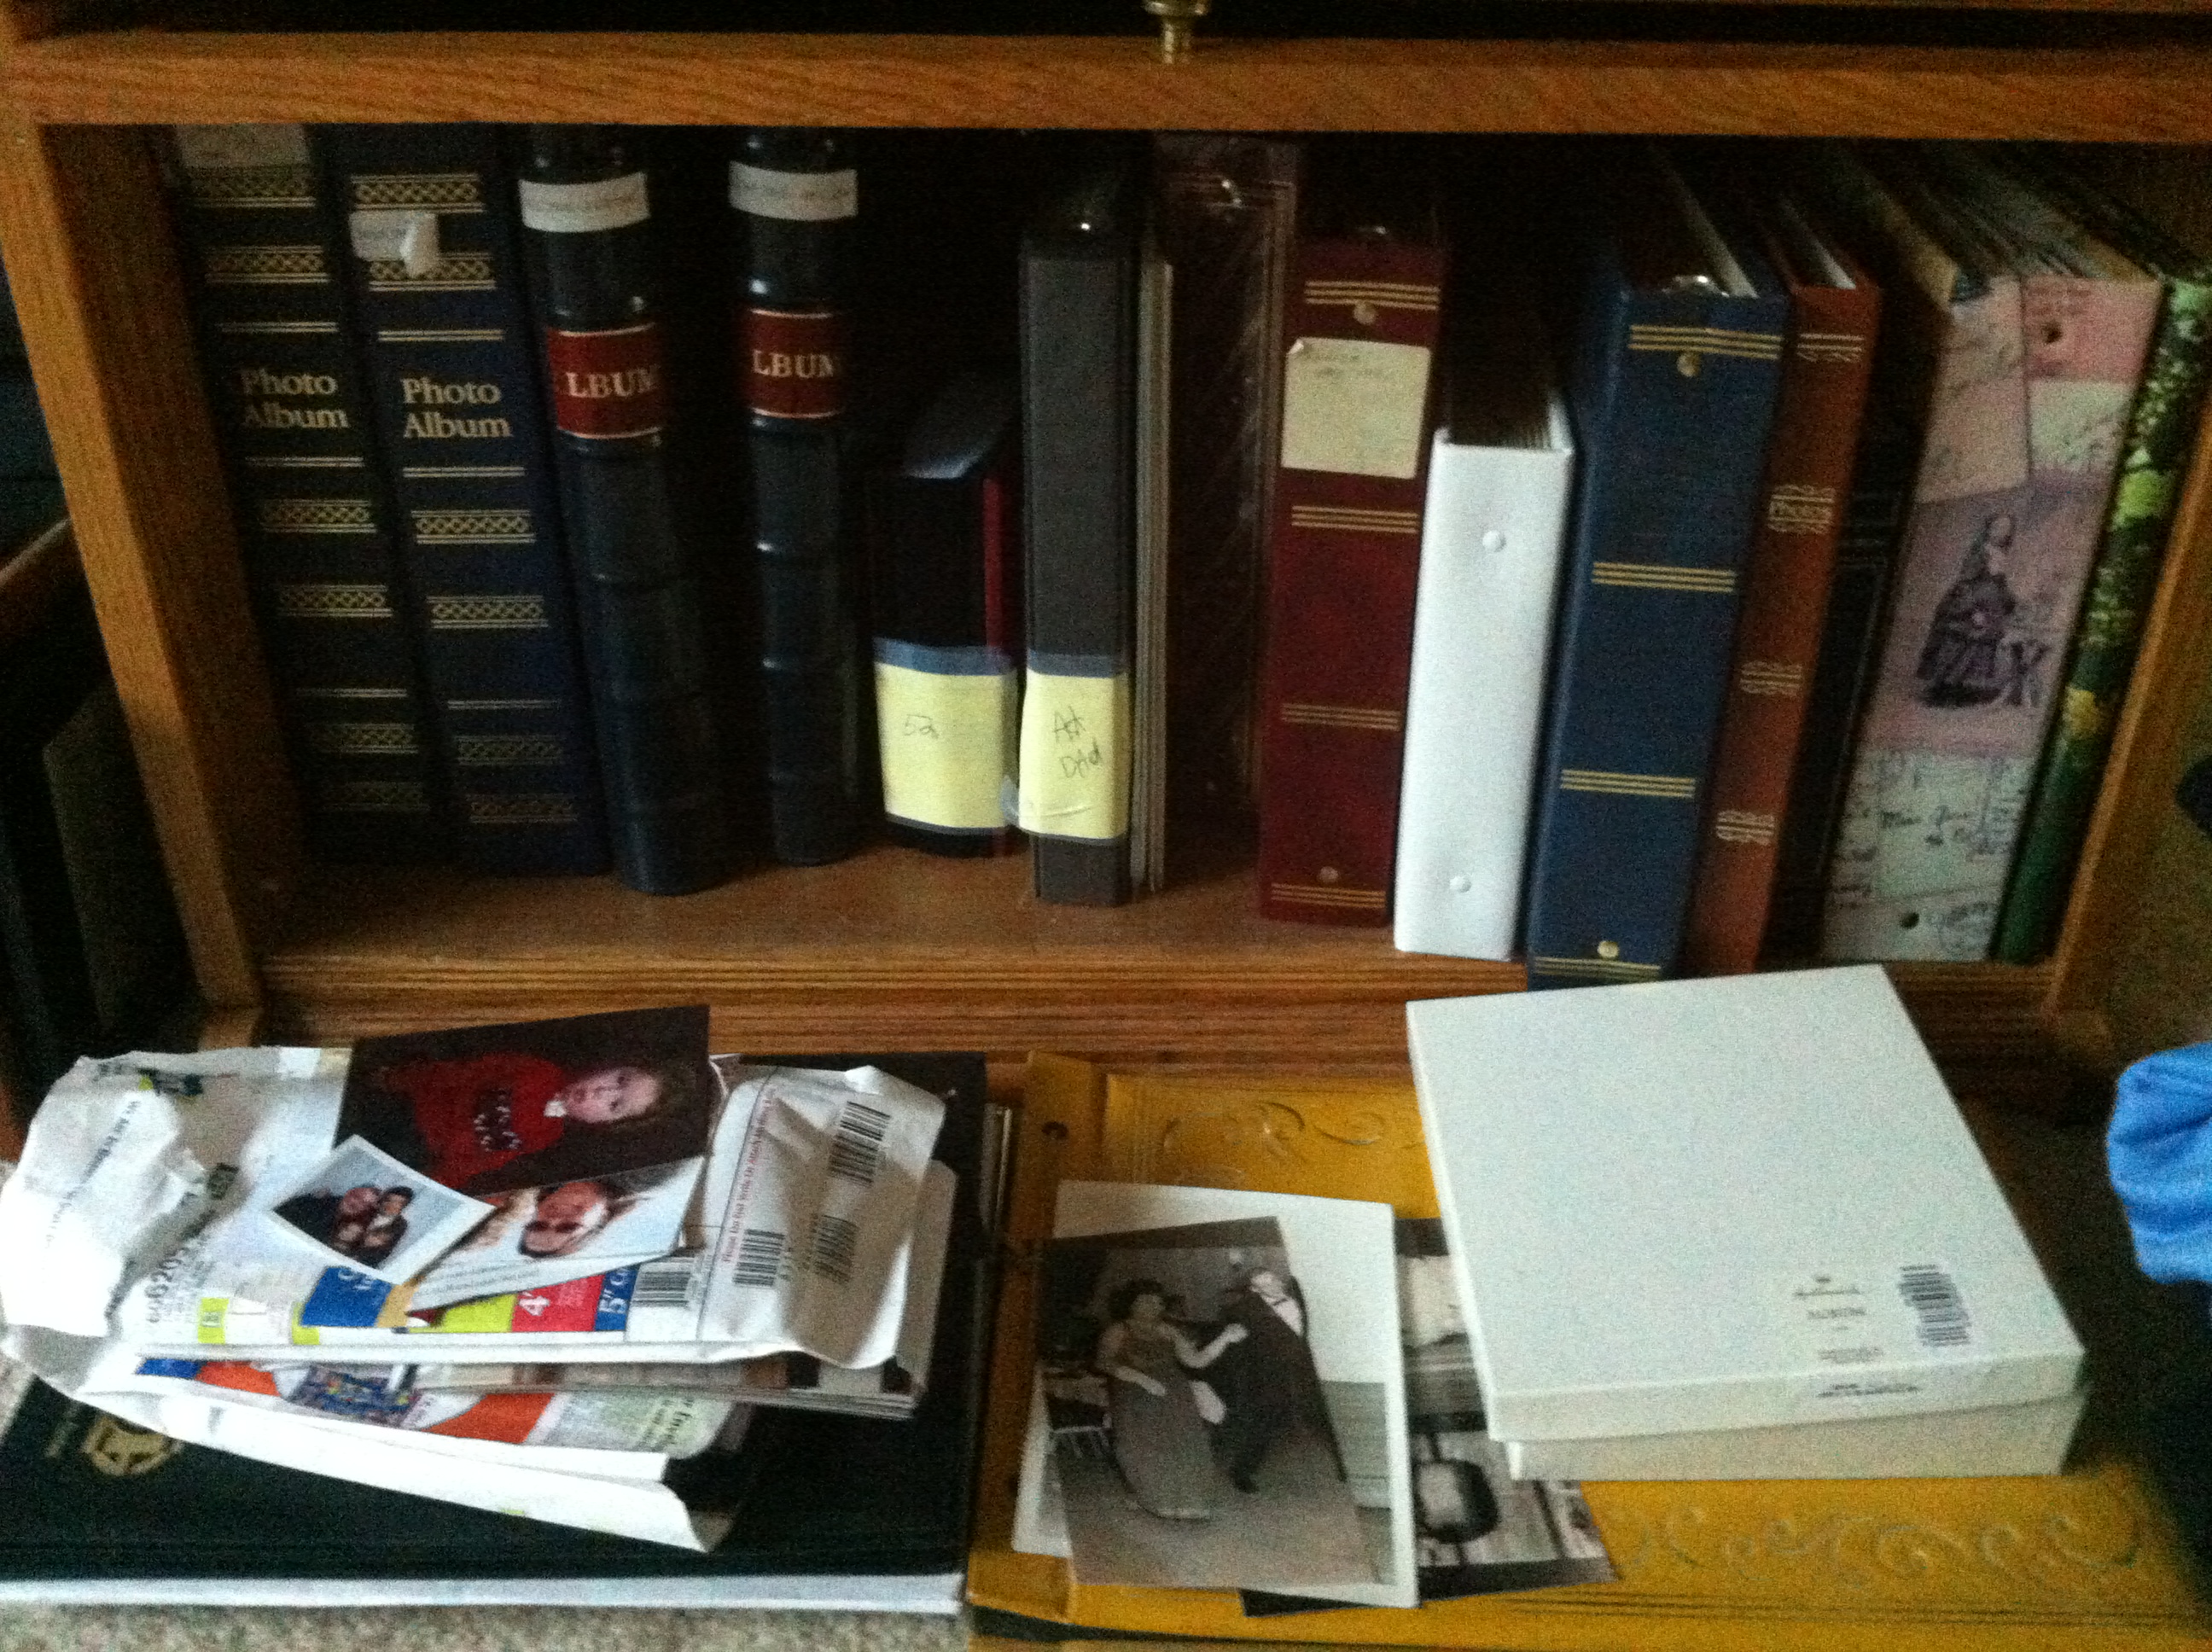
At first I was really overwhelmed by the number of photos that needed to be scanned, by breaking this project down into smaller pieces, and making it as accessible as possible has done wonders. There are many times when I only have a few minutes, so I only scan one or two photos. But that is one or two more photos that are done and moves me closer to finishing up a page. Which brings me closer to finishing up an album. I may go weeks without touching the project, but the album is on my desk and the computer is ready to use. This makes all the difference in the world. When you only have a few minutes it’s great to just scan one or two and then move on with your day or whatever it is you have on your plate. If you want to get this project done. Make it as accessible as possible so you can move forward easily.
After 9 successful albums scanned this project is moving right along. My parents have been able to enjoy their old photos on their TV and digital picture frames. It has been wonderful providing them a digital solution to share these with the rest of the family and guest. I have to admit I also enjoy being able to review some of the older photos with my parents. Having the photos readily available makes it really easy to talk about the photos currently on display. Has this project been a success? I’d say by the response of my parents, sisters and family we have a winner. I’ll have to write another article once the entire project is complete. Until then at lease I have the system in place to continue scanning the remaining albums. Hopefully, I have inspired you to undertake your own scanning project, it has been an enjoyable and rewarding experience.
I hope these hints and suggestions work for you. Have I missed any great tips or suggestions you might have? How did you setup your scanning project? What did you find works best for your situation? Let’s start the discussion below. Did you enjoy this series? What would you do differently? What didn’t I cover that you were hoping I’d talk about?
Thank you,
Dave
Related posts: