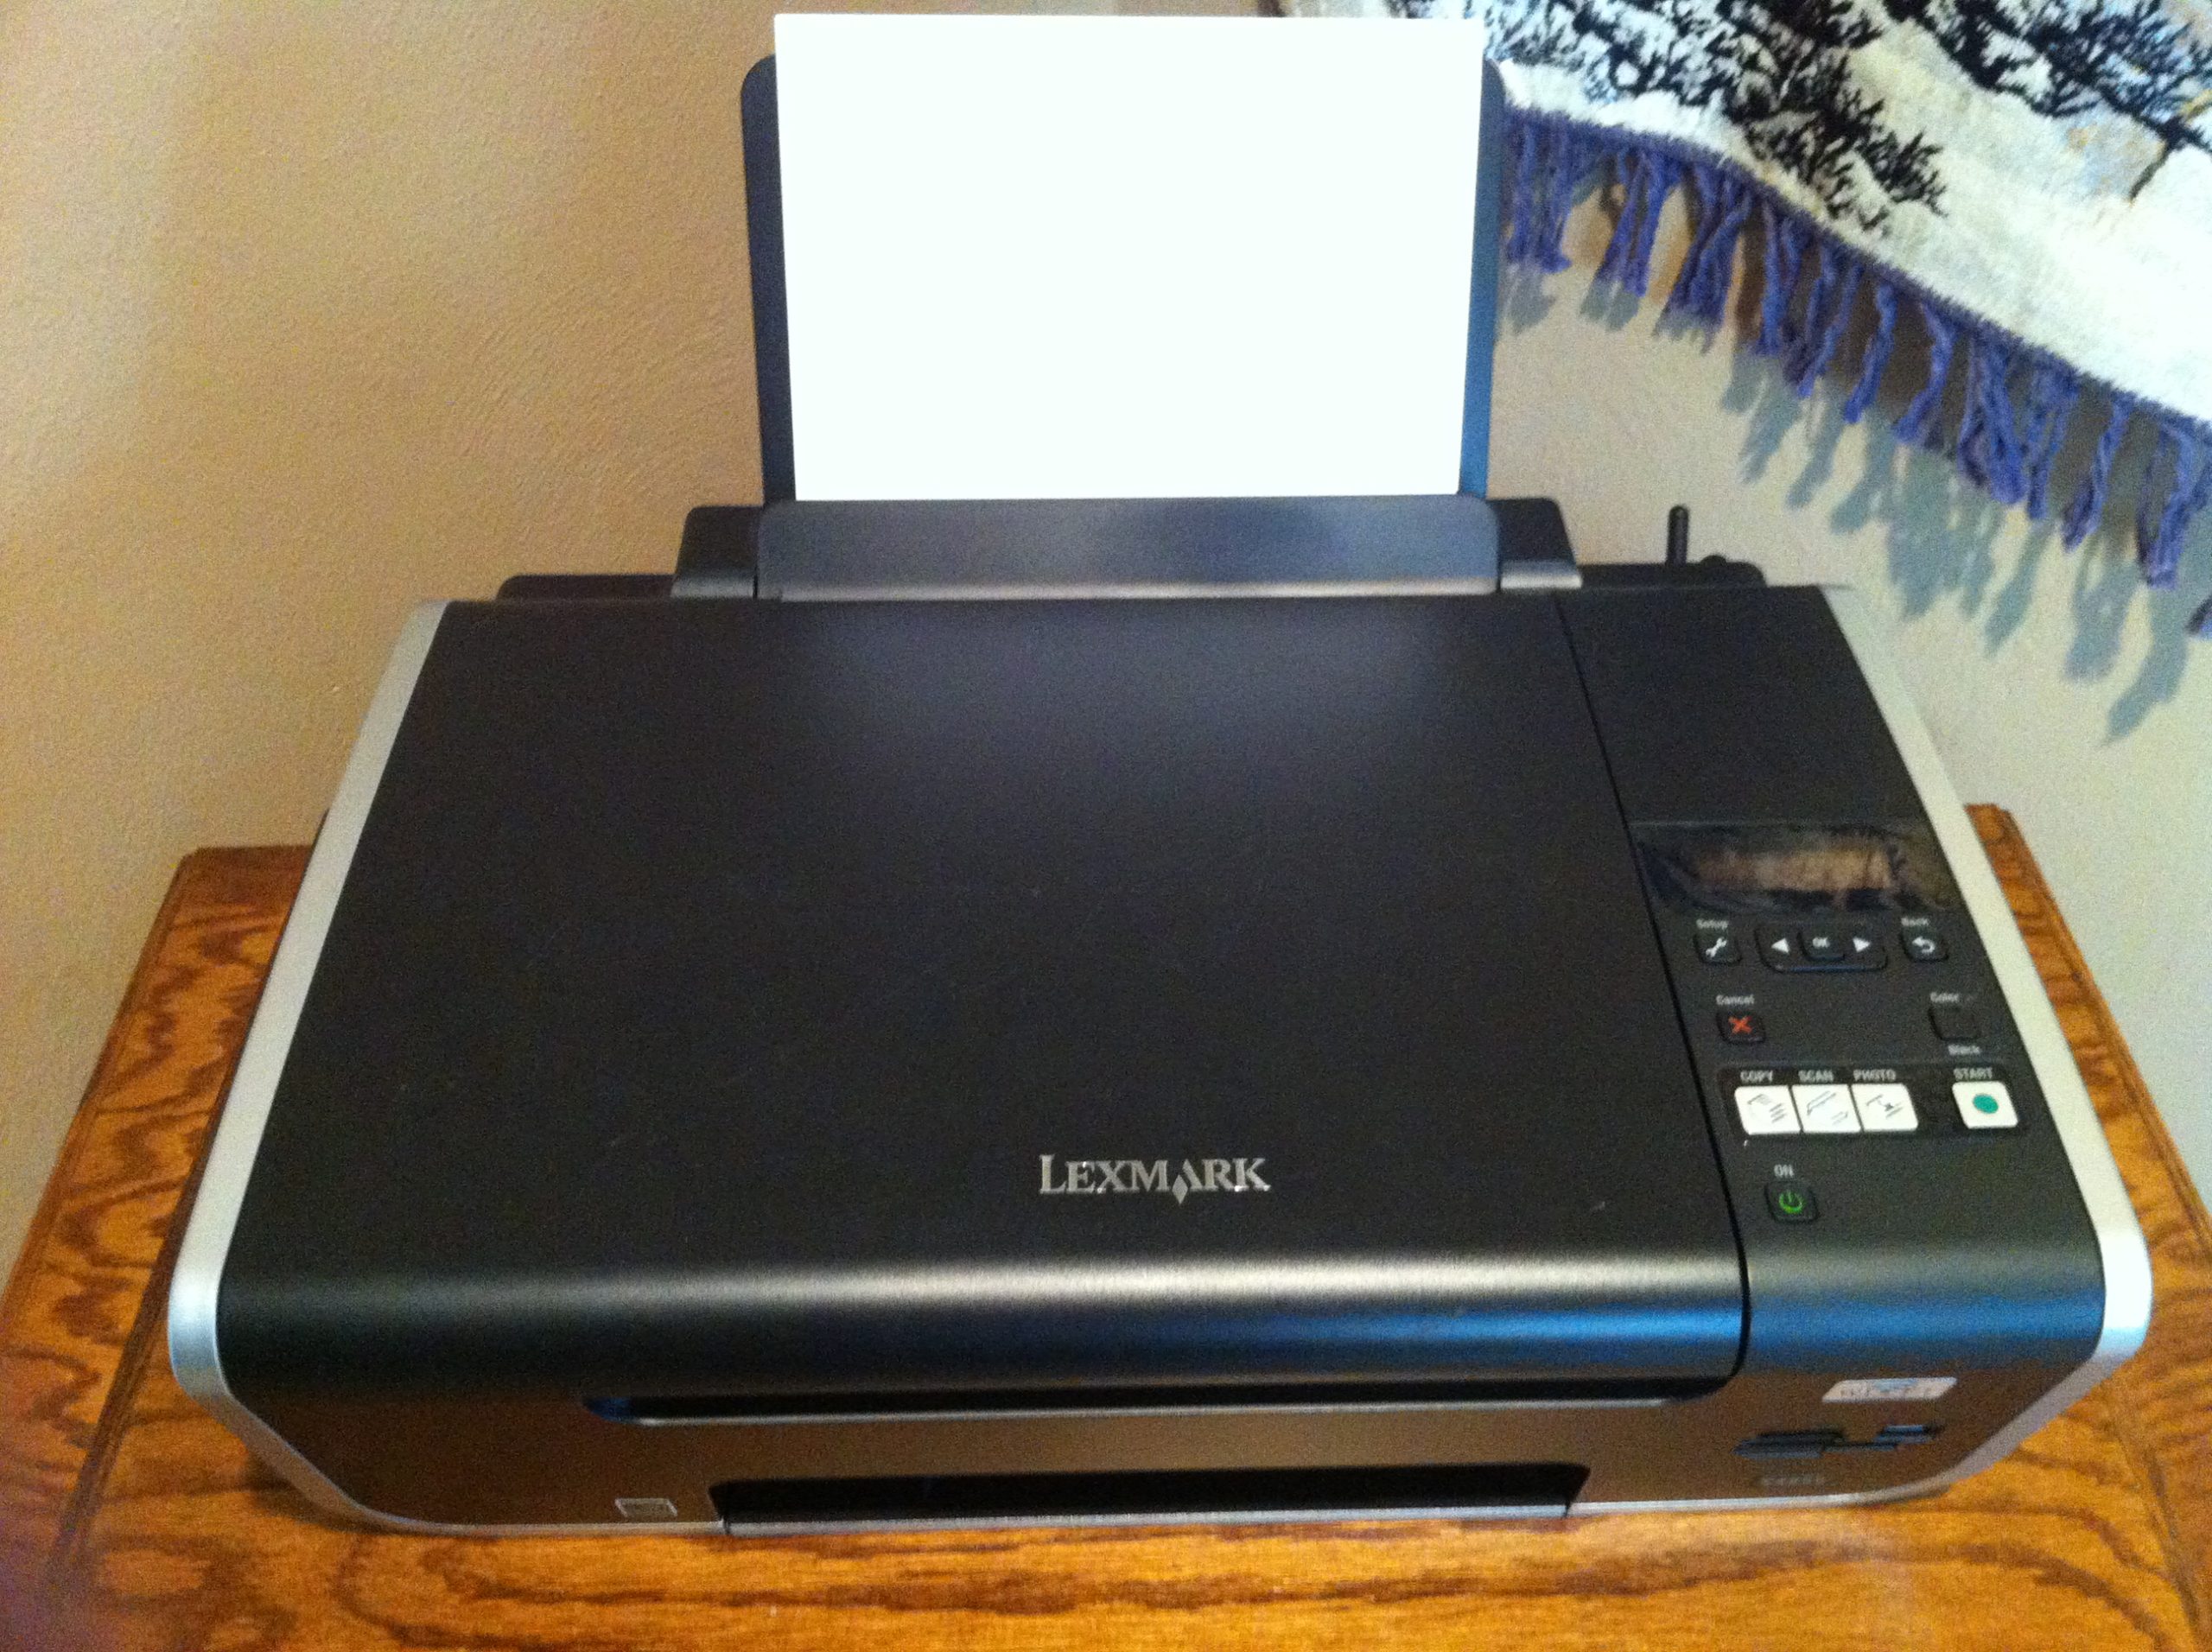
In Part three of the series “How I digitized my families old photos” we discussed the physical equipment I’m working with. We also briefly discussed the Lexmark Productivity Studio software.
In part 4 of this series “The scanning system and process” we discuss the system and process working with the photos. I’ll explain exactly how I scan, fix and sort the photos. I included screen shots for you visual folks. It’s a lot of material to review. Let’s get started and have some fun!
The first physical album I started working with had 432 photos, 36 double-sided pages, 12 photos per page and 6 pockets per side. To stay organized I removed one page at a time from each album. Since each photograph is in its own pocket, this required me to remove each photo from the page. Once each photo was removed, I scanned each one individually. My though process in scanning them individually, is that it would be impossible to scan the entire page because of the physical dimension of the album page. There are two reasons for this decision, first is the entire page with all 6 photos on one side would not fit the surface area of the scanner. Second, I was thinking that placing each photo directly on the glass of the scanner would yield a better quality scan. This sums up the photo handeling process for working with the pages and individual photos for this “type” of album.
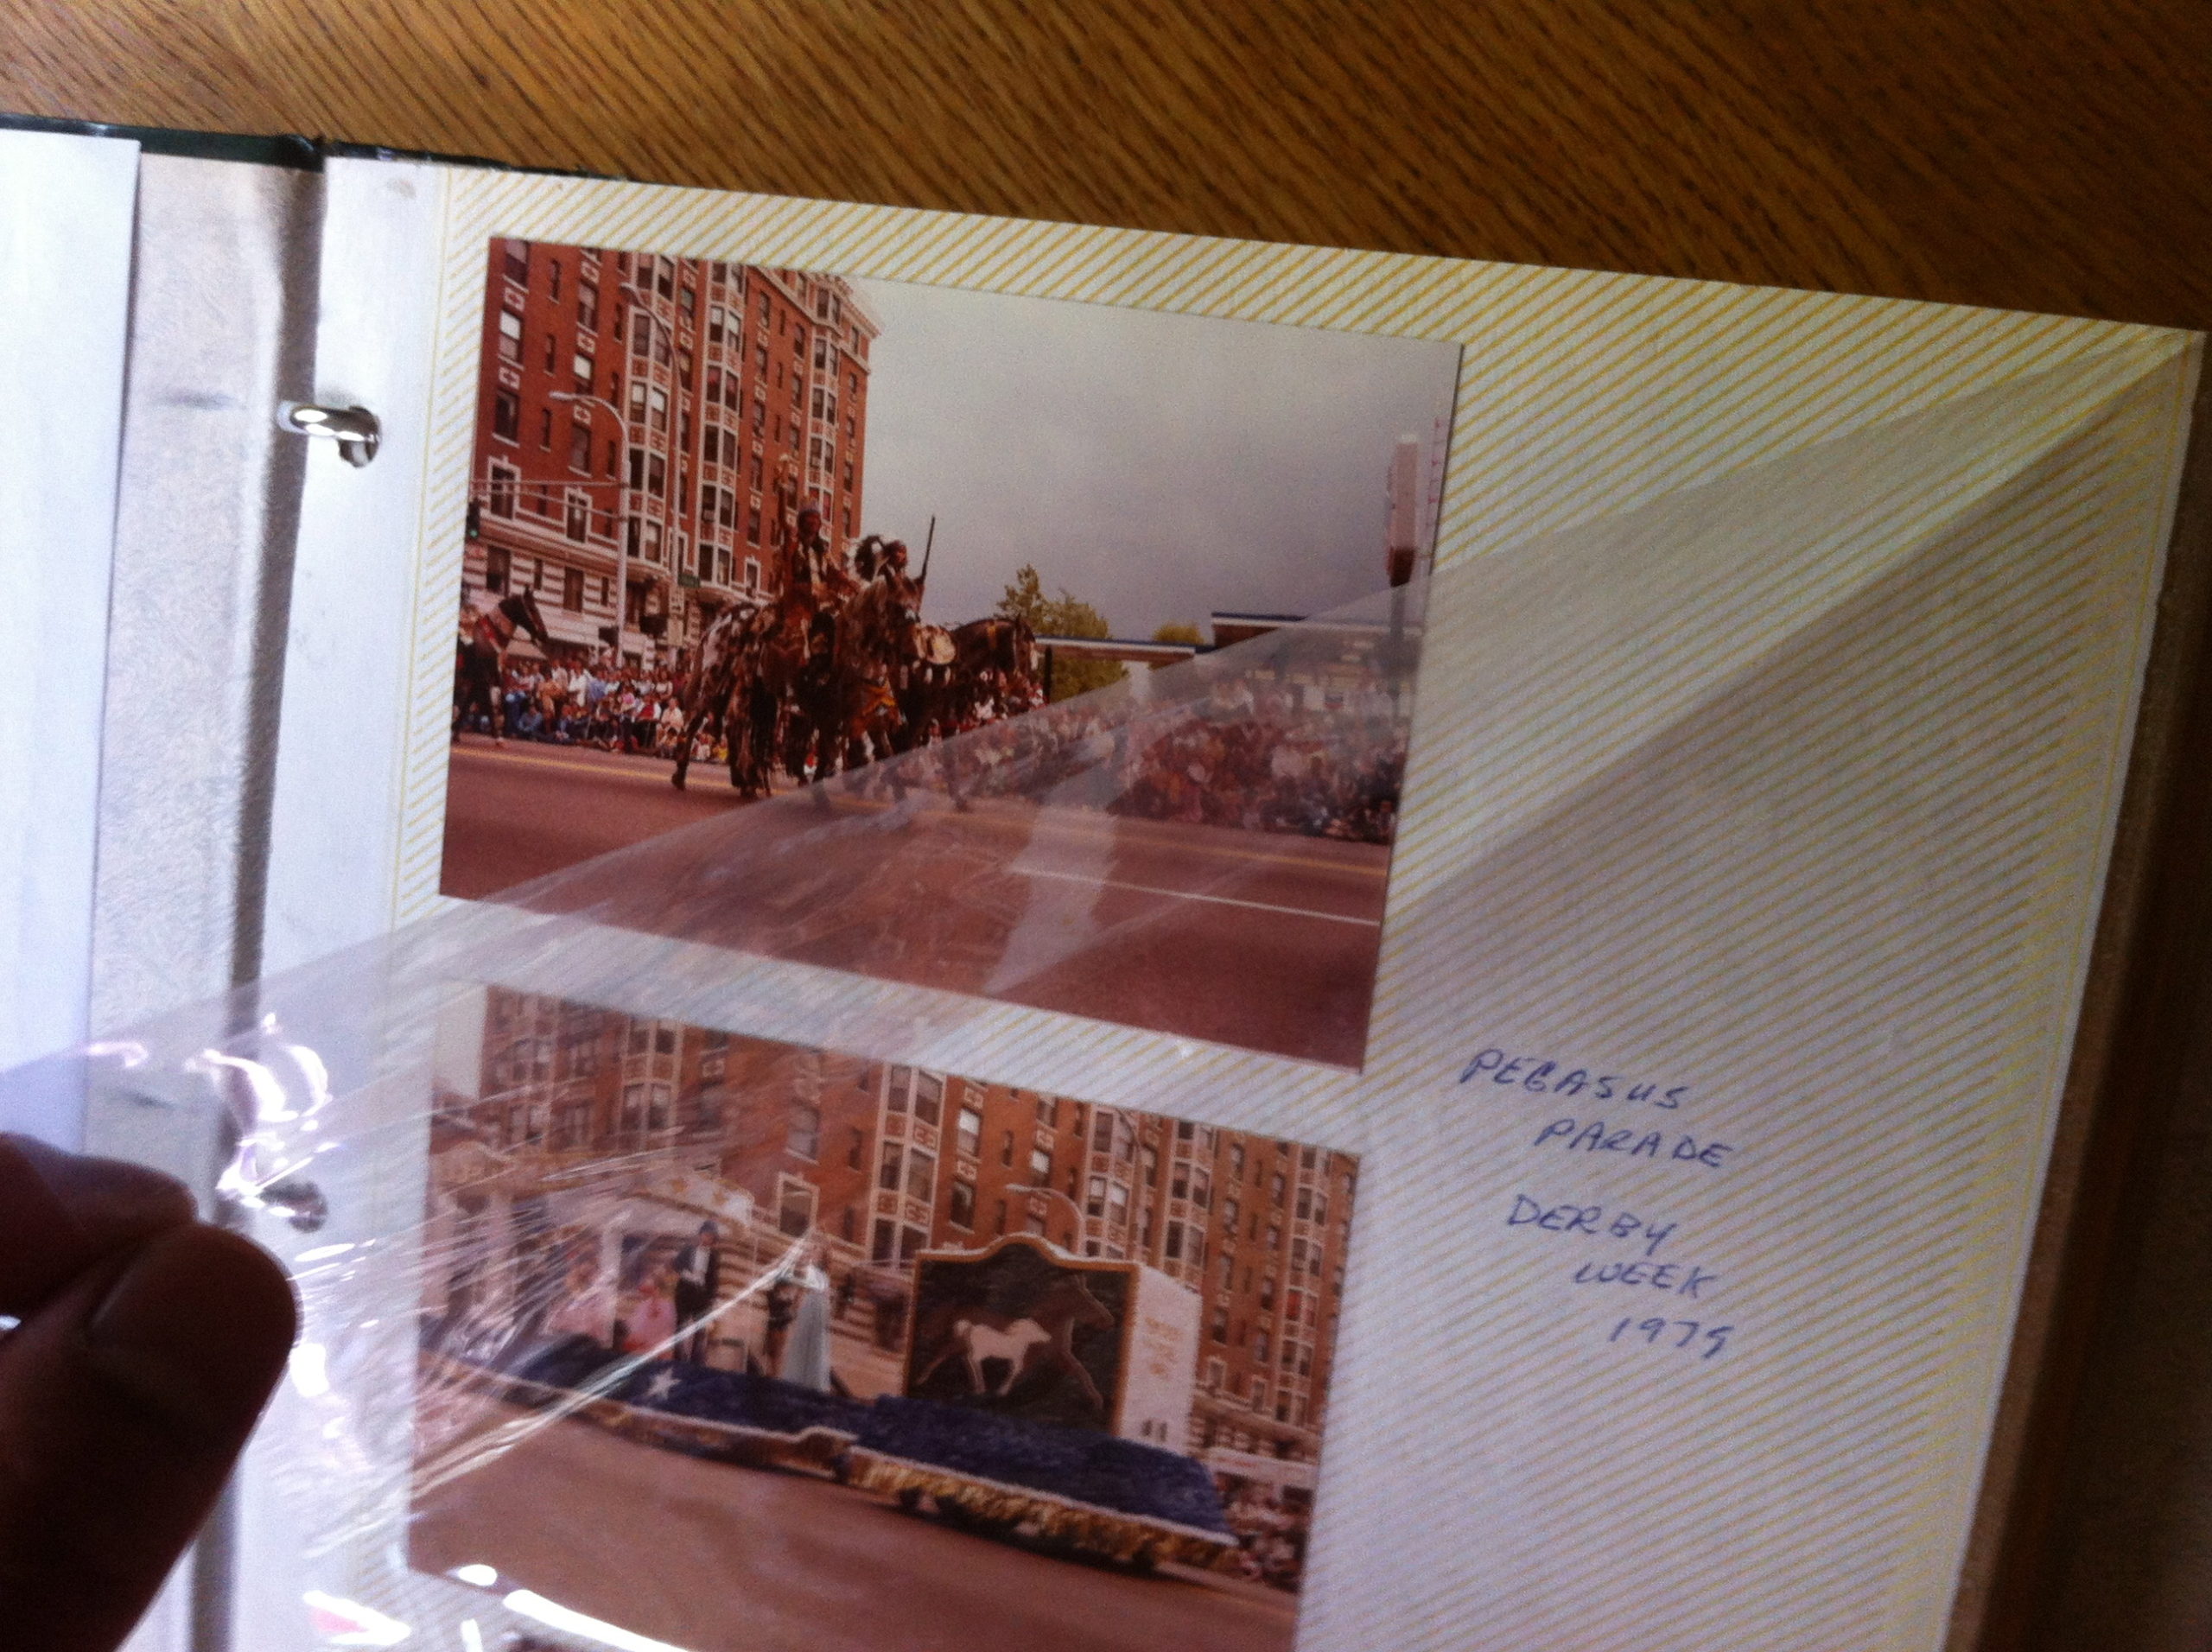
The process is similar for the other “types” of albums we have in the collection. One type of album I’m working with has photos that are almost glued to the pages and have a plastic cover. When I’m working with this “type” I don’t remove the photos. I peel back the plastic cover then place the entire cardboard page directly on the scanner. This way I’m still able to get a good scan and not damage the photos by peeling them from them away from the cardboard. The bottom line is my system and process is to place the actual photos directly on the glass of the scanner. I do this whether the photos are glued to the pages or individually taken out of the albums.
By breaking up the album parts into individual pages and sides of pages really helps me to stay organized. For example, if I was to just start taking photos out of the albums and stack them all up and then scan, what would happen if I was interrupted from the project? I might end up forgetting which page I was working on. By breaking up the album into smaller chucks like one page and on side at a time I never really get lost or lose track of where I’m at in the scanning process. Another benefit to this method is that even if I’m interrupted, it’s not very difficult to pick up exactly where I left off. So part of my system of working and handling the photos is staying organized and breaking the albums into smaller workable chunks.
Now for the fun stuff,
- First, start by taking the photos out of the album you’re working with and place them on the scanner. Or place the entire page on the glass of the scanner depending on what “type” of album you are working with.
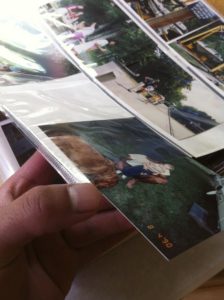
Removing photos from the album 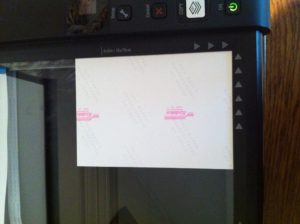
Placing the photo face down on the scanner - Second, open the Lexmark Productivity Studio software on your computer. Select the scan option, another window prompts us what to scan. Select photo.
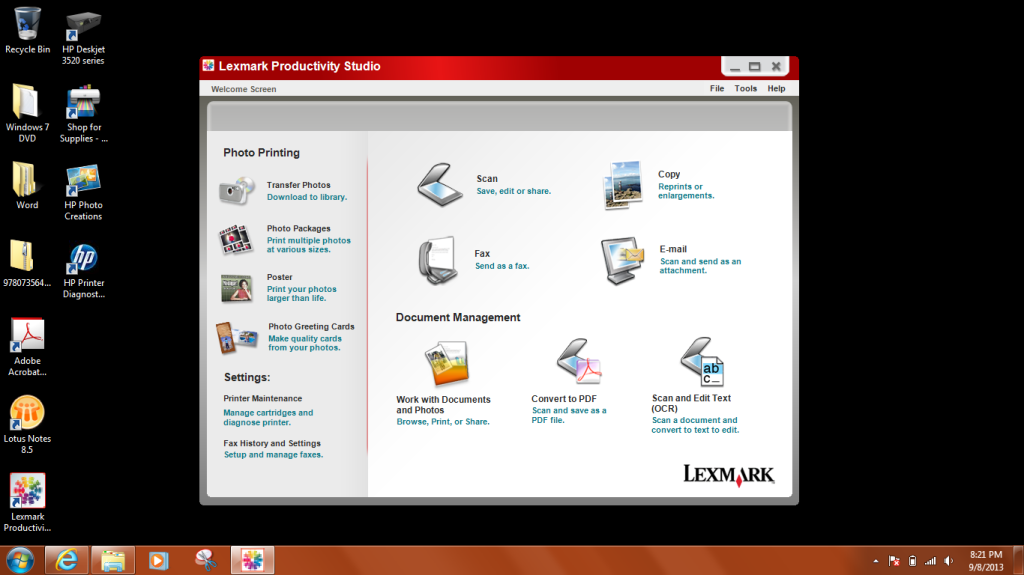
Selecting the Scan Option 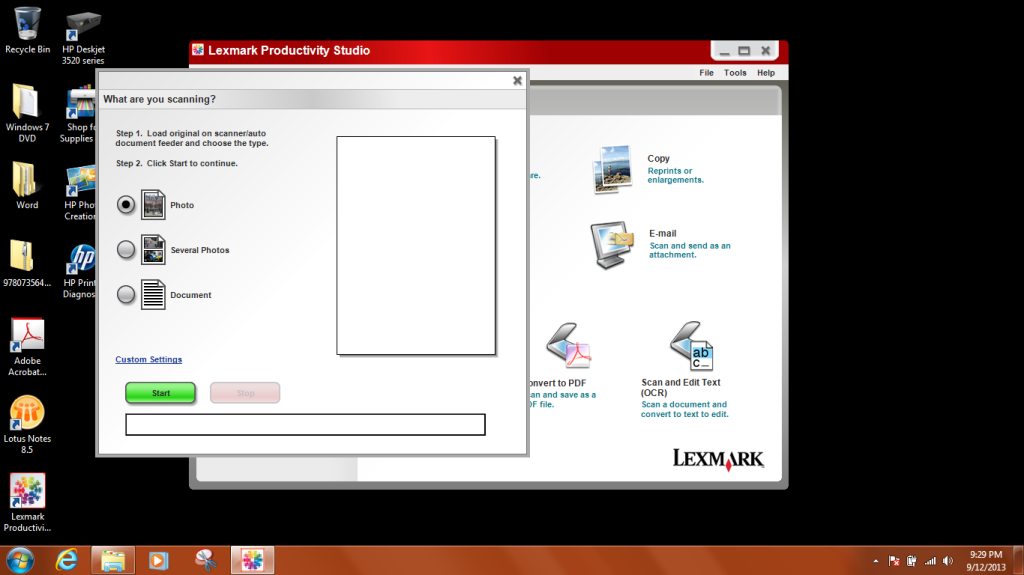
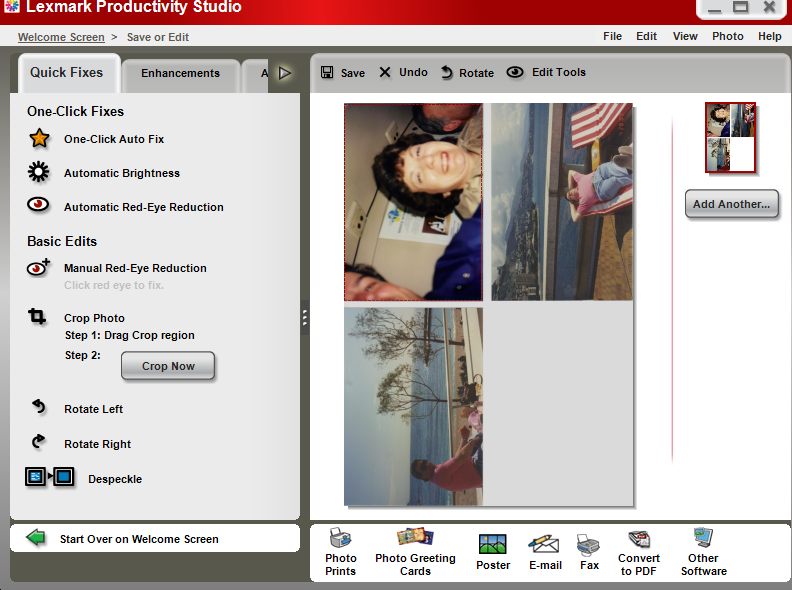
Select the Photo option. - Notice in the image below we have three photos that were scanned. At this point if you were to save the scan, it would include all three photos as one image. This is not what we want, so at this step we want to crop each individual 4 x 6 photo and save them individually. Yes, It requires scanning the same three images again but its goes pretty quickly once the photos are on the scanner. If I was to scan each one individually I’d still have to perform the crop and auto-fix so, it just makes more sense to place all three on the scanner right away. I’ve tried the multiple photo scan option in the Lexamrk Productivity Studio but couldn’t get this to work. Maybe someone out there can shed some light on this.
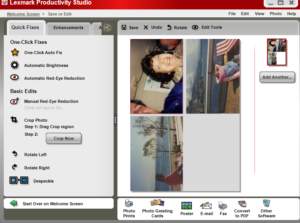
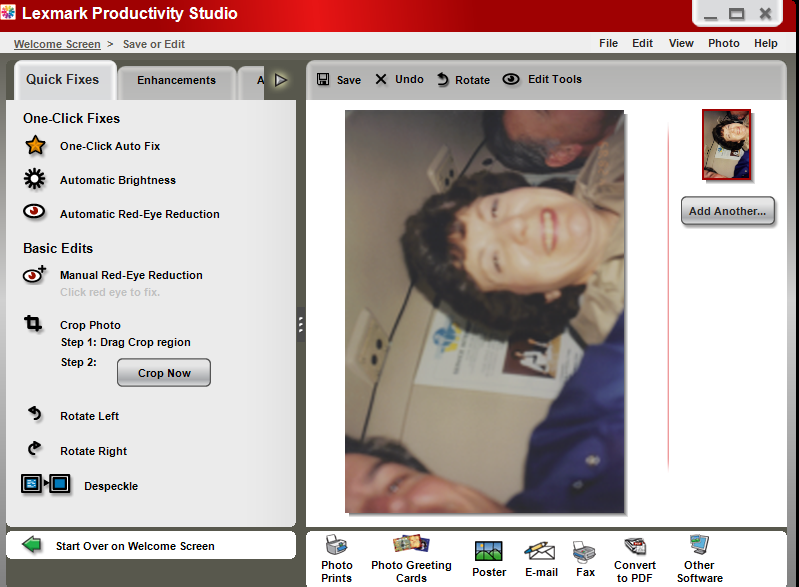
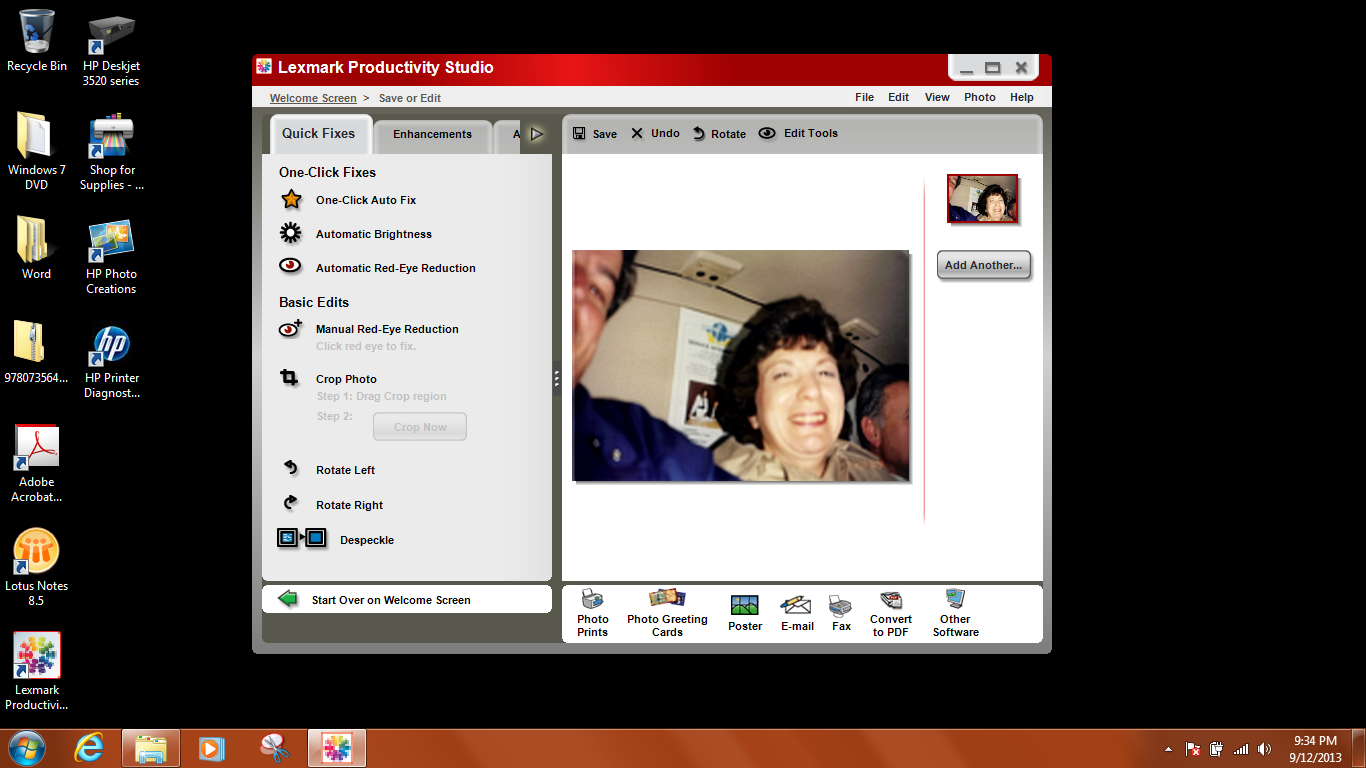
Crop each photo individually - Third, use the cropping tool and crop the first photo. In the image below we can see one image was cropped from the group of scanned photos. Now we are ready to work with the one photo. oh by the way that’s my mom an dad in Europe Hi Mom and Dad!!! 🙂
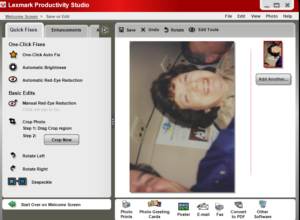
Cropping one photo from the scanned group - Fourth, Using the rotate button, you can change the orientation of the photo. Notice the option on the top! “One-Click Auto Fix” Click on this and you can immediately see the changes to the photo. The one I’m using in this example was a poor quality photo to begin with so the auto-fix only repairs the photo so much. Yes, I guess you could take the time to really analyze and fix the image even more at the point, but this project only requires I perform the One-Click Auto fix. I have a lot of images to do so I’m looking for the quickest way to get all 58 albums scanned first. A later project could dive into more detail and image correction. But for me, I’m a one-click auto fix kind of guy!!
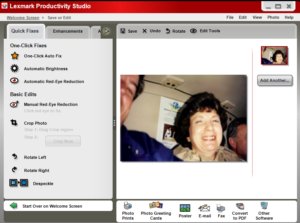
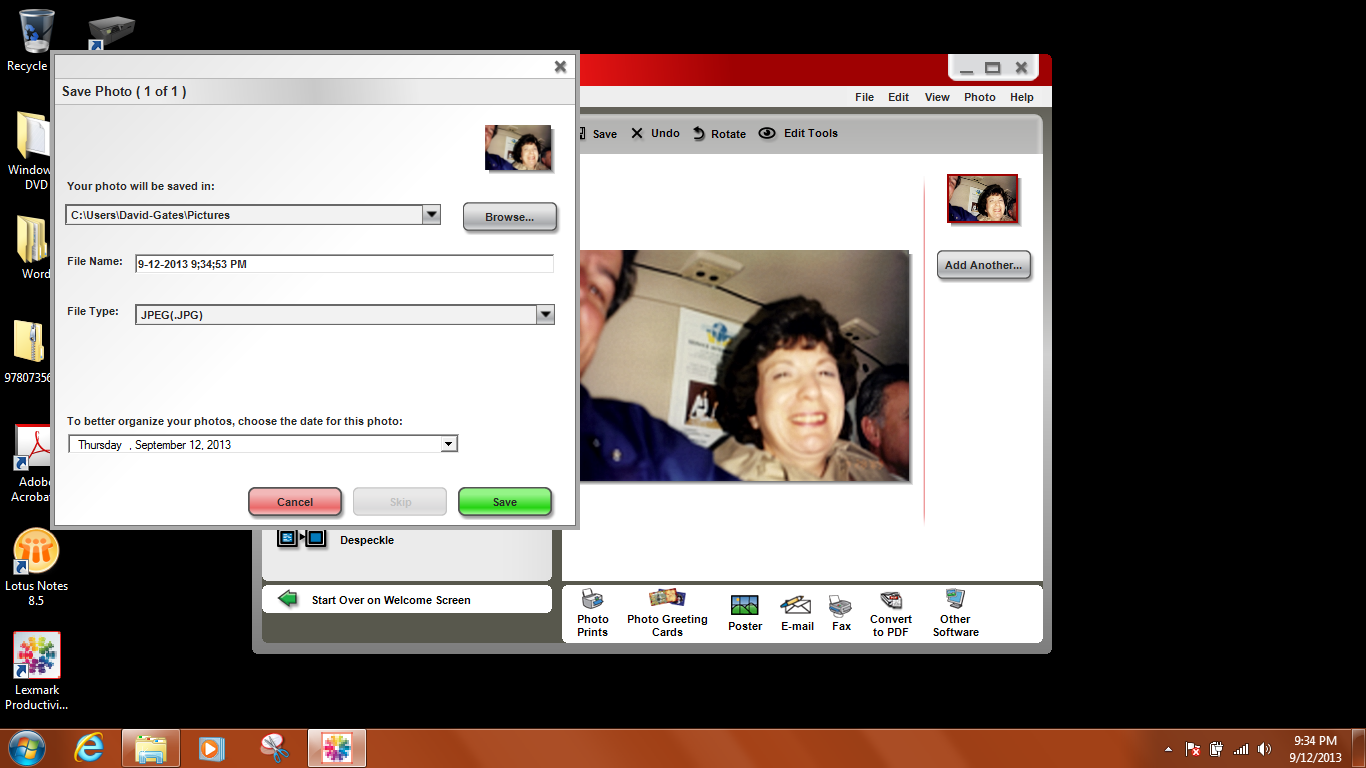
Fixing the individual photo - Once you have the photo rotated and fixed. Save the photo. For this project I’m just taking the default file name given by the Lexmark Productivity Studio. I’m also accepting the default “Pictures” Library location to save the image in Windows 7.

Saving the image and accepting the default image name and location - Navigate back to the main screen and repeat for each photo that is on the scanner. In this example we would repeat the scan two more times. 3 total photos that are on the scanner. Crop, rotate and auto-fix each image then save. This is where the rubber meets the road so to speak. This is the labor intensive part of the project. Remember this is an enjoyable project so there is no need to rush it. Grab a cup of your favorite beverage and scan away!
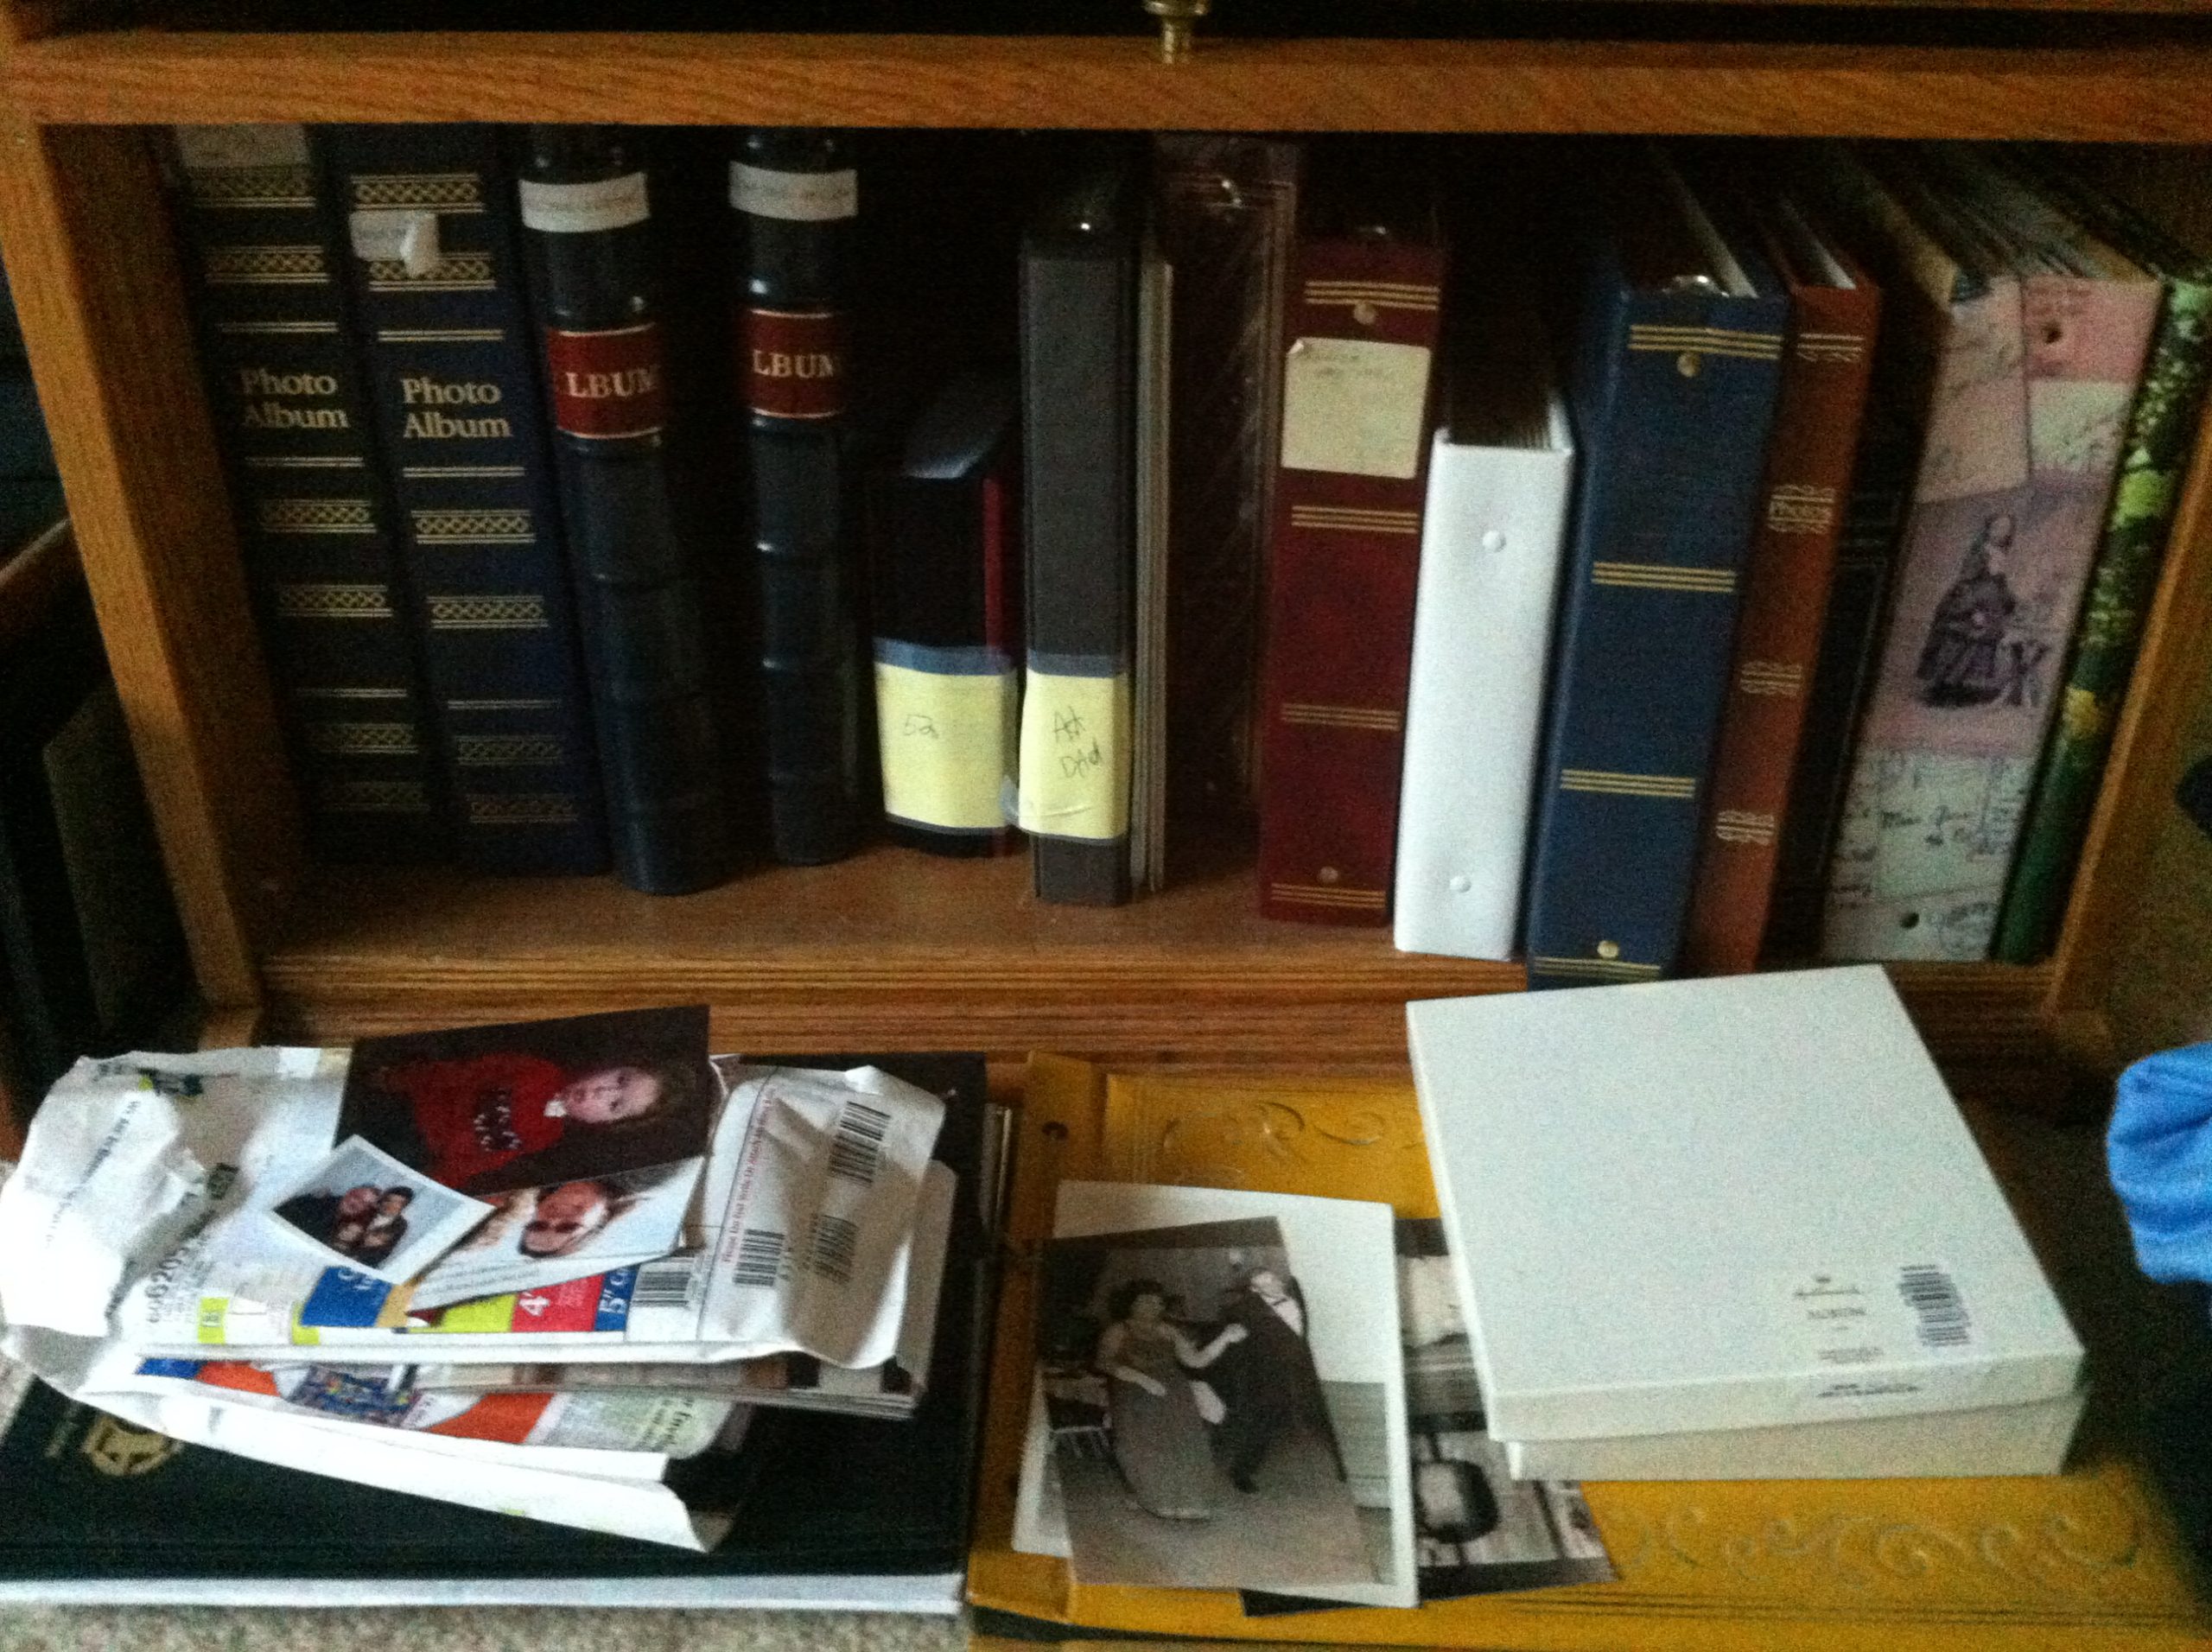
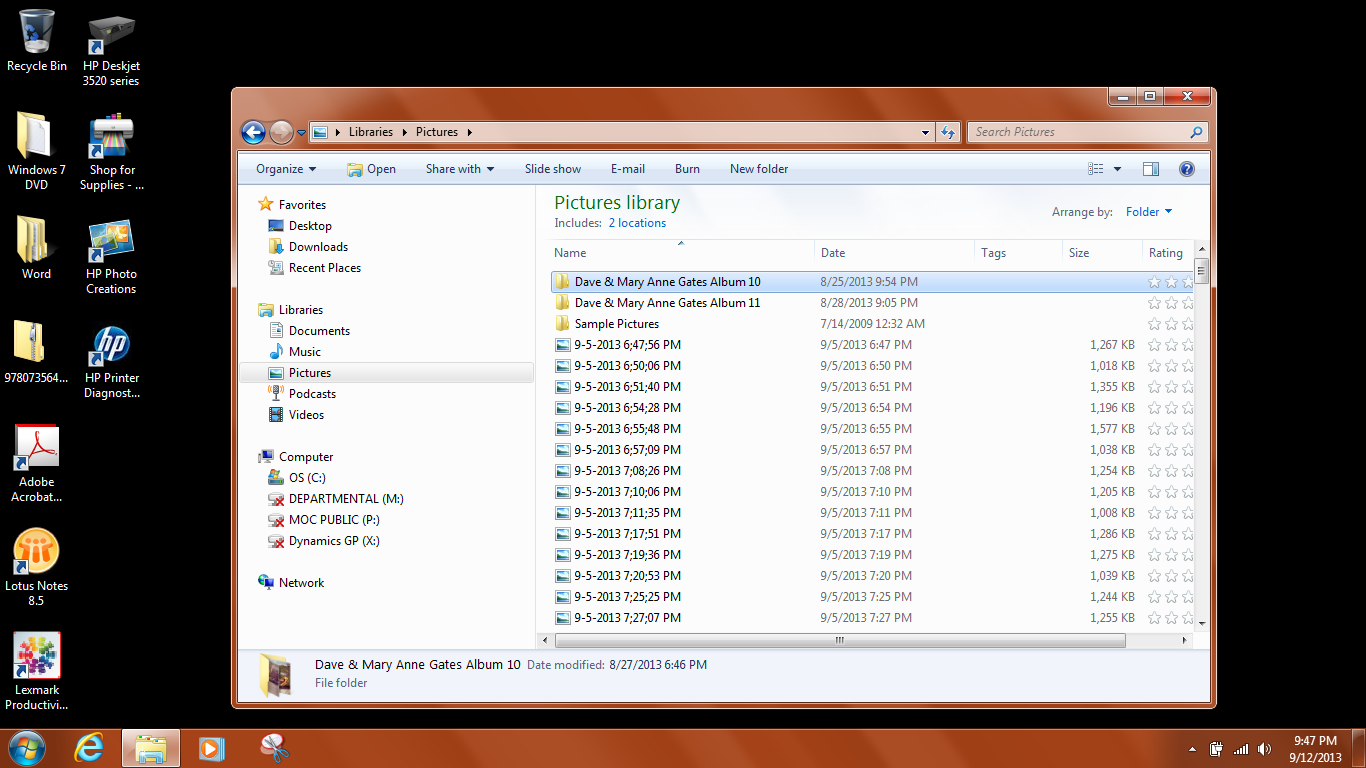
Ok, so now you have a complete album scanned and have some random number of images in your pictures library. Now what? you might be asking yourself this question. Now is the perfect time to rename the images. Here is what I have done. Before I explain how I rename the images I should explain that before I even started this project my mother and I took each album off the bookshelf and gave it a number. We labeled each album 1-58. So as I complete each album we add the letter “D” the album D1, D2, D3 and so on….. The reasoning is something like this. First, identify each album and assign it a number. Once an album has been scanned add a letter to the album number to indicate it has been completed. Now when you go back to visit the project you can easily identify which albums you have worked on and which ones you have not. Your completed albums will look like this “D1, D2, D3” and your unfinished or unscaned albums will look like this “1, 2, 3.” How’s that for some organization?
- First I create a new folder and name it “Dave & Mary Anne Gates Album xx” Yours may be different. I hope it’s different. That would be creepy if you name your albums after my parents.
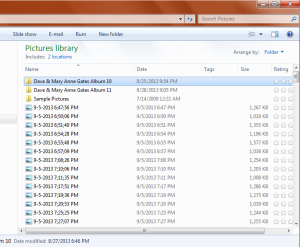
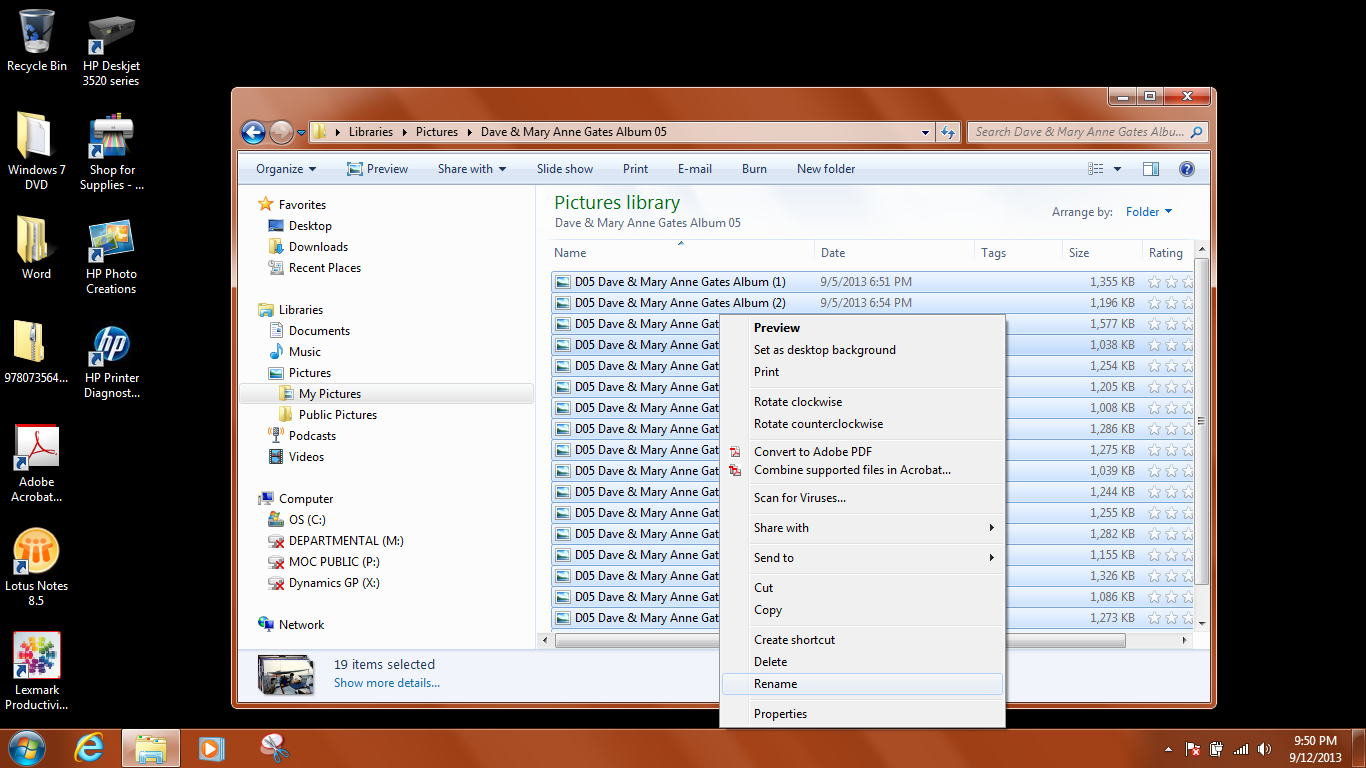
Creating separate folders for each album - Then I move all the images I scanned into the folder I just created and rename as shown below. In this example the name of the images is the number of the album for example D5 is album number 5 in the collection. This can be done in mass by selecting all the photos first, then right-click and select rename. Windows will rename each image and assign it a sequential number in parenthesis.
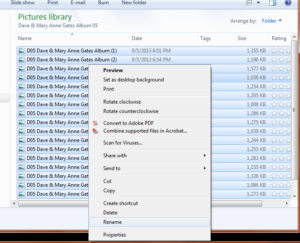
Rename all the images at once by selecting them all, right-click and select rename. - Once an entire album has been scanned and the images renamed it’s time to copy them to a USB flash dive and deliver to the customer, or in this case my mother and father. If you made it this far with your project then you don’t need me to show you how to copy to a flash drive.
That about sums up the complete system and process I created for this article series “How I digitized my family’s old photos.” I’m sure there are some unanswered questions out there, so please don’t be shy, ask away. To summarize this article, we discussed the system and process I’m using to scan each album. We also talked about how I crop each photo, auto-fix and save each image once they are on the computer. Lastly, I explained the naming standards I created and how we arrived at this standard. Stay tuned for Part 5 where we wrap up this series and offer some tips and suggestions. I hope you’ve enjoyed this series. I look forward to your comments and suggestions.
Thank you,
Dave
Related posts: