This is the thirtieth article in our tree house project. My plan this year (2019) is to complete the tree house for my son. Click here to start from the beginning of this exciting project.
The idea is to build a hexagon shaped tree house. This article discusses the hardwood floors.
Hardwood Floors
The goal for this part of the project is to install hardwood floors.
Prior to moving into our house, I had hardwood floors installed in my home office. The contractor hired for this job had several left over pieces. These have been sitting in the garage for 9 years.
When my parents were living in Johnsburg, they also had the hardwood floors replaced in their house. The contractor hired for this job also left several pieces of oak flooring.
Put it all together and suddenly, I had enough flooring to use for this project. Installing hardwood floors in the tree house became the perfect place to use these left over boards.
Installing the Floors
Installing the floors was a relatively easy job. The time consuming part was figuring out when to work on it between all the rain we had this year.
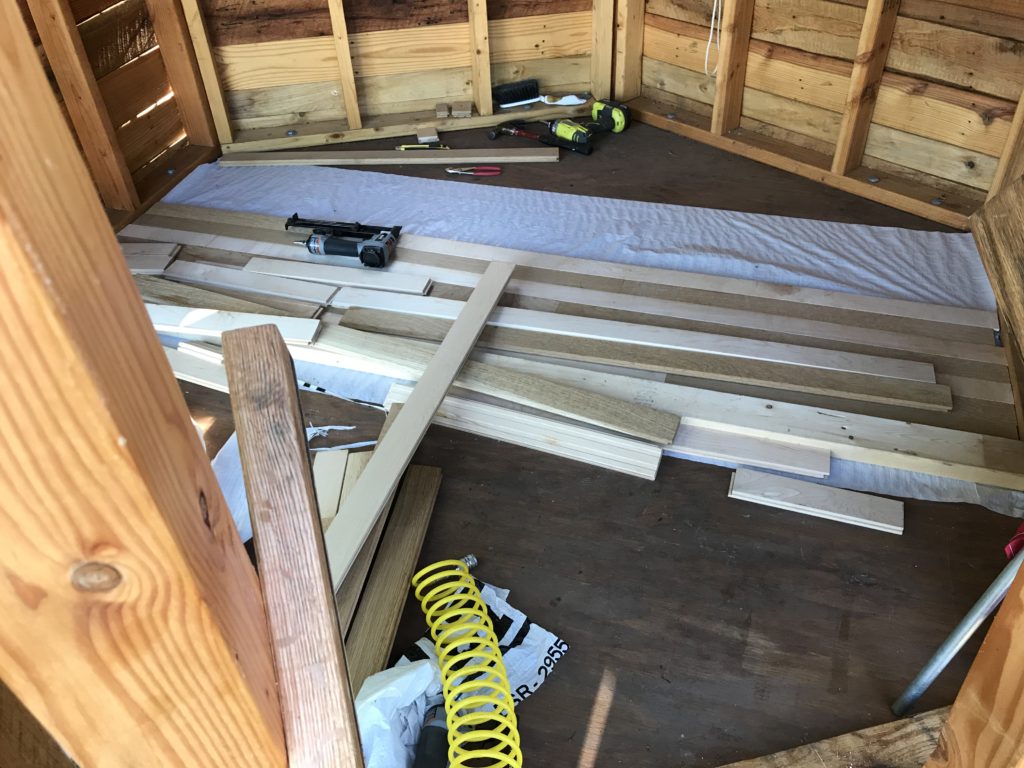
I used a braid nailer, which is why you see the curly hose and nail gun in the image below. There is also house wrap under the hardwood floors as a moisture barrier.
Towards the ends or walls it wasn’t possible to get the nail gun close enough. I ended up securing the final bards with finishing nails and hammer. I used a nail set to ensure the nails didn’t stick out.
Since the front two sides are open and exposed to the elements, the floor gets wet when it rains. Even after raining I had to wait for the floor to dry out so the entire process took longer, but not because of the work, its just the weather not cooperating.
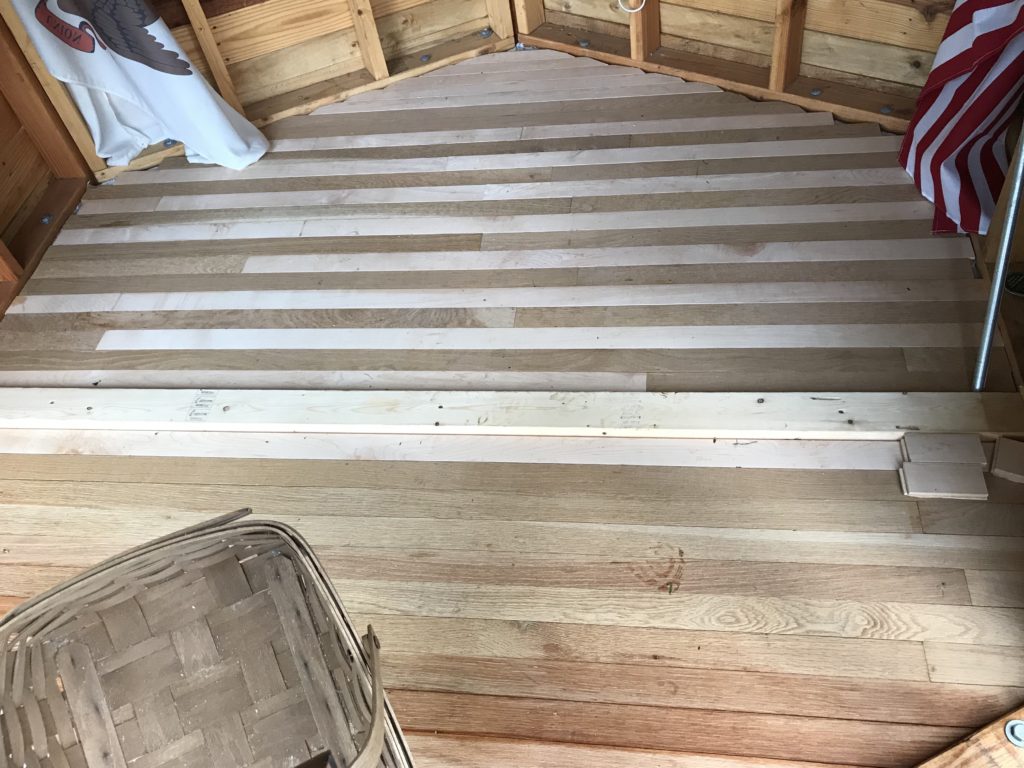
When I initially had all the boards together it looked like enough for the job. Turns out I was short in one corner about 6 boards. This is the lighter color boards you see towards the stair and slide entrance.
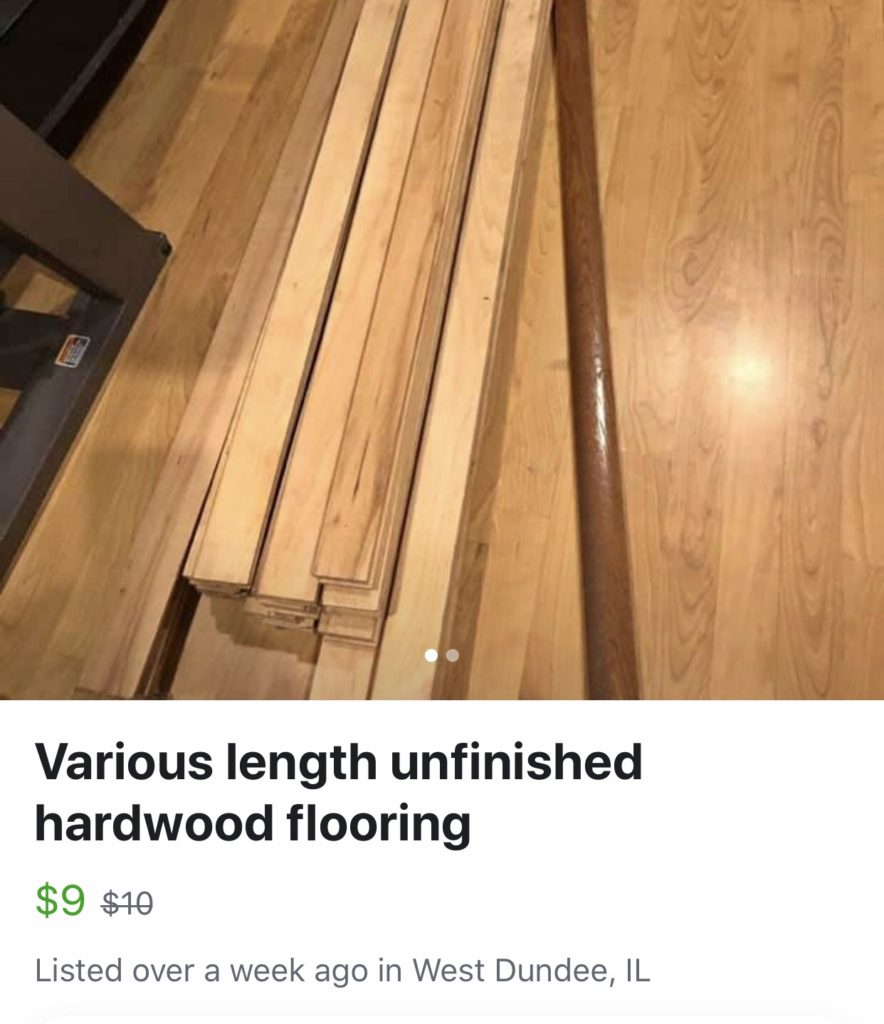
The goal was to have the darker oak bards fill this entire side. Needless to say I didn’t have enough. I went online and found someone selling miscellaneous pieces so I ended up purchasing these to finish the job. Now I have more than I need.
You’ll notice the 2×4 towards the middle of the floor. I will eventually enclose one section and wanted to have this is place. I’m enjoying the open floor plan, so I’m in no hurry at this point to build the dividing wall and door. Besides the boards I’m planning on using still need to be cut trimmed and sanded.
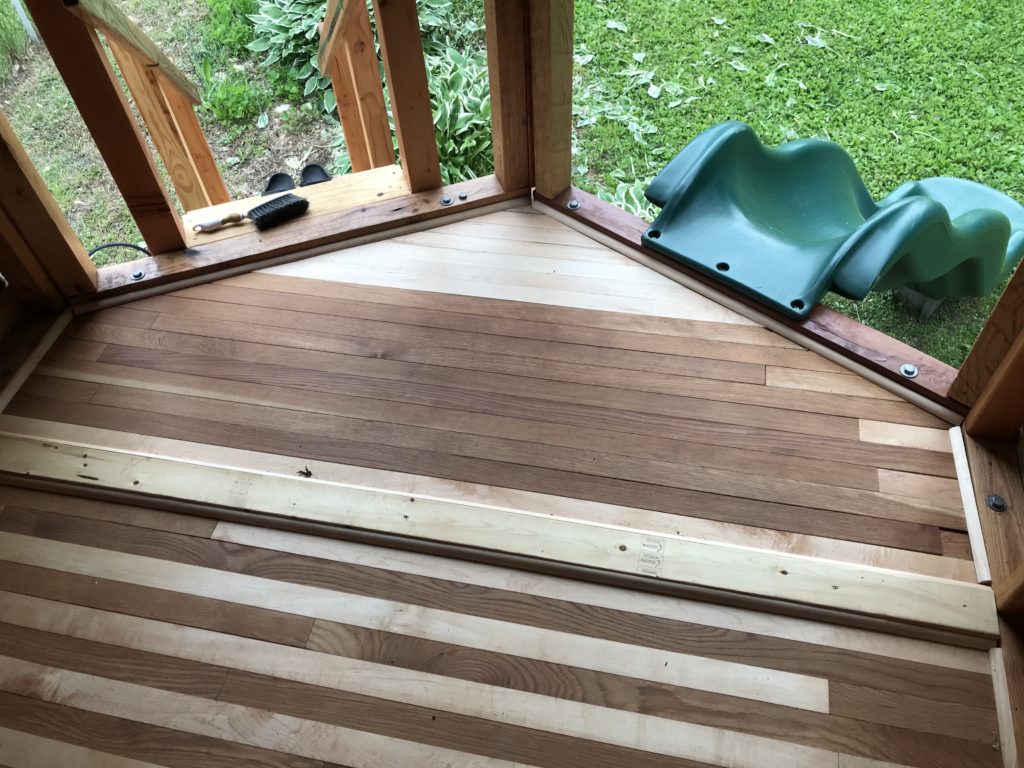
I’m still using EarthPaint Rainforest sealer and have one coat on the floor so far. I’d like to get a few more coats on the exposed sided since this gets wet more often when it rains.
That about wraps it up for the hardwood floors. Onto the next part.
Materials
- 3/4 inch popular hardwood flooring, left over from home office remodel. Free
- 3/4 inch oak hardwood flooring, left over from Johnsburg home remodel. Free
- 1/2 inch pine quarter round to finish up the edges.
- Partial roll of house wrap, left over from home office remodel.
- Braid nails, I didn’t count how many i used.
- Braid nails to secure the boards to the floor.
- Lots labor and working on my knees, ouch!!
Notes to self
I wasn’t able to complete the job until several weeks later when I found someone selling miscellaneous boards online. I ended up buying these to complete the job. There was a long break between when I started this and when it was finally completed.
Cost
$9.00 from a seller online for a few extra pieces to complete the job.

Updates
May 2019
I have the following items that still need to be done.
- I need to build / purchase and install a copula.
- I need to write an article about securing the slide to the wall frame. Spring/Summer 2019
- I need to plan and build the interior walls. Summer 2019
- I need to write an article about the screen windows made and installed. Summer 2019
What can you do?
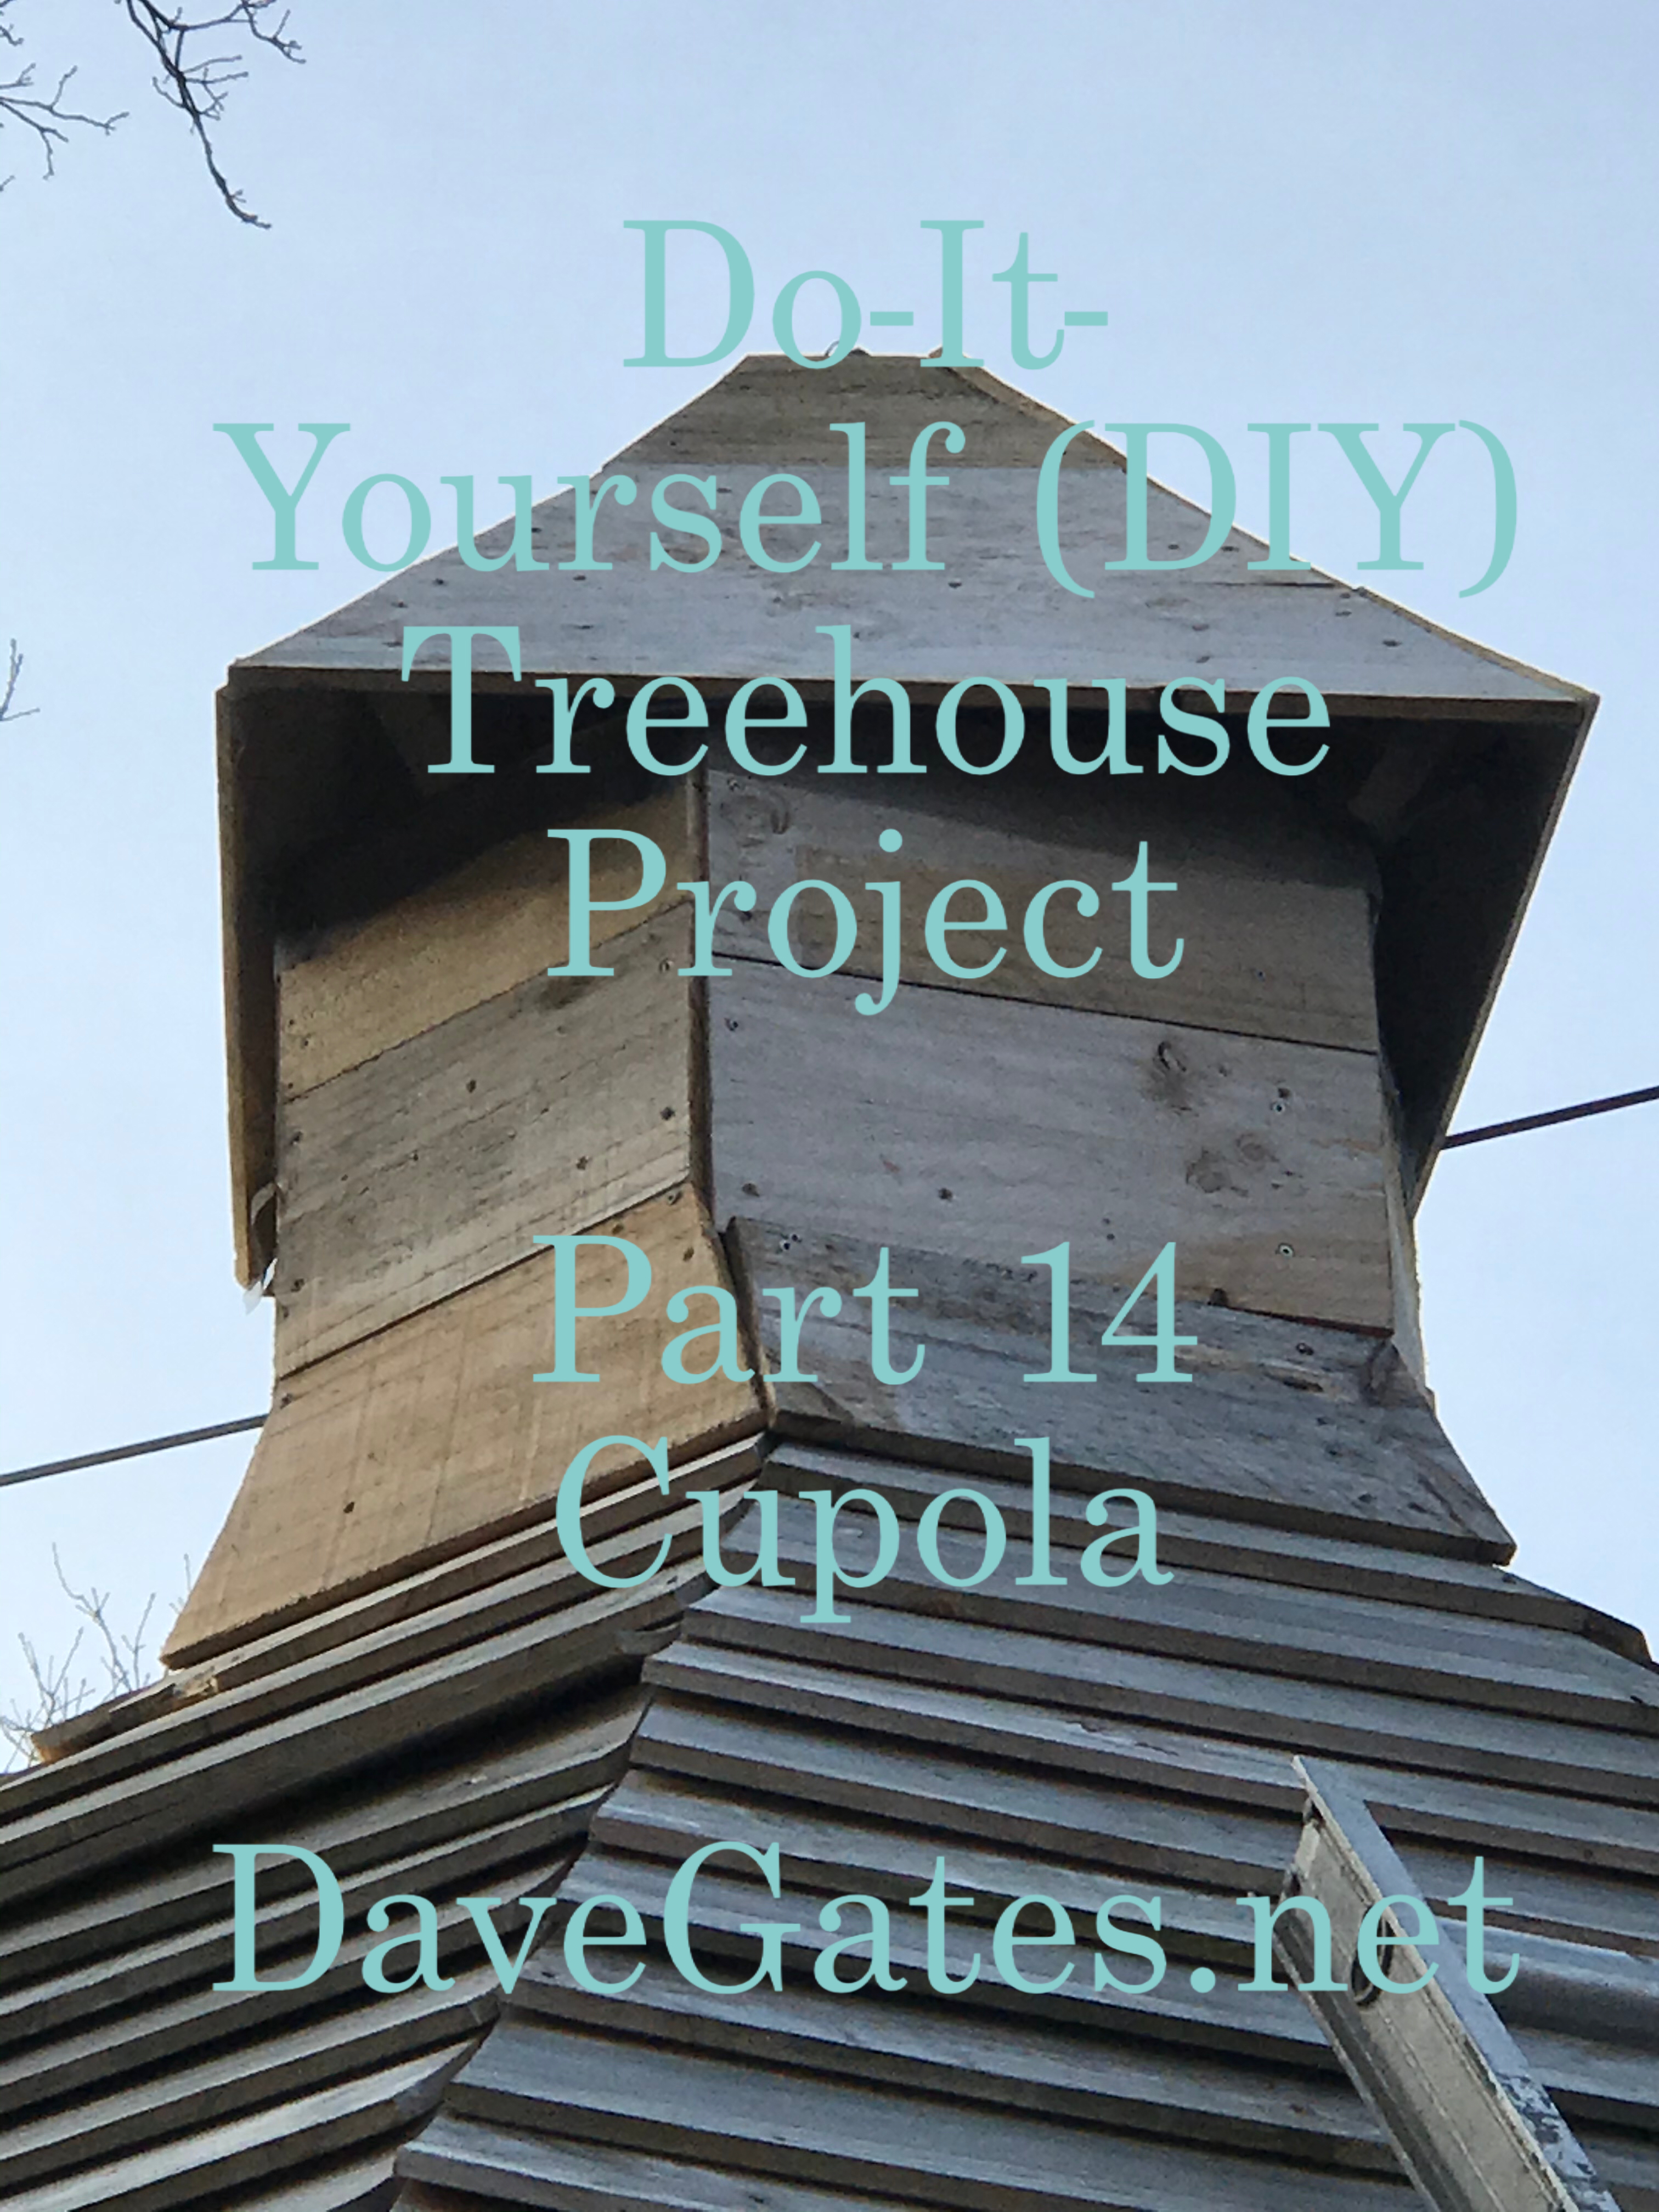
- Part Fourteen
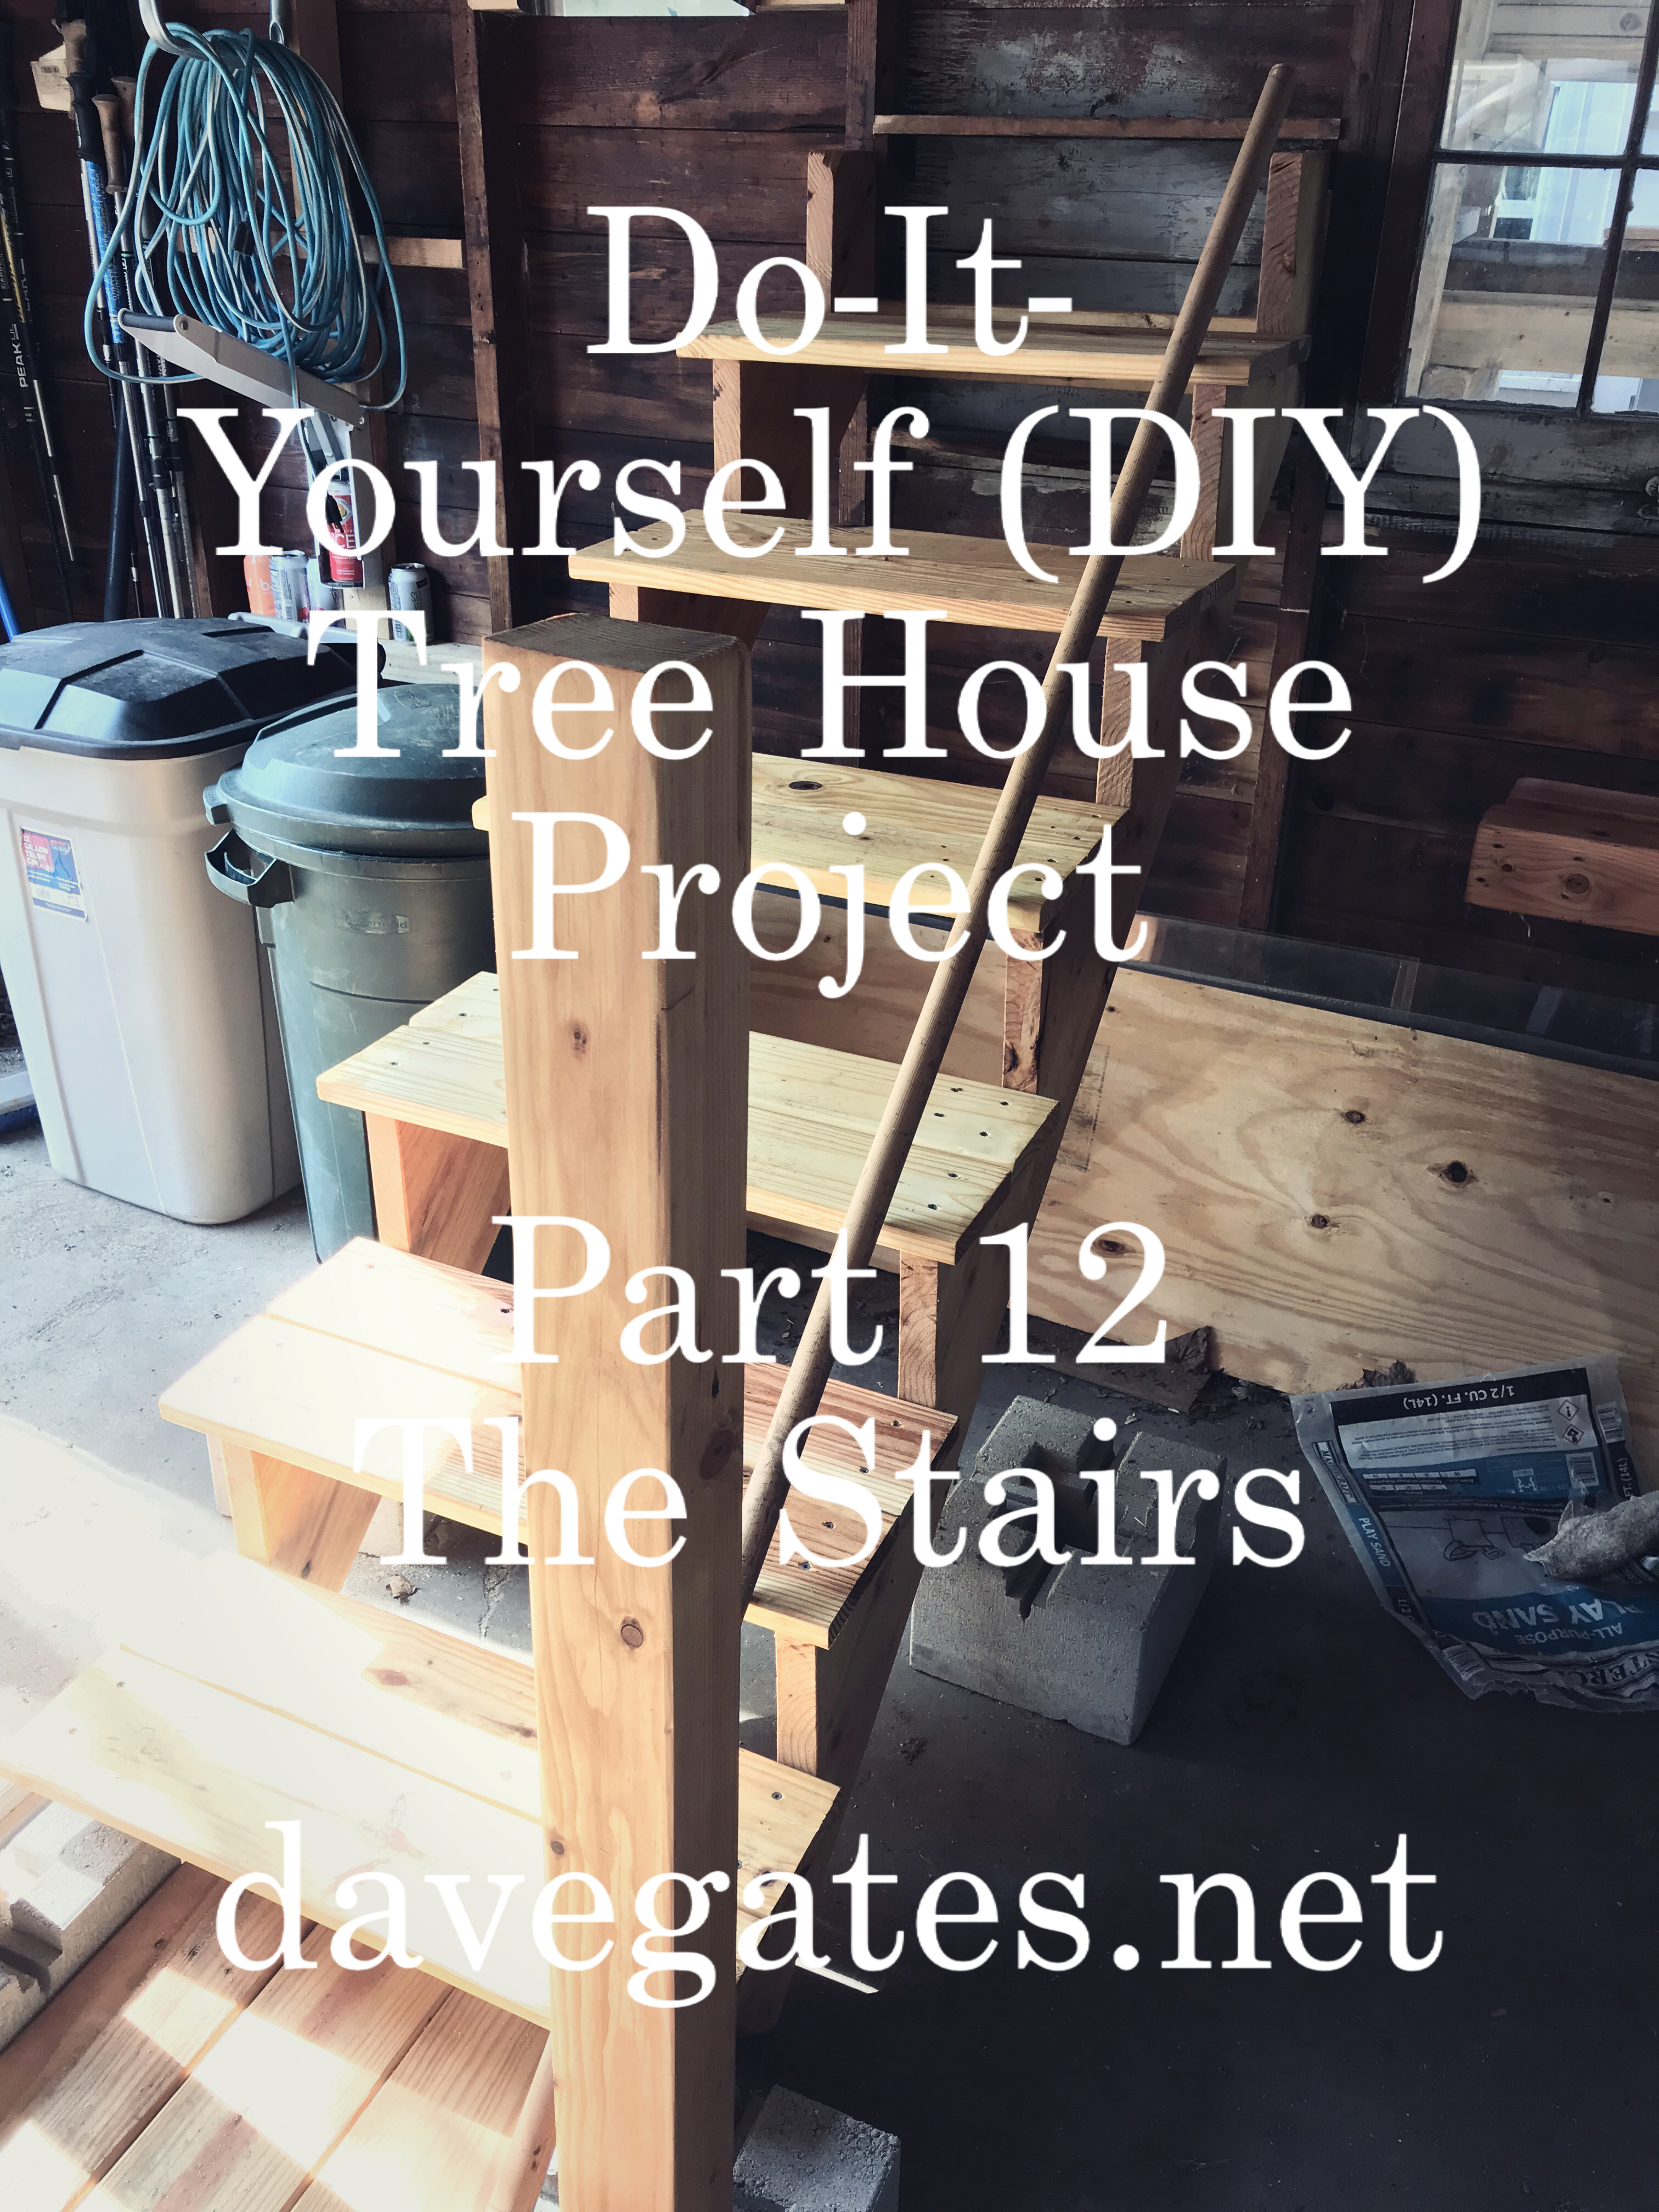
- Part Twelve
- Comment below, Even if it is just to check in and say Hello. I look forward to hearing from you.
- Share this article with your family and friends.
- Sign up for our newsletter.
Like me on Facebook, follow me on Twitter, pin me on Pinterest, or watch me on Instagram.
Thank you,
Dave