This is the twelfth article in our tree house project. My plan this year (2019) is to complete the tree house. Click here to start from the beginning of this multi-year project.
The idea is to build a hexagon shaped tree house. This article discusses how I built the stairs.
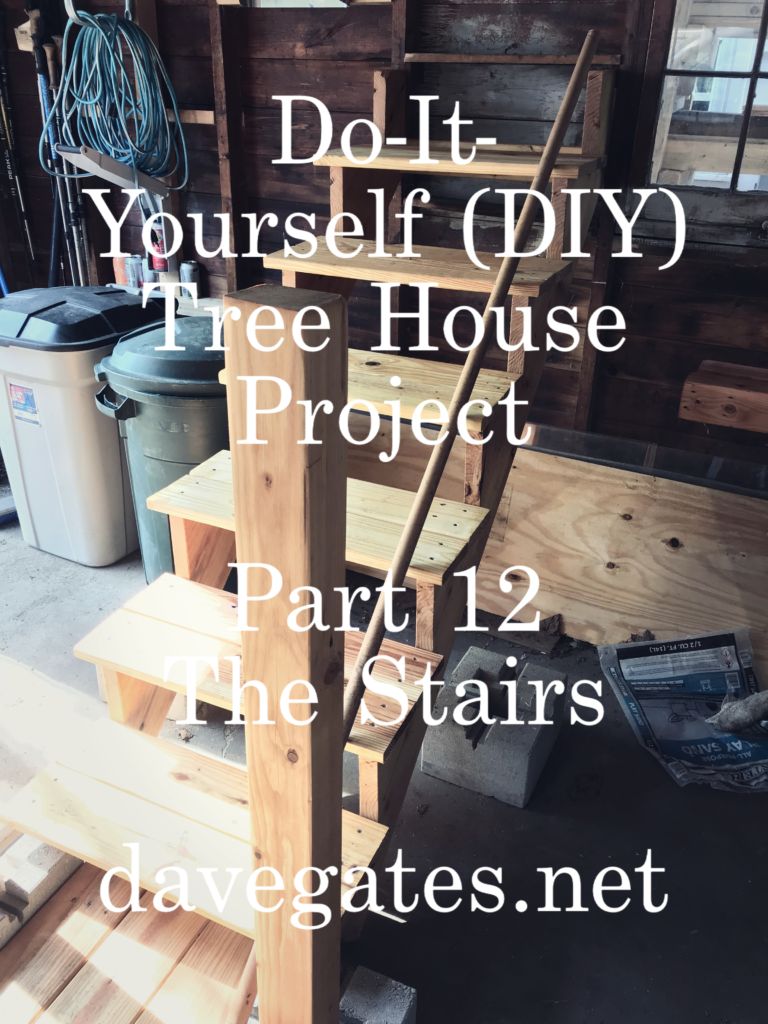
The Stairs
The goal for this part of the project is to build a staircase.
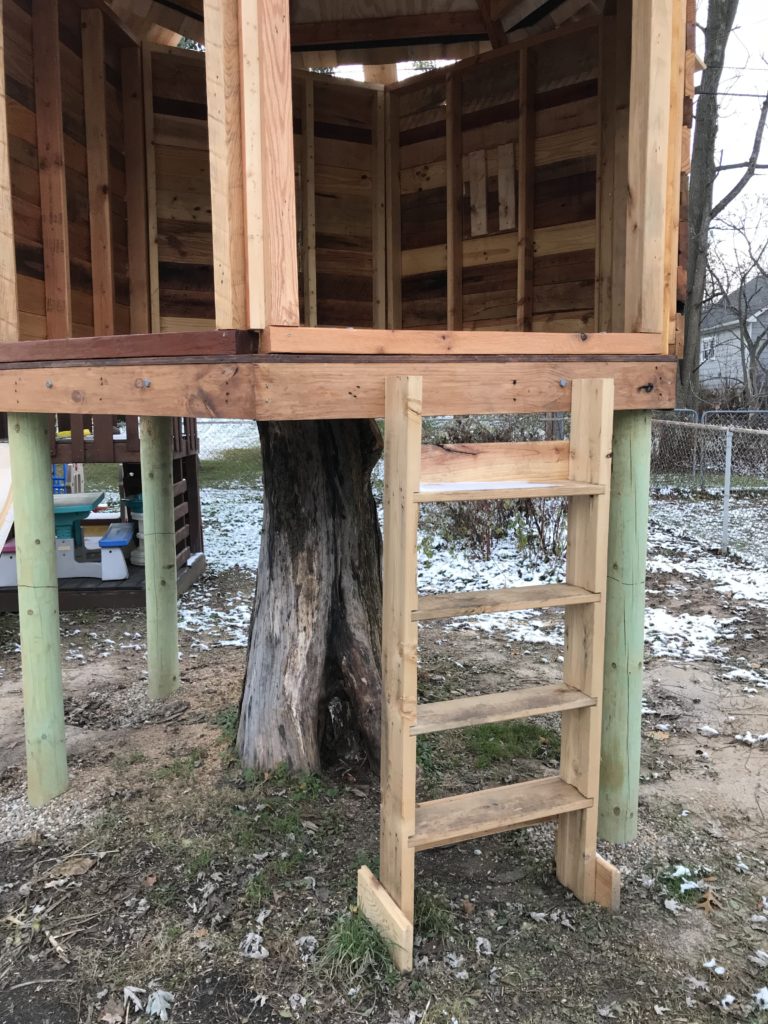
During construction day, we needed a way to get onto the platform. I made a simple latter to make it easier to up and down. The treehouse is five feet off the ground, so having an easy way to get up and down to work on it was necessary. See Image below.
I never sanded or stained this temporary latter, as I knew I was going to replace it with a more secure staircase.
Building the Stairs
I needed to study up on building stringers. These are the two boards you see on either side of the stair treads. I had no idea how to make these and just by looking at them I was apprehensive about figuring out how best to go about it.
The challenge for this project was using lumber I already had. Most stringers are planned out and measured first given the height and distance to arrive at the length stringers you need.
I used a backwards approach. Since my 2 x 12 were five feet in length I needed to calculate my figures from this number. The boards I’m using were discarded from pallets and were already 5ft in length, which meant I needed to use the sizes I had.
My thoughts were that I’d be able to make adjustments at the foot of the stairs. This turned out to be the case and worked out fine. This was a case of using what you have to make it work.
Stringers
(2) 2×12 boards 5ft in length
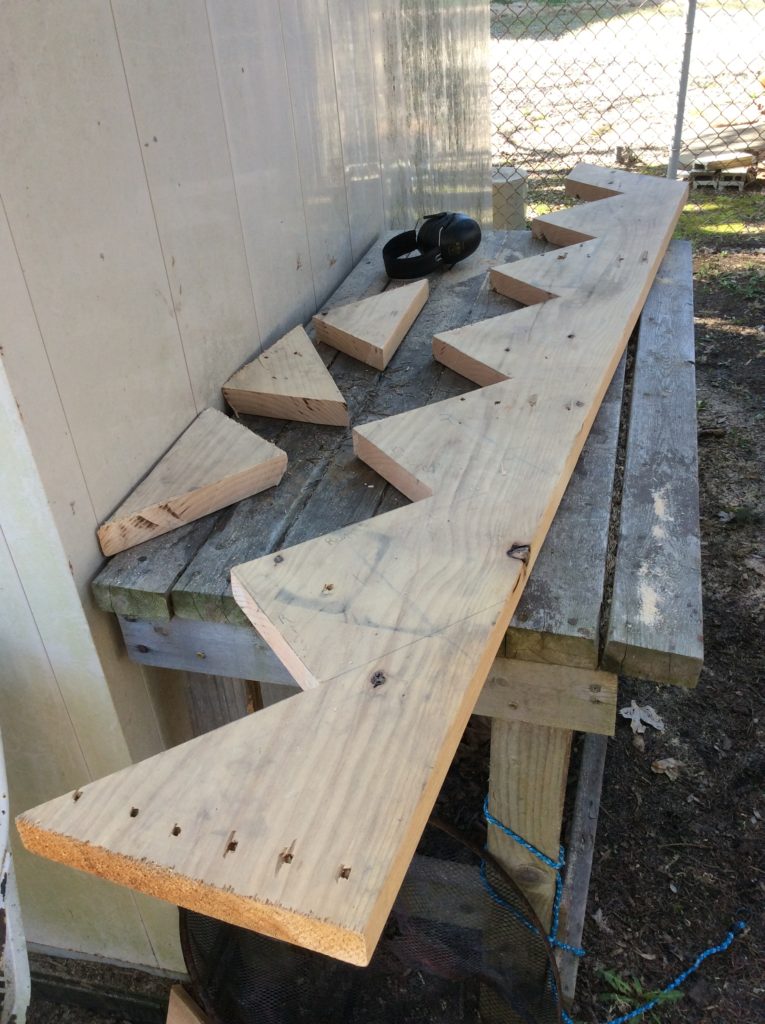
I calculated 8 x 10 for my stringers as indicated by hand writing shown in the pictures. There were two reason for this.

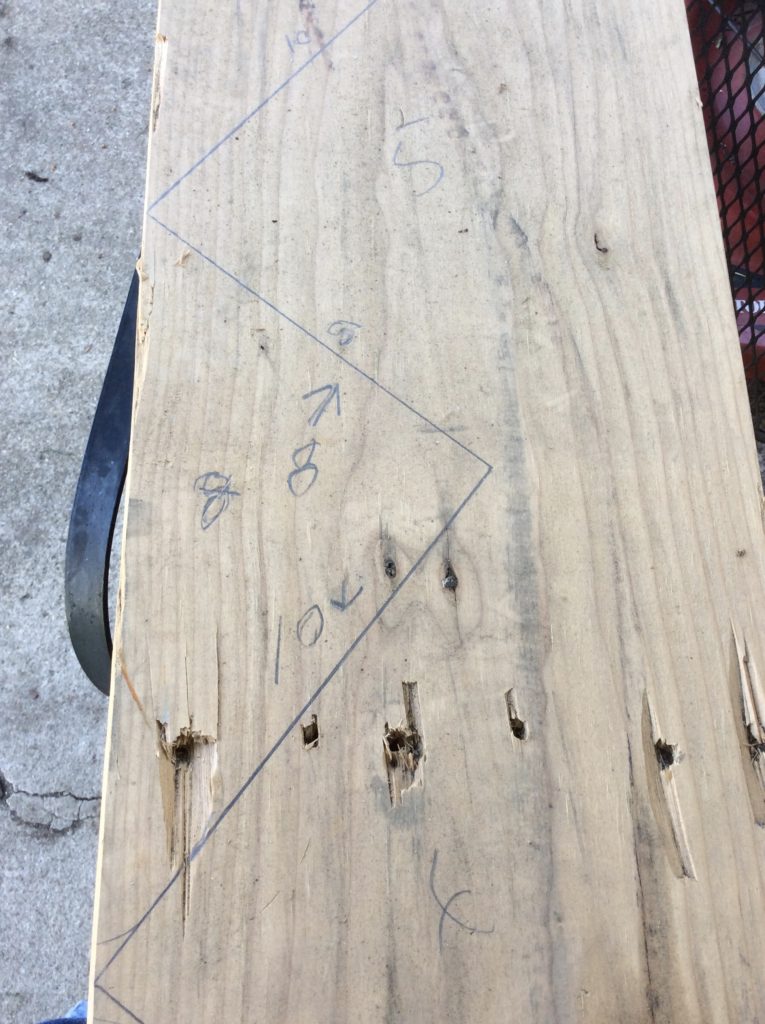
One, I knew I wanted to use the 1×6 boards I had for treads. Using the 10 inches allowed me to use two 1×6 boards for the treads.
Second, after researching stair heigh, most code requirements specify 8 inches as the maximum for comfortable stair tread height. Once I had these two measurements, I settled on stringers 8 x 10.
I made all my measurements on one board and then made all my cuts. Once this was done it was easy to transfer the template to the other board and make the cuts for the second stringer.
After both were cut, I sanded them to remove the rough edges and to clean up the board surface.
Both stringers were also stained with EarthPaint Rainforest Sealer.
Treads
The treads are 1×6 boards, as mentioned before we are using 10 inches as our tread depth. This allowed us to have little overhang after compensating for the space in-between the boards.
I liked the design of having the treads hang over the stringers a little, so 10 of them are 26 inches in length. Three are 24 in length. The top tread and middle treads need to be shorter to compensate for butting up against the 4×4 post.
(10) 26 inch length treads
(3) 24 inch length treads
All stair treads were measured cut, sanded and stained. I did this in a hurry and never took pictures of this labor intensive process.
Bottom Step
Since my stringers weren’t long enough to build all the way to ground level, I need to build a step at the bottom of the staircase.
I started by setting up the staircase in my garage to get a visual of how this was going to work. See image below.

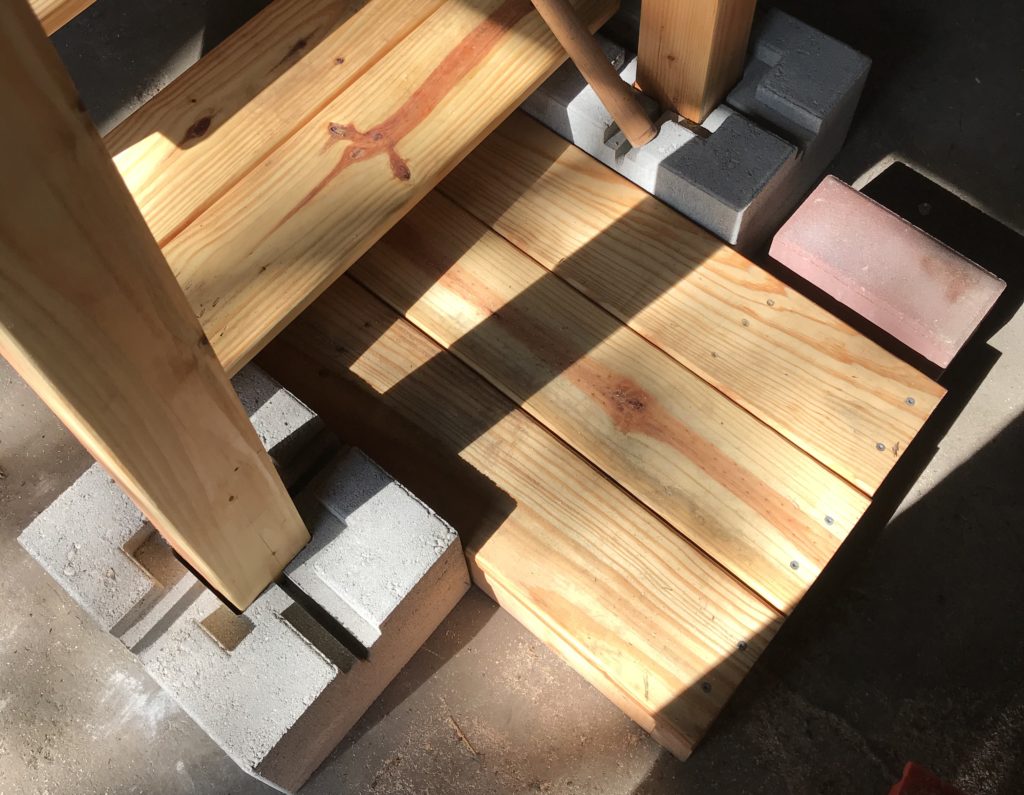
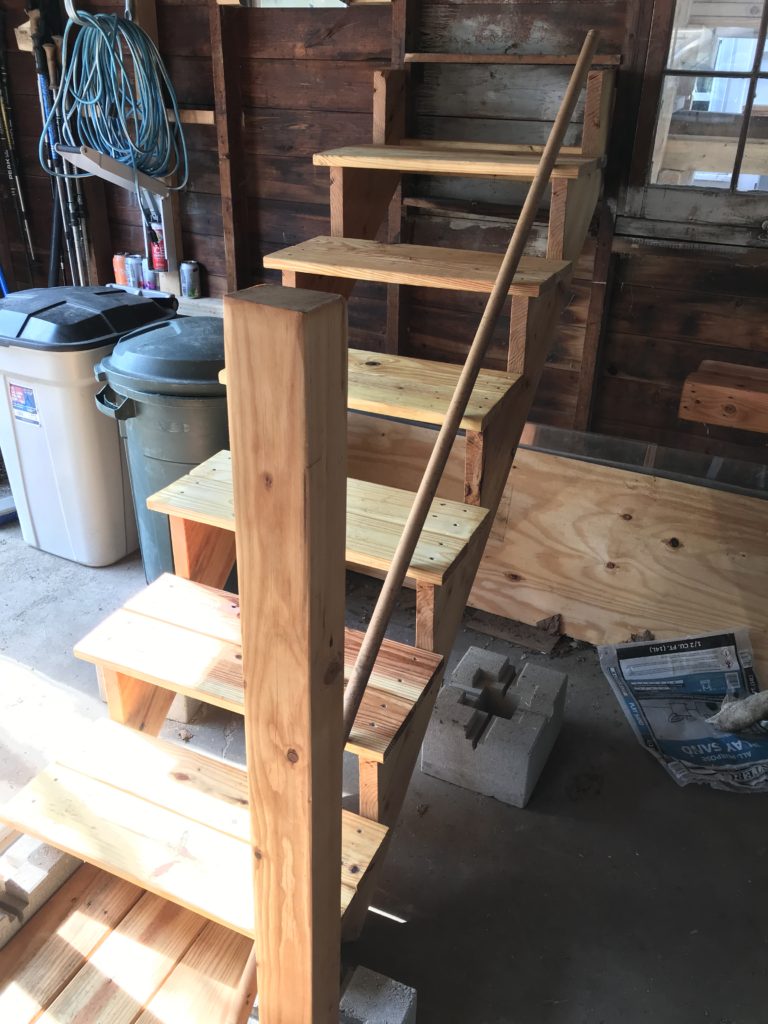
Initially the step was suppose to be turned the other other way to match the stair treads. But after purchasing the concrete post holders realized I was not able to get he post aligned with the other post. I ended up turning the step which is what yo see above.
The bottom step is three 1×6 boards cuts, sanded and stained. With 2×4 farming to hold it all together.
Once I had a good idea how it was going to work I moved the step to the job site and placed it on blocks to hold it in place.
Stair Frame Pieces
I need a way to hold the stringers together and to the mail structure. I ended up using a few 2×4’s to to do this. There are two pieces at the top which hold the stringers in to the treehouse structure and one was used at the base of the stringers to hold them together.
(3) 20 inch 2 x 4’s to hold the stringers together.
All three pieces were measured, cut, sanded and stained.
Railing
I actually went to the store and purchased pressure treated deck hand railing with stainless steal hardware. However, after bring this home and noticing how far out it was going to stick out, decided it was not necessary and returned it all.
I had several 8ft solid oak 1×3 boards that could be cleaned up and secured directly to the post. This turned out to fit great and did not stick out into the walkway as the railing and hardware would have.
Here is a case were I was just overthinking it, I used need to keep it simple and that was the best option.
The railing is two 8ft solid oak boards reclaimed from discarded pallets. These did require a lot of sanding as they were in pretty ruff shape.
Once they were cut sanded and stained, it was just a matter of aligning them and securing them to the 4×4 post. Since they are solid oak and I did not want them to split when I used the decking screws, I pre-drilled pilot holes first which worked out well. The screws went in easy and the boards did not crack or split.
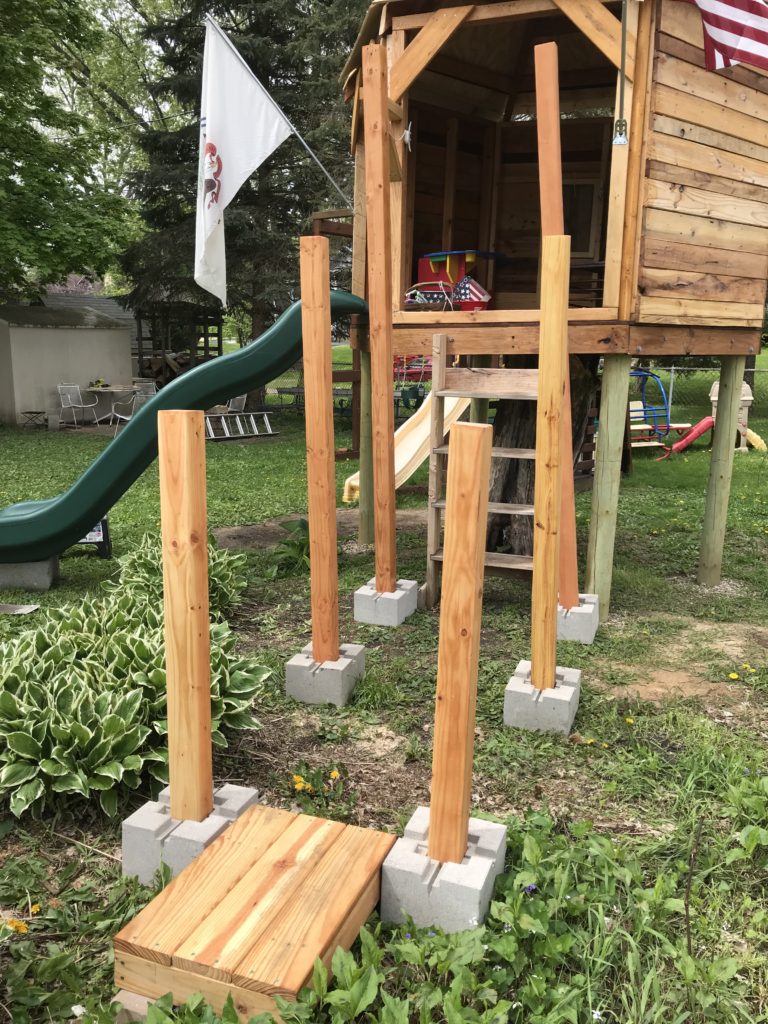
Post
All six post are reclaimed 4×4 boards from discarded pallets. They were all cut sanded and stained. While roaming my local Menards, discoed the concrete post blocks. I was not looking forward to digging holies and pouring concrete again so when I found these I was delighted.
They are already pre-formed to fit 4×4 or 6×6 post. This made the job of placing and setting the post really easy.
The tallest post are 9ft, The middle post are 6ft and the bottom post are 4ft. All were cut, sanded and stained. All of the boards looked really good once stained. They have a nice red color which looks great.
Materials
- (2) 5ft stringers are made from reclaimed 2×12 of discarded pallets. Free
- (10) 26 inch long stair treads are 1×6 also reclaimed from discarded pallets. Free
- (3) 24 inches 1×6 boards for the base step. Free
- (2) 4ft post are reclaimed 4×4 boards from discarded pallets. Free
- (2) 6ft post are reclaimed 4×4 boards from discarded pallets. Free
- (2) 9ft post are reclaimed 4×4 boards from discarded pallets. Free
- (2) 8ft oak 1×3 boards from discarded pallets. Free
- (6) 4×4/6×6 concrete blocks
- 6ft of 2 x 4 for the step frame.
- (8) Miscellaneous bolts to hold the post to the stringers. Free
- Earth friendly EarthPaint Rainforest Sealer.
- 1 1/4 Decking Spax screws.
Cost
I need to dig up my receipts. I inherited my fathers 25+ year old belt sander. Which I’ve been using for this project with great results.
While I was sanding the boards for this part of the project it finally died and I was forced to buy another one. So I guess I add in the cost of a new belt sander to the project.
$10.93 Spax desk screws
$54.00 New Sanders
$5.97 Sandpaper
Total: $70.90
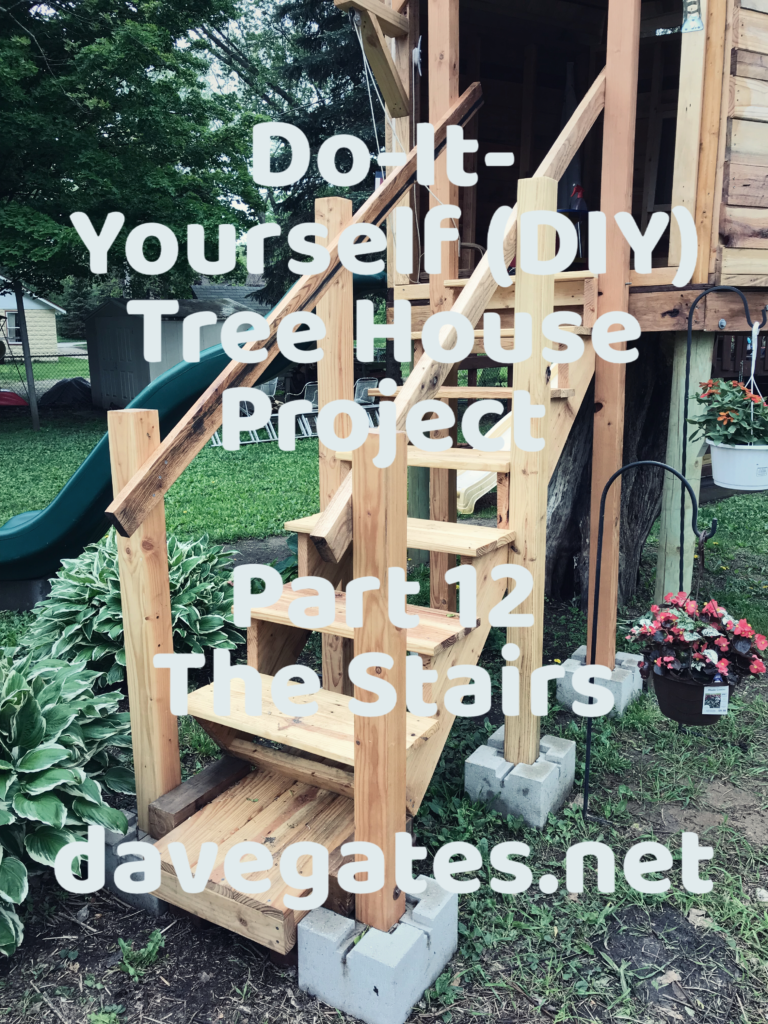
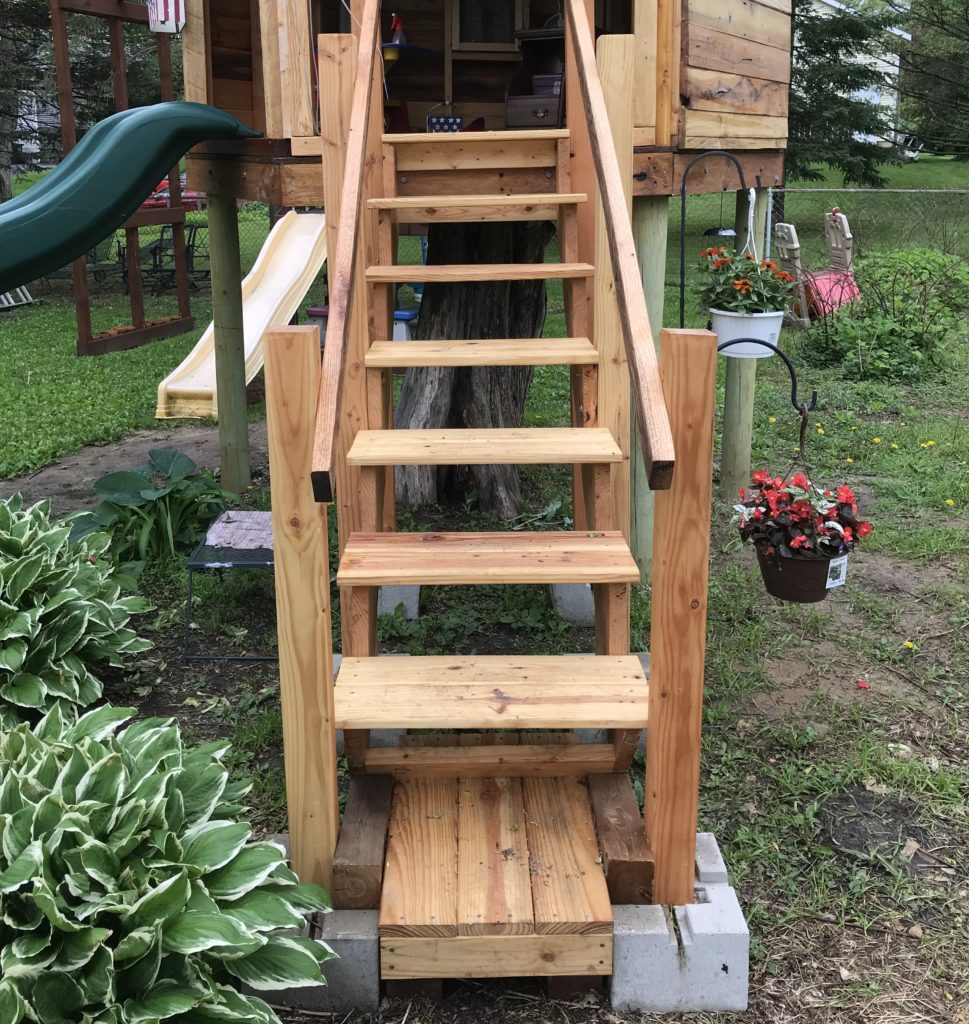
Finished Staircase

Updates
May 2019
I have the following items that still need to be done.
- I need to build and install the copula
- I need to install hardwood flooring.
- I need to write an article about securing the slide to the wall frame.
- I need to plan and build the interior walls and door.
- I need to write an article about the screen windows.
- And finally we can accessorize this place.
What can you do?
- Part thirteen
- Part eleven
- Comment below, Even if it is just to check in and say Hello. I look forward to hearing from you.
- Share this article with your family and friends.
- Sign up for our newsletter.
Like me on Facebook, follow me on Twitter, pin me on Pinterest, or watch me on Instagram.
Thank you,
Dave