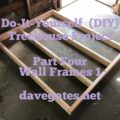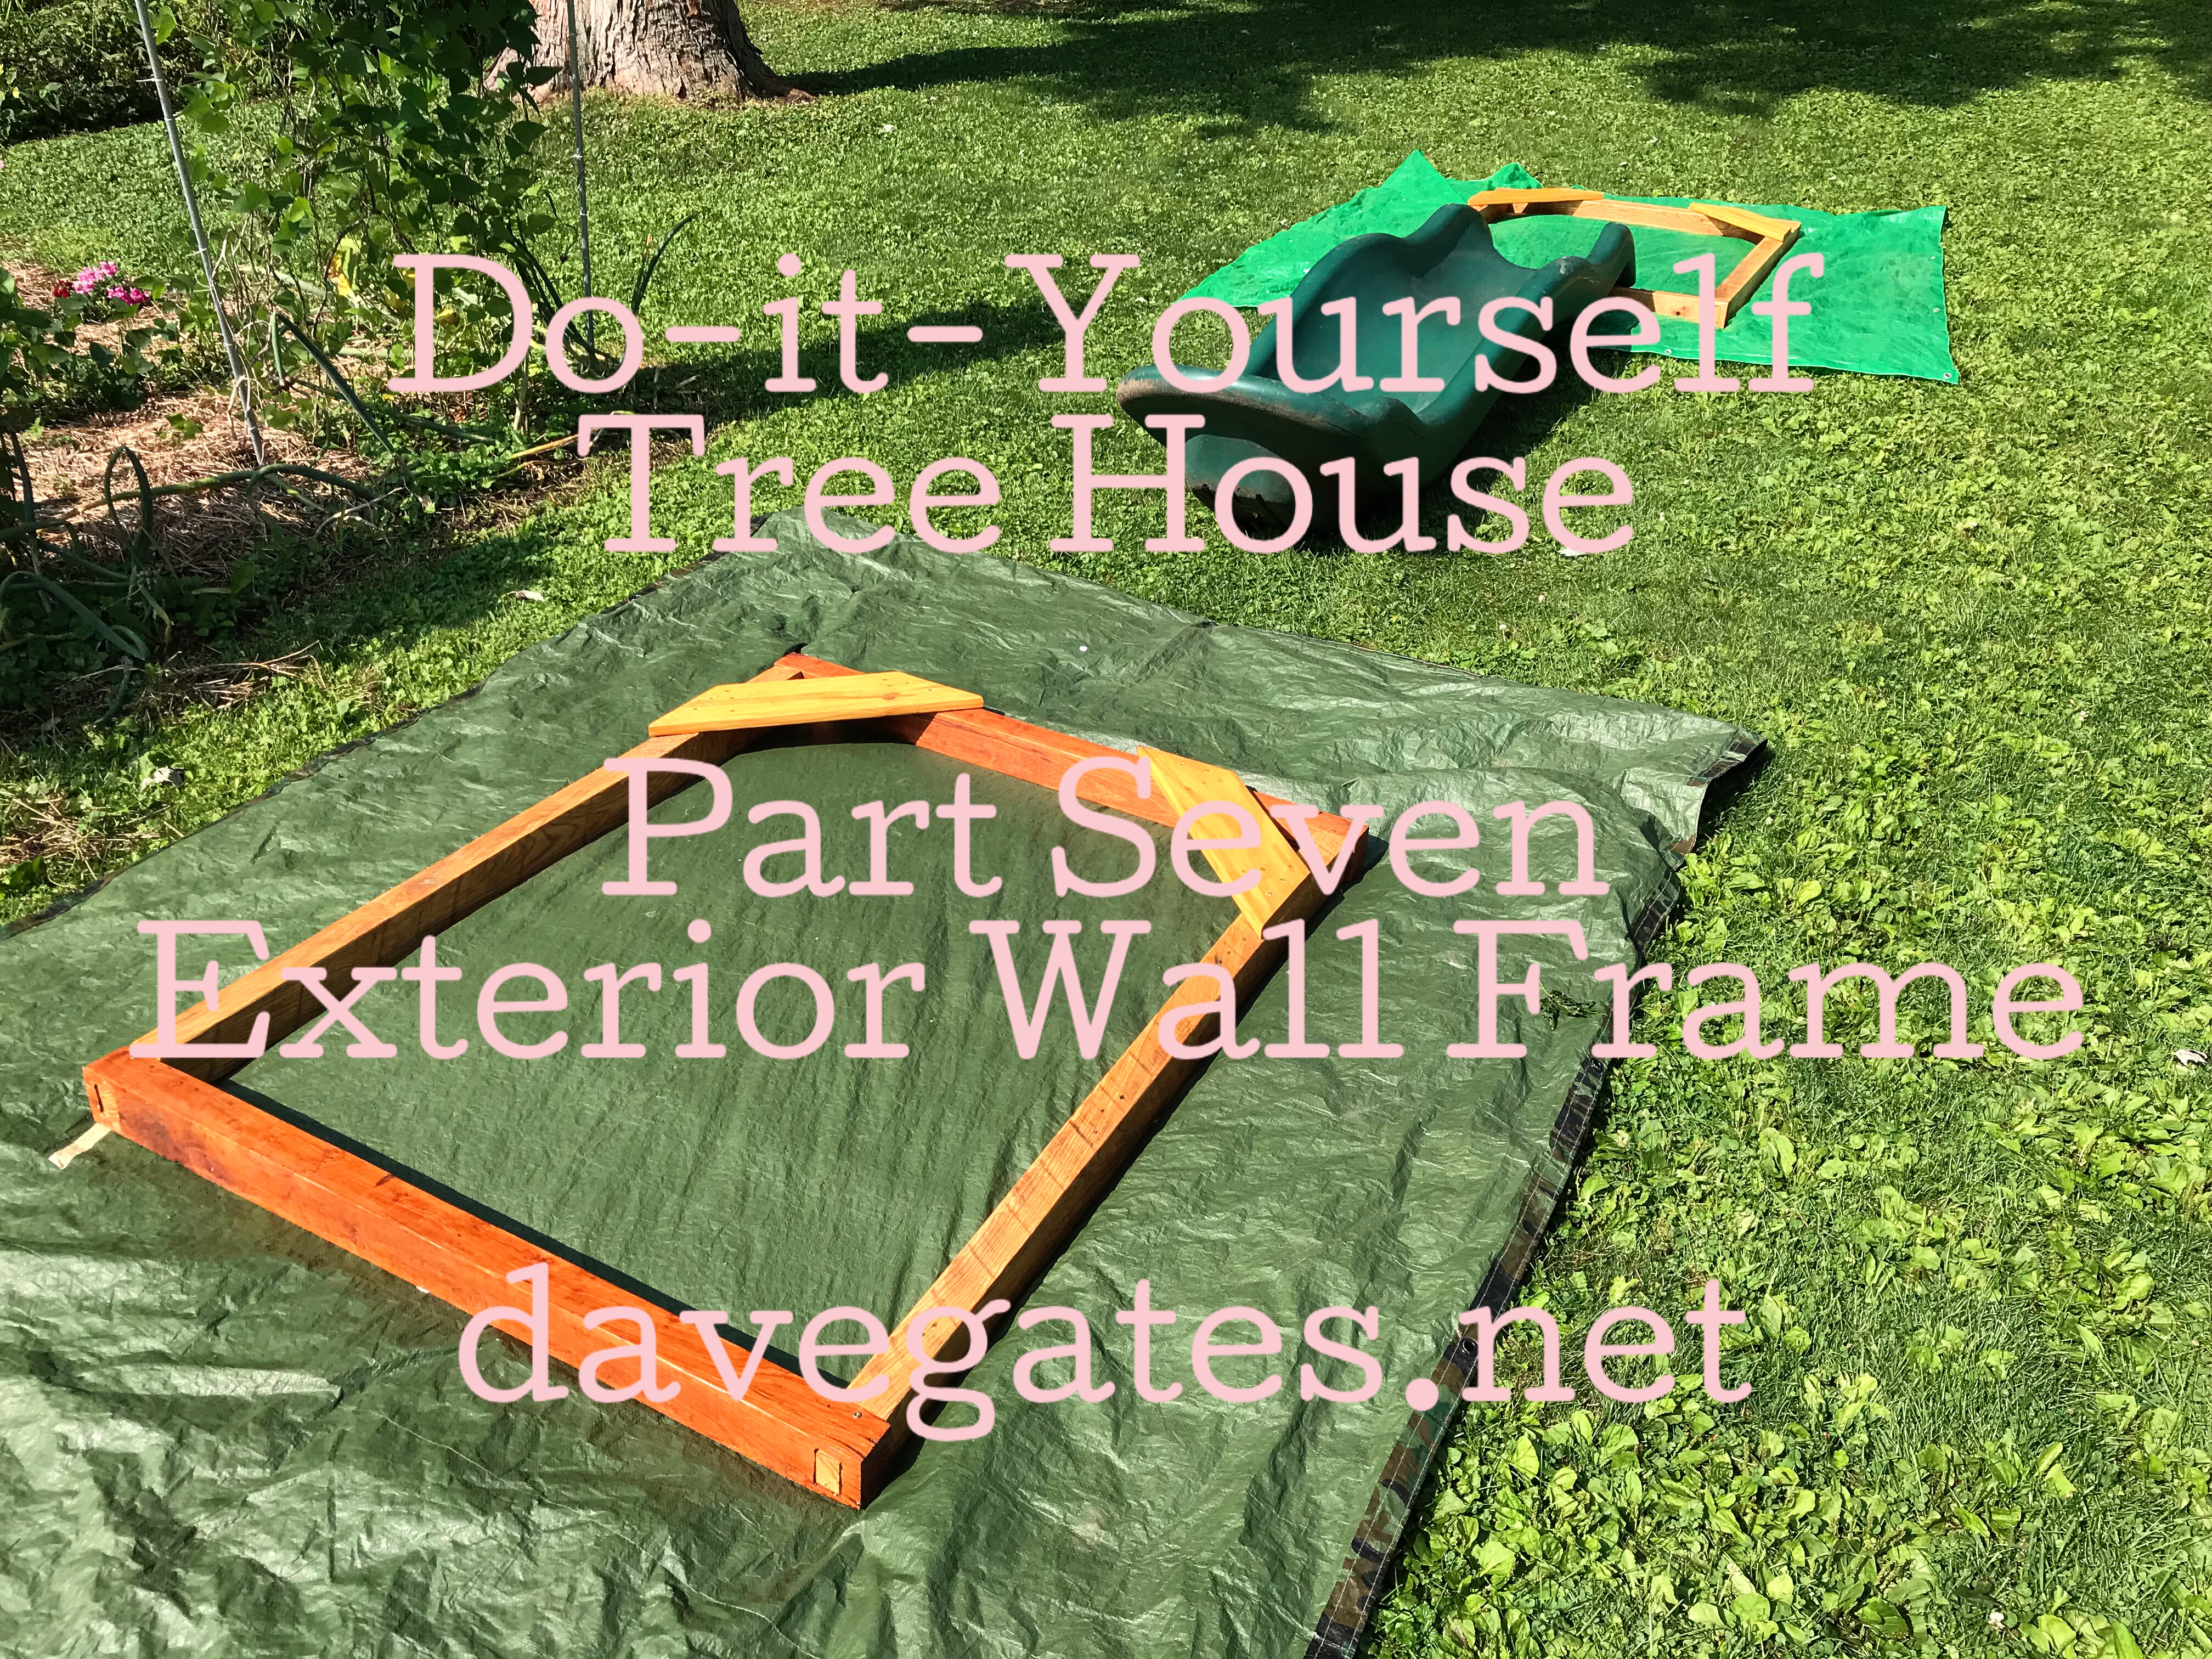

The idea is to build a hexagon shaped tree house. This article talks about the two exterior wall frames. One will be where the slide goes and the other will be where the latter goes.
So just a recap of how I’m planning the six walls of the structure.
- 2 Solid walls 4 ft wide by 5 ft tall.
- 2 Solid walls with windows 4 ft wide by 5 ft tall.
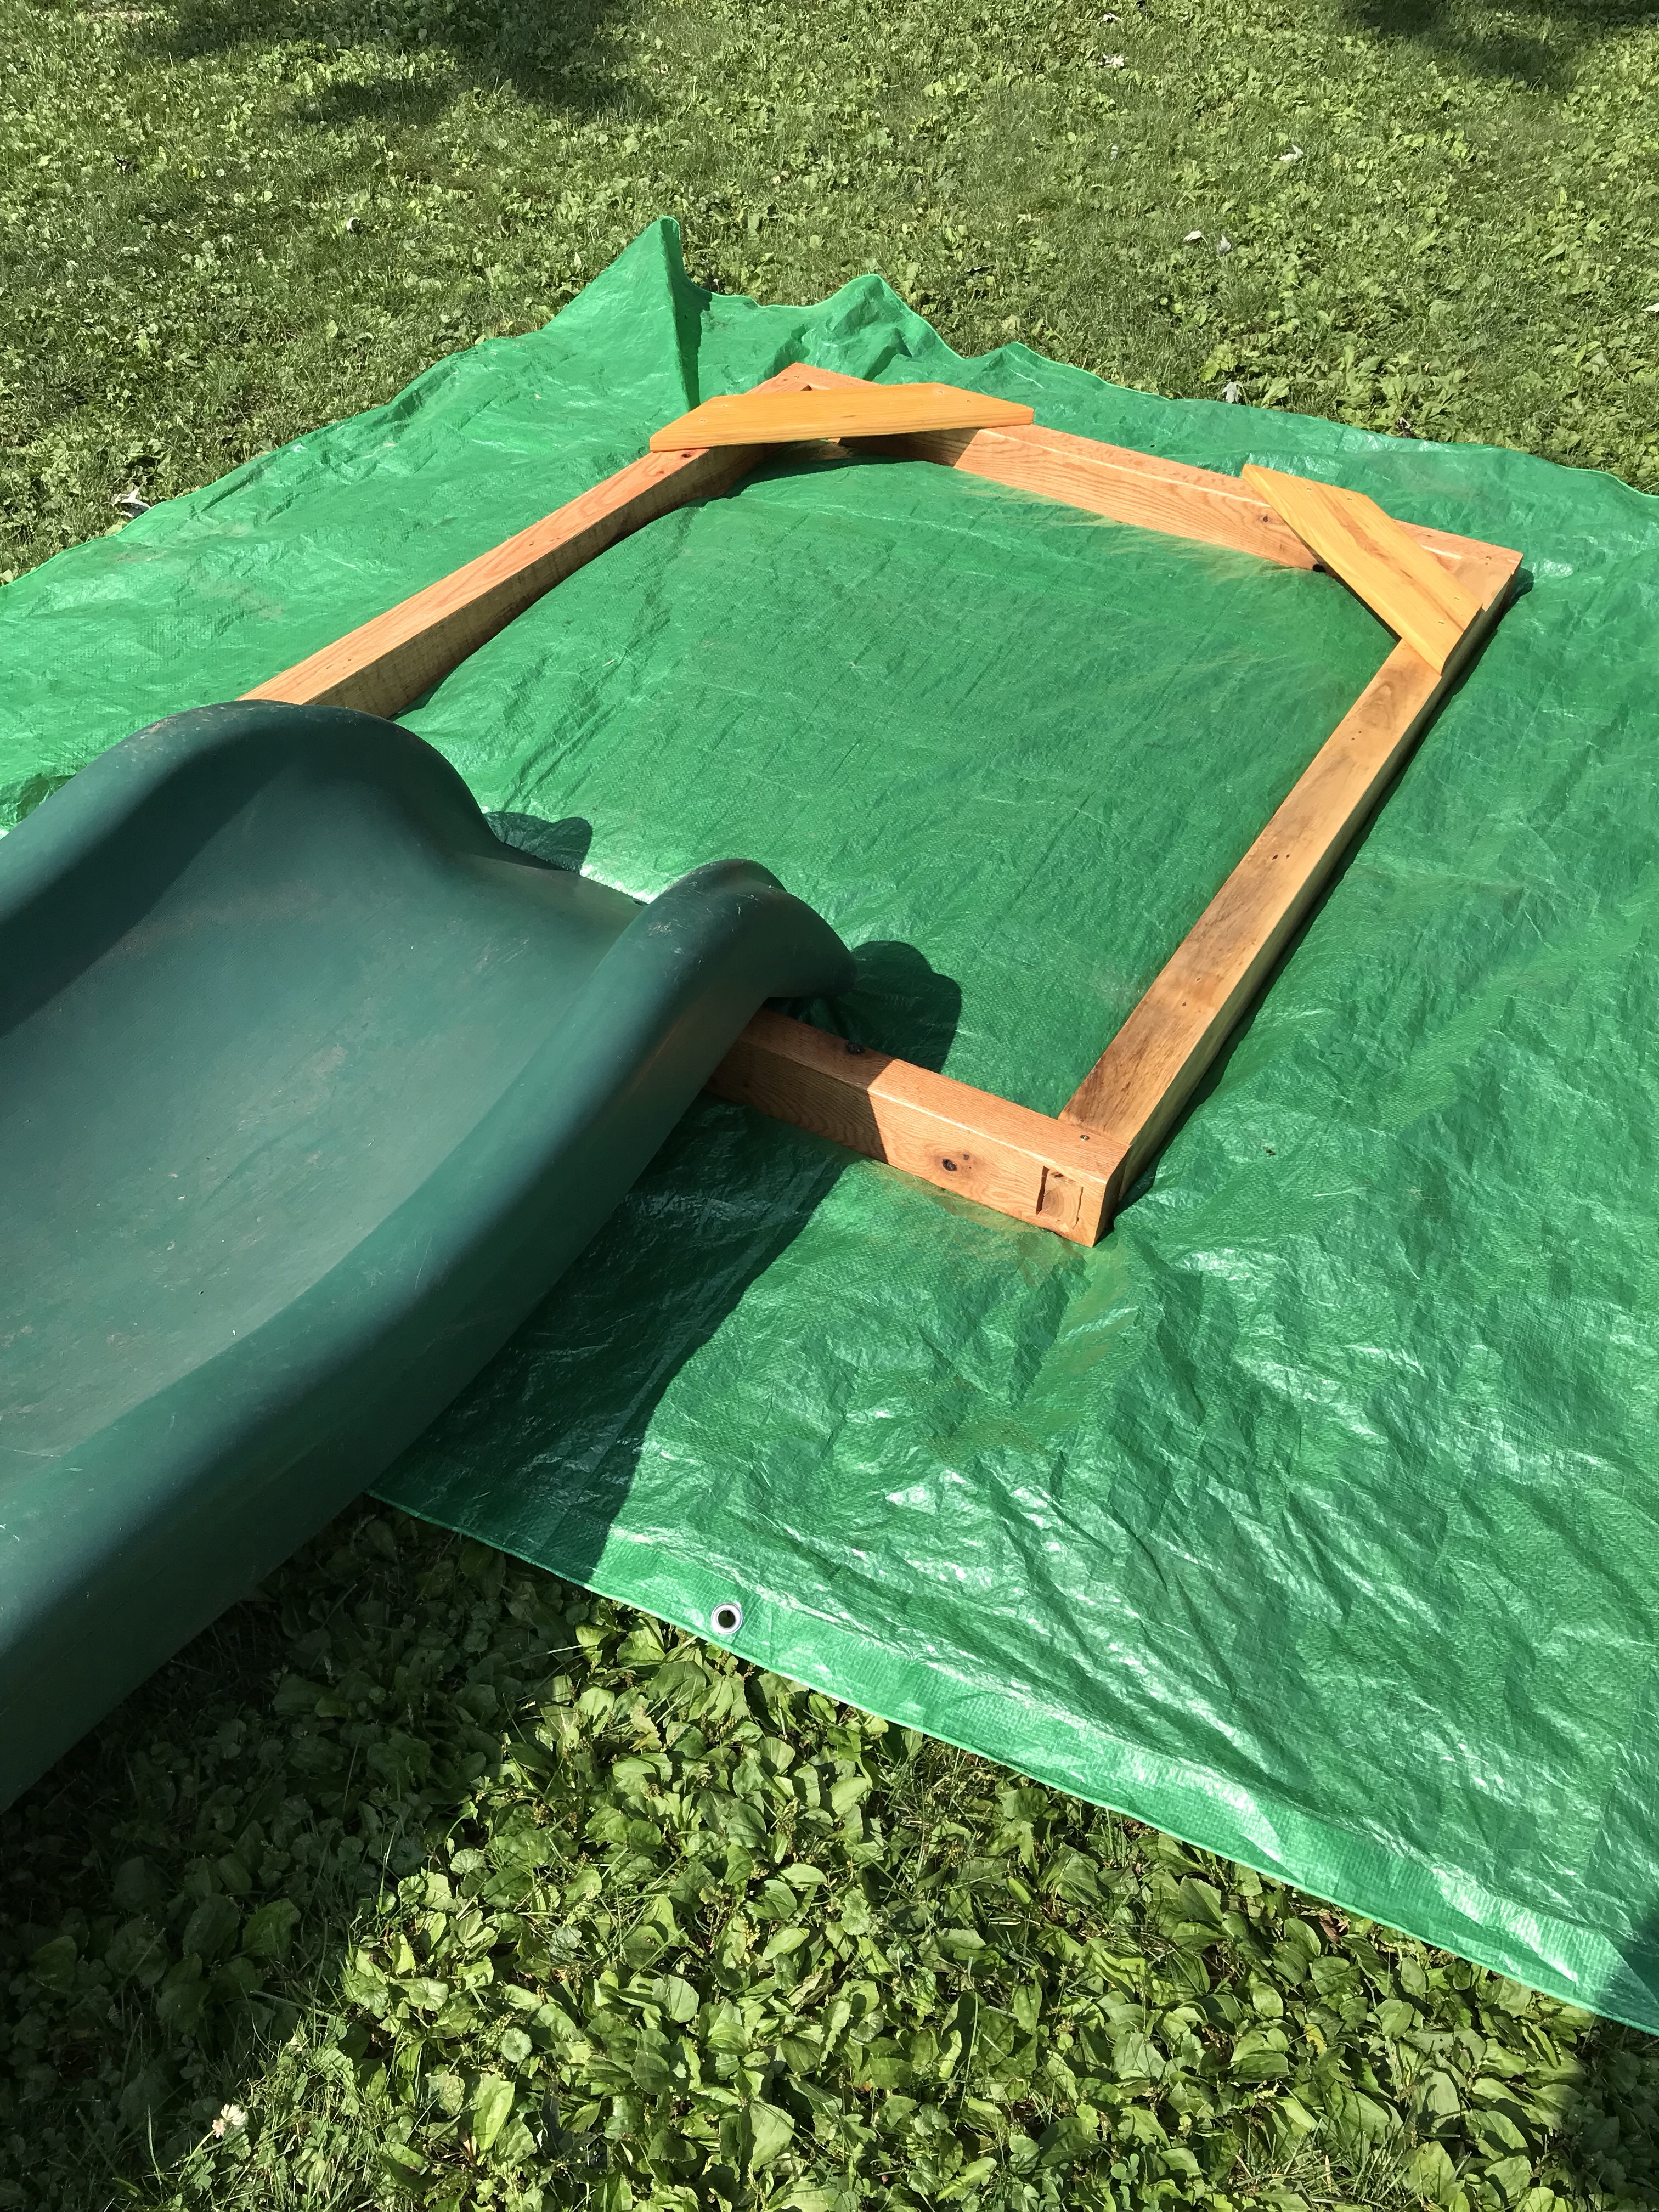
- 2 Exterior frames, 4 ft wide by 5 ft tall. one for the slide and one for the latter.
- So I hope this makes a little better sense.
Exterior Wall Frames
Now that the full solid walls have been completed we need to build the two frames to round out the exterior wall construction.
We have 4 walls completed which, leaves us with two other walls or frames that will be needed. One additional frame section will be used for the slide and the other frame section will be used for the stairs or latter. (Haven’t decided yet)
The plan is to build a simple rectangle frame out of larger 2 x 3 boards discarded from pallets. Since I’ve been able to reclaim nice solid oak boards that is what I plan to use. But I also have some nice red mahogany which looks really nice when stained.
Dimensions
Both exterior fames are 5 ft tall by 4 ft wide. The same dimensions as the solid walls. However in actuality. One frame ended up being slightly short than 4 ft wide, but that is entirely acceptable since we can make adjustments when we install it.
Material
(4) 5 ft oak 2 x 3 boards
(4) 4 ft oak, mahogany, 2 x 3 boards
(4) 1 x 6, pine 1 x 6 boards
Spax construction screw to secure it all together. 2 inches or longer
Cost
Boards – Free
Stain – Already had natural no tint stain left over from staining the full walls, which I used for this part.
Screws – Already figured into the cost from previous projects.
Cuts
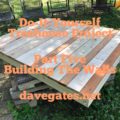
So I ended up cutting a mortise and tenon joint for the construction of these. The difficulty in doing this is that the boards we are using are all slightly different sizes and both ends are sized just different enough that making any exact cuts was proved to be difficult.
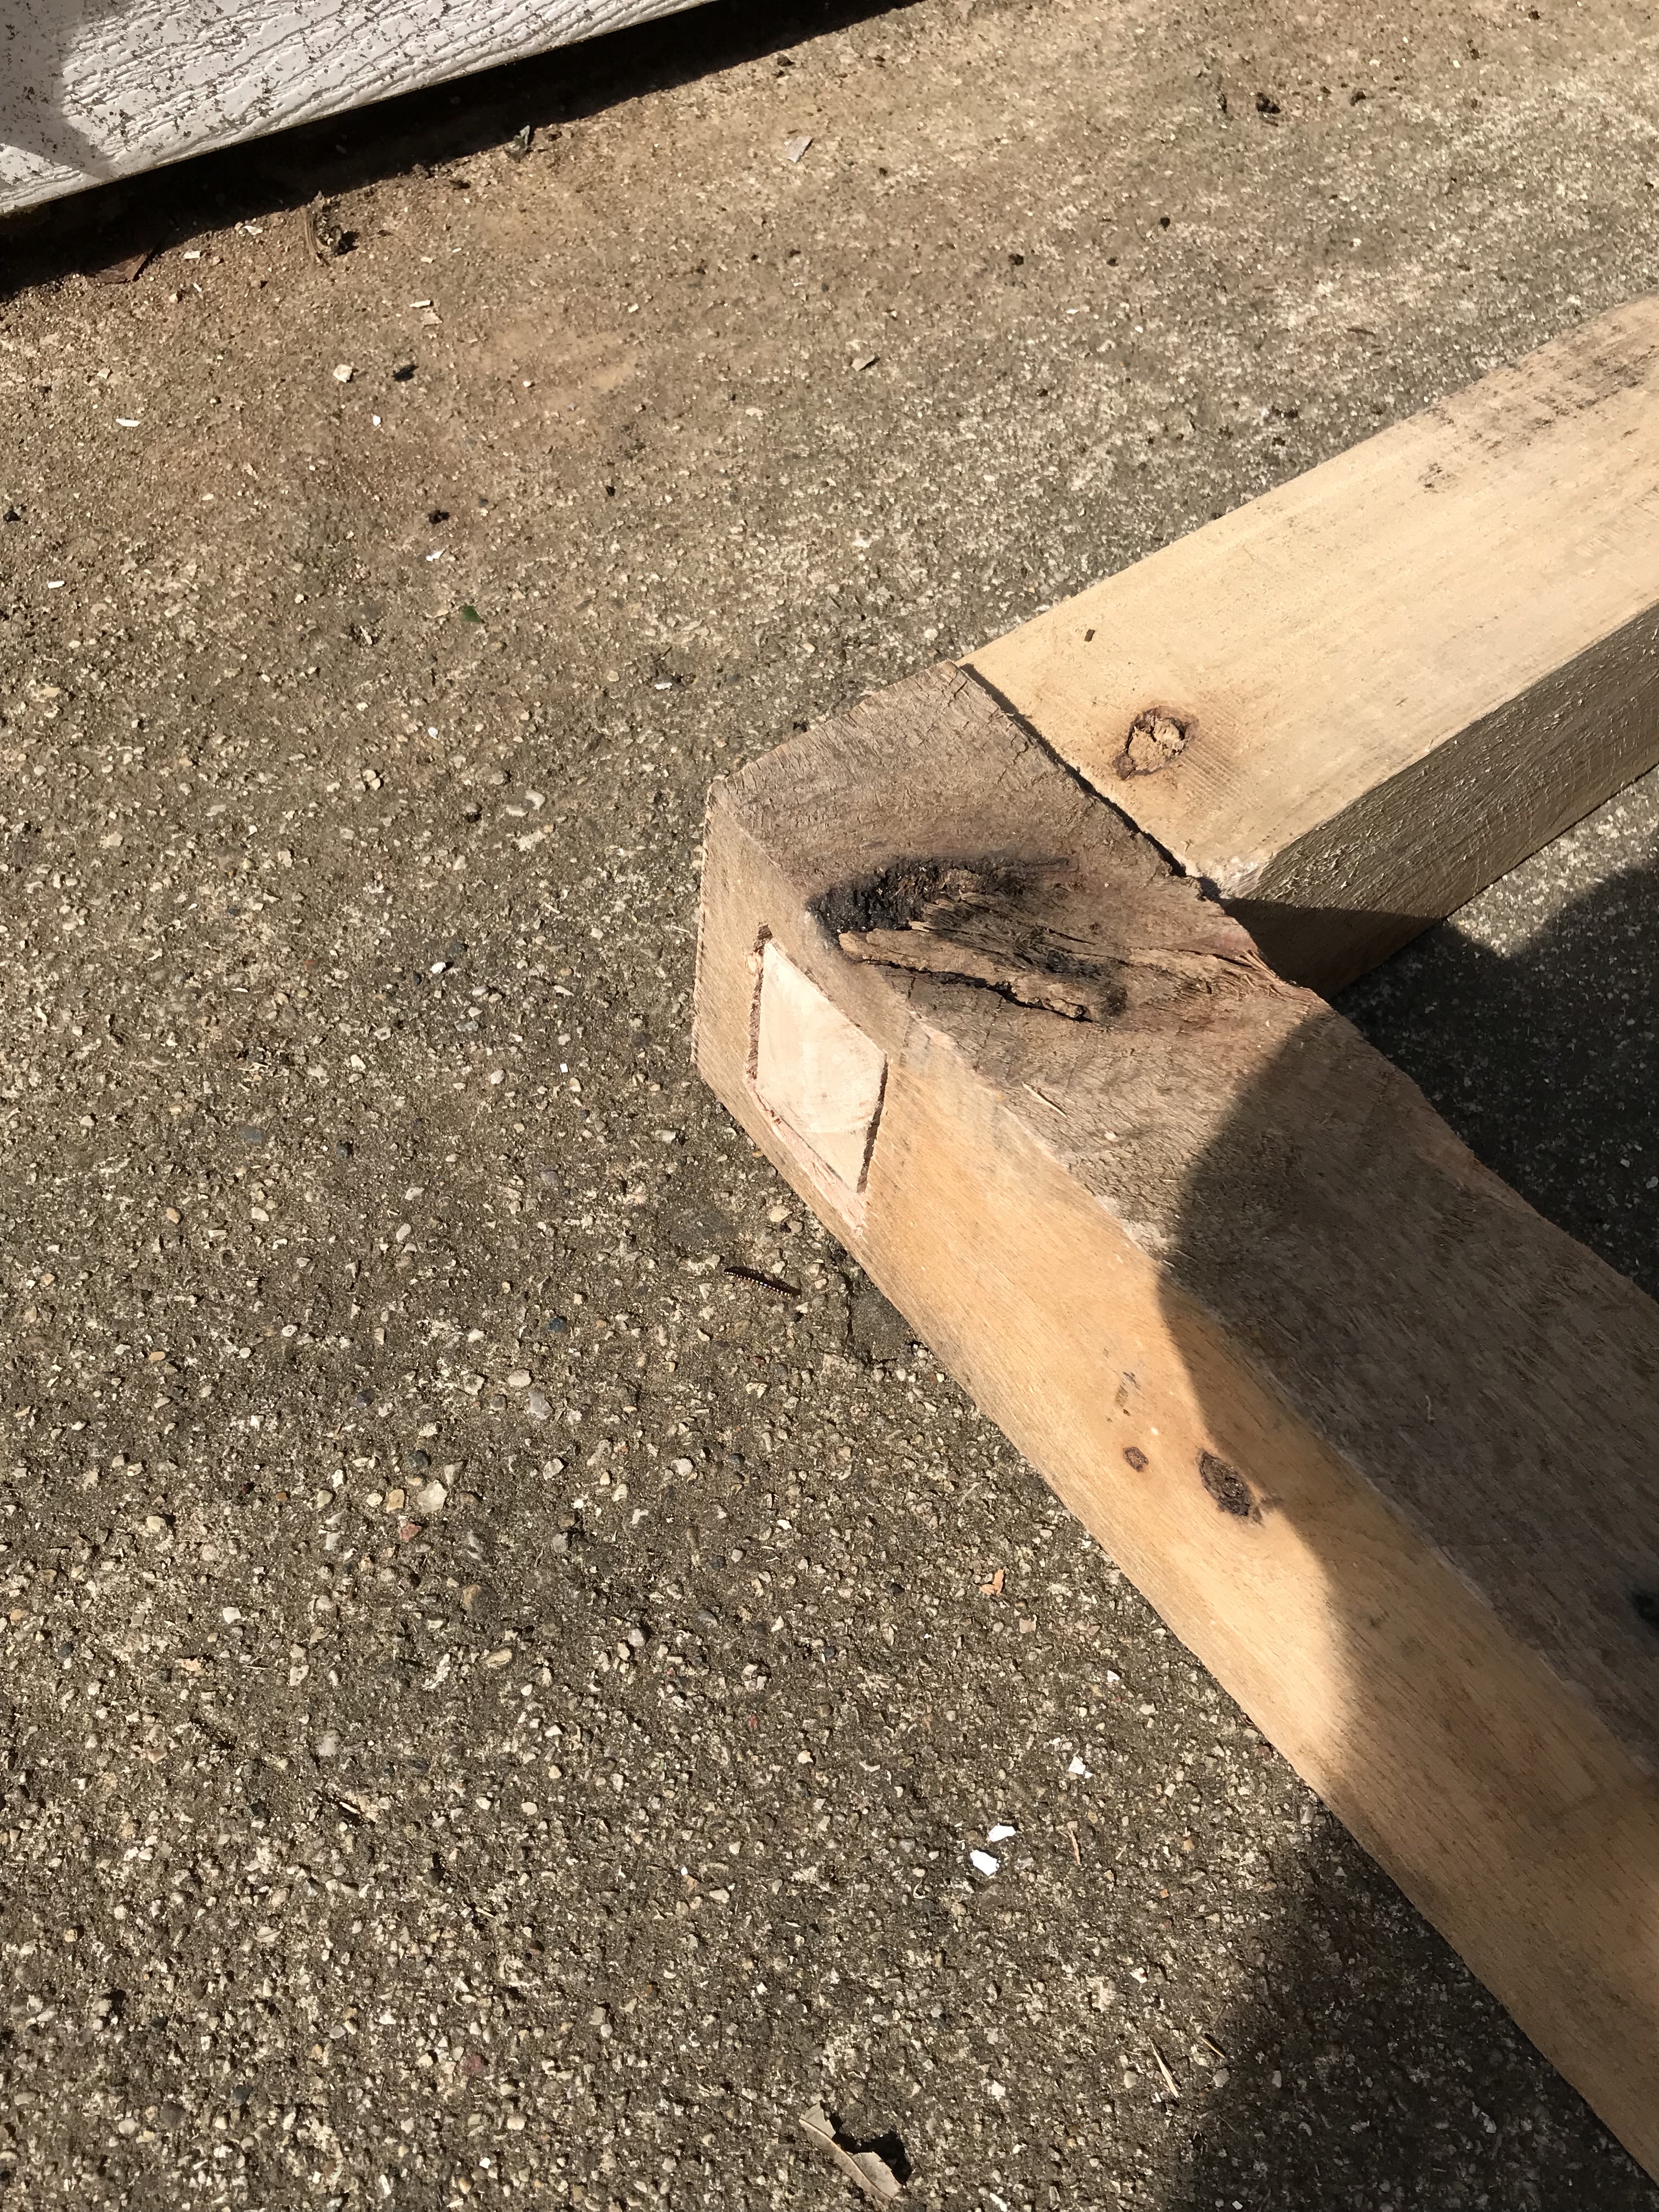

In addition since I’m not able to run my table saw, I’ve had to use a hand held circular saw to make these cuts. I’ve also used a hand drill and jig saw to finish cutting out the holes for the end pieces to fit.
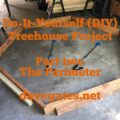
For some reason I didn’t take a lot of pictures of working on this part. I must have been in a hurry. Darn, I do have a few images that show some of it. I remember doing a test trial and just working through it by hand.
I did litlte cuts at a time and I was able to get these to work adequately. At lease two of the 5 ft boards were also bowed so this made cutting the ends and fitting them into the joints slightly more challenging.
The 1 x 6 boards placed in the corners of each frame, for extra support and visual appear are trimmed at a 45 degree angel. These were really easy cuts and just needed to be fitted to the sides of the frame.
Updates
August 11, 2018
As you can tell from previous articles, I’m doing this little by little. So I’ve had the frames completed. I’m just now getting to writing the article and explaining how it all came together.
The good news is that all 6 sides of the tree house have been completed. Cut sanded, and stained. It’s a lot of work, but it’s also a fun project.
Next up is to design the roof, roof rafters.
What can you do?
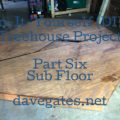
- Part Eight
- Part Six
- Comment below, Even if it is just to check in and say Hello. I look forward to hearing from you.
- Share this article with your family and friends.
- Sign up for our newsletter.
Like me on Facebook, follow me on Twitter, circle me on pin me on Pinterest, or watch me on Instagram.
Thank you,
Dave