This is the sixth article in our tree house project. My plan this year (2018) is to build a tree house for my son. Click here to start from the beginning of this exciting project.
The idea is to build a hexagon shaped tree house. This article talks about the sub floor.
Sub floor plan
Now that the perimeter has been completed and the floor frame has been completed we need to build the sub floor.
Standard construction calls for 3/4 inch OSB or plywood. Ultimately we will be installing oak hardwood floors, so it doesn’t matter what material I use for the sub floor. However, since the bottom will be exposed to the elements we need to plan accordingly. I’m under the impression that plywood works better or is less likely to warp or swell the way OSB would. For this reason I decided to use plywood.
I ended up using a gift card I had to purchase 23/32 inch plywood from Home Depot for this part of the project.
Dimensions
The square foot of our tree house is 48.79sq ft. Rounded we get 49sq feet.
Material
(2) sheets of 23/32 inch 4 x 8 foot plywood. Purchased from our local Home Depot.
Spax construction screw to secure it to the floor frame.
Cost
Plywood = $66.76
Sales Tax =$5.17
Total = $71.93
Stain – Already had Acorn Light Left over, which I used for this part.
Cuts
I trimmed the edges of each sheet to fit the dimensions and angles of the hexagon shaped floor. I did this by placing the plywood on the floor and then placing the completed frame over the two sheets of plywood.
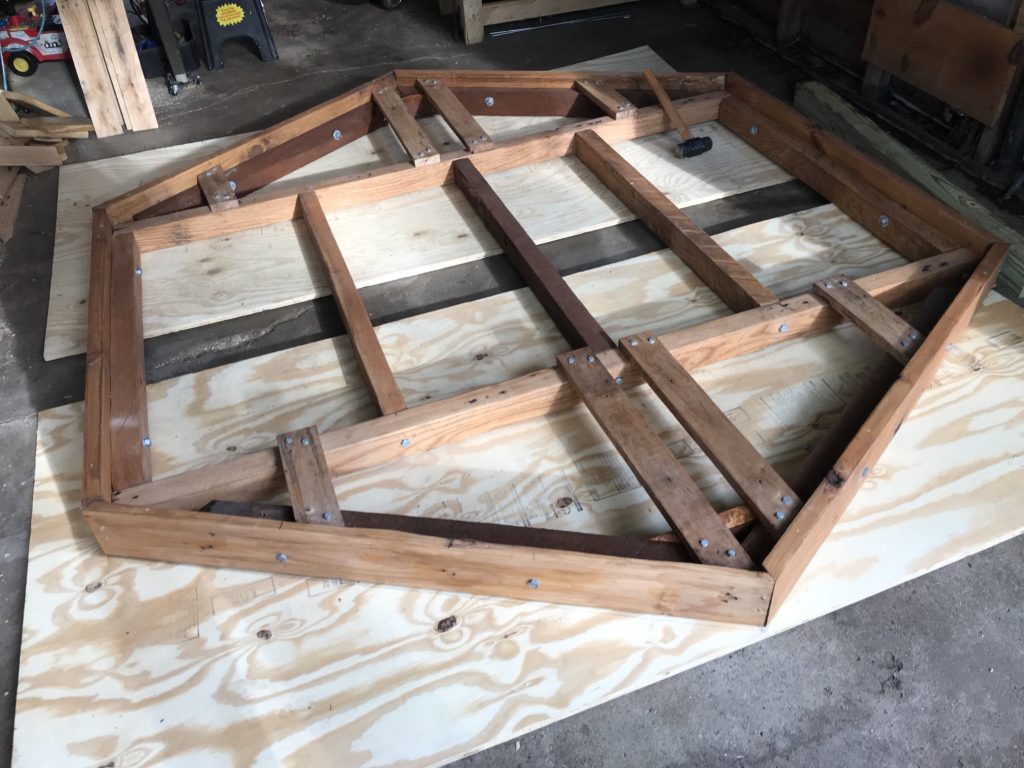
It was important to complete the frame first before measuring and cutting the plywood sheets. Since we are using mostly reclaimed wood, its difficult to measure and calculate for boards that are not entirely true.
So in order to navigate around this variable, I felt it was better to complete the frame and place the actual frame on the plywood to get the exact size needed.
I found that once the perimeter and internal frame were completely secured the dimensions varied slightly. So taking the extra time to trace the outline of the frame onto the plywood made much more sense.
You’ll also notice the plywood sheets didn’t quite cover the entire surface of the frame. so After making the initial cuts, I used the left over pieces for the center portion of the frame.
Updates
July 15, 2018
I ended up purchasing plywood from Home Depot. Since I still had money on a gift card I went ahead and used it up for this. I needed two 4 x 8 sheets for this part of the project.
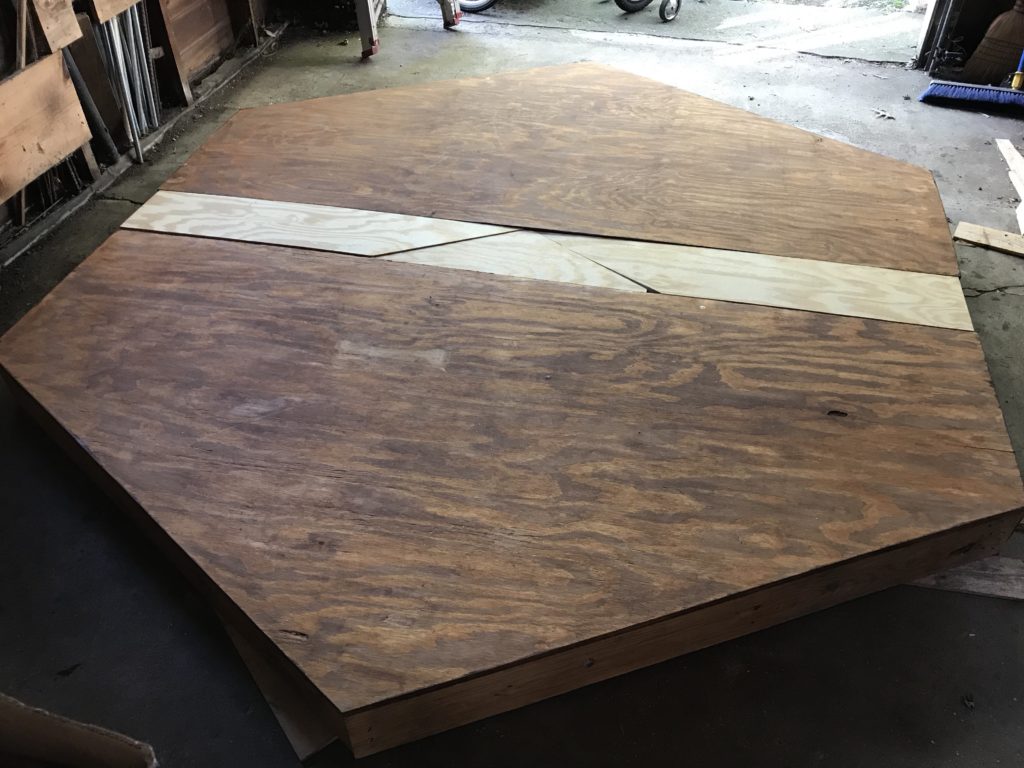
I actually cut and stained two of the sections a few weeks ago. But these are just the two larger pieces. I need to cut and stain two smaller pieces for the center of the floor.
So the sub floor is cut sized and stained. I don’t think I want to secure it to the floor frame just yet. Note the boards are not secured to the frame in the image at the top of this article.
My reasoning is that the frame is already really heaving and I don’t want to add to the weight until I have it closer to the back yard where it will reside. So for now, we just need to settle for having the pieces ready.
July 17, 2018
Moving right along, I’ve had to stop and create and update all the articles you are reading. So that takes some time. It feels great to be making progress with this. Next up are the two frames needed for the slide and ladder.
The center pieces are also stained now and ready, so we can officially check this portion of the project as done.
What can you do?
- Part Seven
- Part Five
- Comment below, Even if it is just to check in and say Hello. I look forward to hearing from you.
- Share this article with your family and friends.
- Sign up for our newsletter.
Like me on Facebook, follow me on Twitter, circle me on pin me on Pinterest, or watch me on Instagram.
Thank you,
Dave