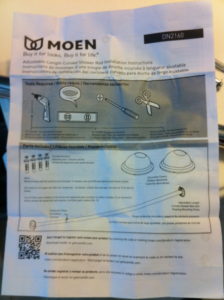
For some reason I got in my mind that I wanted a curved shower curtain rod for my bathroom. I’ve noticed some of the fancier hotels have this nice curved shower curtain rod in the rooms I’ve stayed in. This article discusses my experience installing a curved shower curtain rod. Maybe it’s helpful to you in some small way.
Recently, my girlfriend and I attended a wedding in downtown Chicago and stayed at the luxurious JW Marriott. Our room was complete with all the fine details you’d expect from a fancy hotel. The furniture was fancy, there was a fully stocked bar and fridge, large soft towels, the room had it all. But none of these items made any difference to me except that darn curved shower curtain rod. I said to myself again for the 100th time. “I’m going to get me one of those some-day”. I put this in the back of my mind and seem to have forgotten about it until our existing shower curtain started to fall apart.
I’ve been ignoring all the soap scum and unsightly dirt on our existing shower curtain for so long it has become a “normal” site to me. It was about this time I made the decision to upgrade not only the shower curtain itself, but also the shower curtain rod.
So that’s exactly what I did, and here are the details of this project and what it cost me. I’m hoping it helps in some small way. It is a pretty easy project, the biggest challenge is getting motivated and to actually start the project.
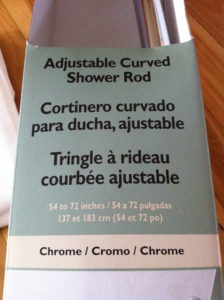
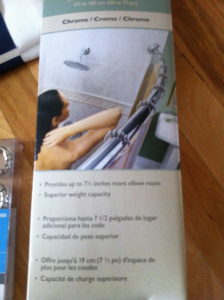
- Moen Chrome Permanent Mount Shower Curtain Rod from Lowes Home Improvement: $39.99
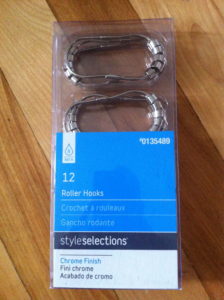
- Style Chrome Roller Hooks from Lowes Home Improvement : $7.98
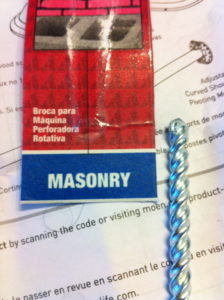
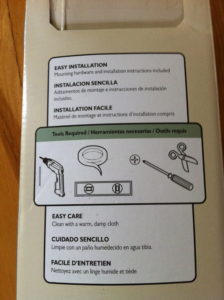
- Masonry Drill Bit from Ace Hardware: $3.49
- 3 or 4 hours of my time from start to finish
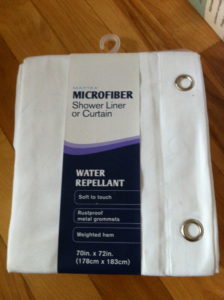
- New Microfiber Shower Curtain estimated at $12 not sure as it was purchased a long time ago.
-
Total Project Cost: $63.46
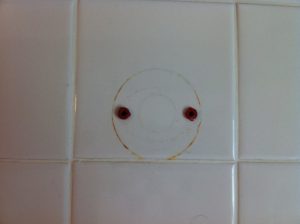
This project was slightly easier since I was able to re-use one of the existing holes in the tile. However, I was NOT able to re-use all of them. The holes on the new brackets did not line up exactly where the old bracket holes existed. It turns out the brackets that hold the rod to the shower walls are all different. There is no standardization when it comes to the spacing of where the holes line up. When I was shopping I asked this question to the sales associate. I had a gut feeling he was pretty knowledgable so I trusted his answer.

Sure enough when I removed the old rod and lined up the new bracket, the holes were spaced differently. The good thing about replacing and not installing a completely new rod, is that I was able to use one of the old holes to temporarily hold the new bracket in place while I marked and drilled the additional holes, this was a huge time-savor and made the job that much easier.
You must be thinking, He must work slow, how did this take him 3 or 4 hours to do? “I changed mine out in about an hour”. Ok sure the actual work portion of this may only take less than hour. I’m including the time I spent shopping for the rod and rollers, the second trip to the hardware store for a masonry bit since I didn’t have the right size. The 3 hours I’m reporting here includes all the time shopping in addition to the actual installation of the new rod, plus clean up.
I’m always amazed when TV shows mention how easy and quickly you can get a project done. Sure if you have everything planned out and scripted as they do on TV it’s fast. So do the TV producers account for all the time they spend preparing for shooting the program? My guess is no. Things are going to take slightly longer if you’re the average home owner. I may work slow, but I also try to be careful what I’m doing. Another reason for the time, is not everything is readily available. Most of my tools are packed away or somewhere else in the house. Starting a project of any size always requires finding everything I need first. Don’t laugh, I know you’re telling yourself the same thing. It’s a rare thing to find everything where it is supposed to be. Just ask my Dad, I was always using and moving stuff around. Sorry Dad the truth comes out here for everyone to see.
Step by Step
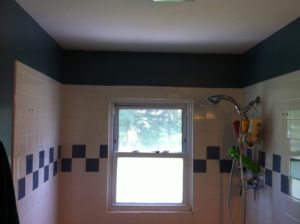
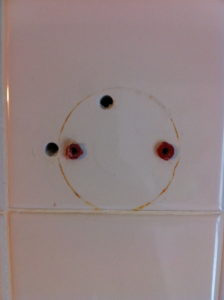
Remove the existing shower curtain rod
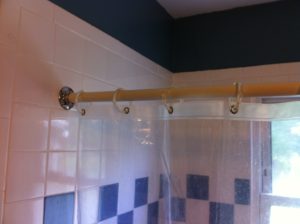
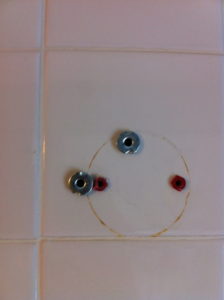
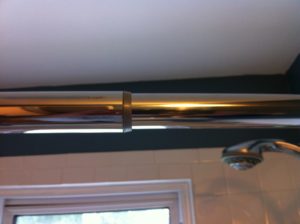
Temporarily mount the new rod bracket with the existing holes and screws as shown below.
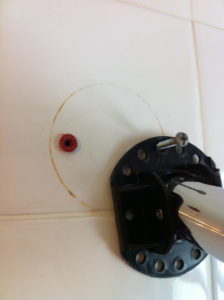
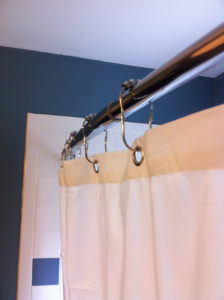
Once the temporary rod and brackets are in place, it’s easier to mark where the new holes will go. Using a narrow marker or pencil mark where the new holes will go by holding the new bracket in place. Drill the new holes and mount the new wall anchors.
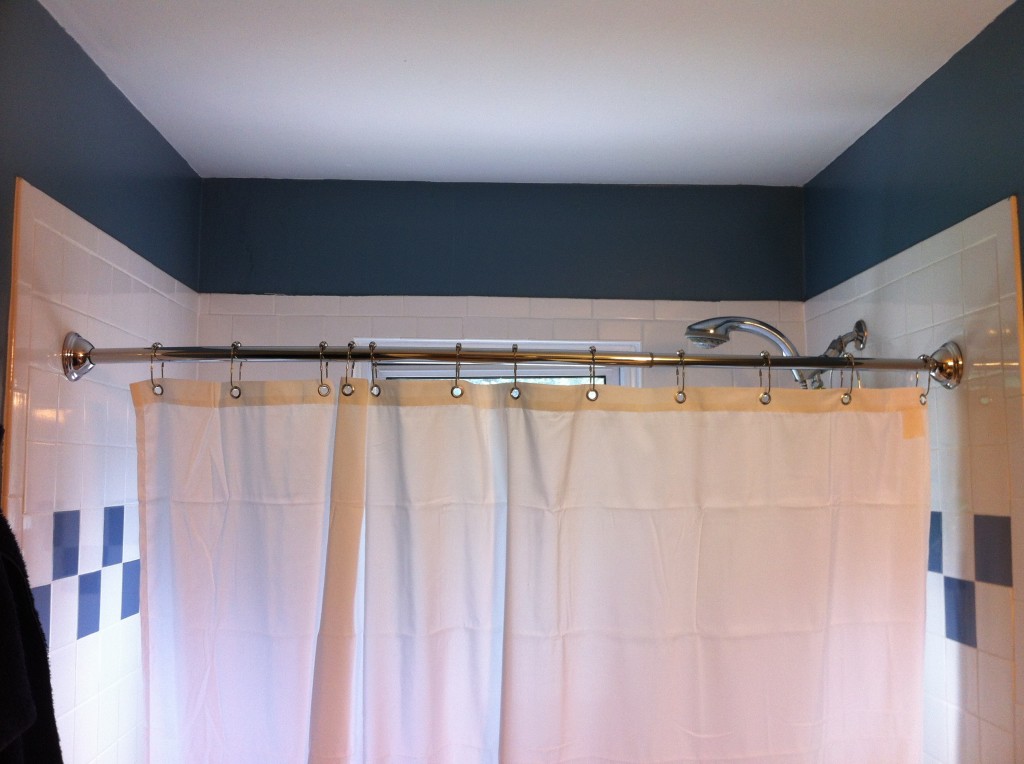
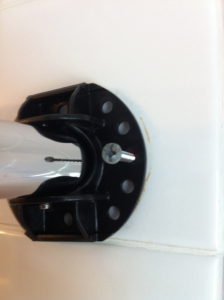
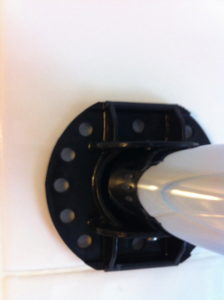
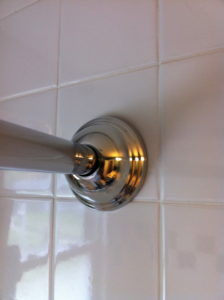
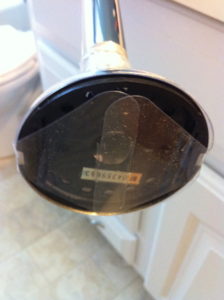
Mount the new rod bracket on both sides. Make any adjustments and tighten up all the screws. Move the new chrome covers over the brackets.
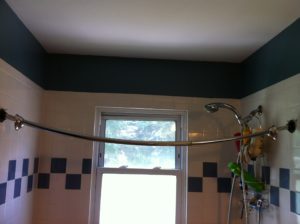
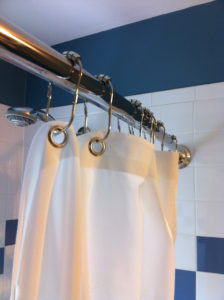
Finish by installing the shower curtain hooks and shower curtain. In this case we are using a microfiber cloth curtain.
That’s about all there is to it. I’m including another photo gallery here so you can see exactly what was used for this project.

Do you have a curved shower rod? How did your project turn out? I just read through this article about a week later before I posted it and I’m loving the new rod and shower curtain. How long did your project take? Where did you find your hardware?
Now onto the next project!!! I wonder what that will be.
Dave