
Goal: Build the tower portion of the playset.
Welcome, if you are just joining us, you may want to visit, Do-it-yourself (DIY) Kids Out Door Playset – Part One, The Project
I initially started this project in the fall of 2016. I’m just getting around to writing up how I went about designing and building it.
The actual building of the tower went smoother than I imagined. I built the entire frame structure in one weekend while the wife and kid were out-of-town.
Don’t get me wrong an extra set of hands would have been really useful. But this project is certainly doable as a one man job.
Keep in mind the plans I found online from Hot 4 Cad, only acted as a guide. The actual lumber I used and the sizes of each piece of lumber are different. I adapted this project to fit the lumber I recovered from free pallets.
In fact, this was one of the challenges I faced. How do I design a playset using various lumber sizes I recovered.
After, observing several playset at my local home improvement store, I realized the wood I recovered from pallets was actually sturdier than what the big box stores offer.
Side note
I took detailed pictures as I was building this last year with my old phone. When I replaced the phone, for some reason I deleted the pictures on the phone and the online account where I was storing them. I guess I was thinking I had them backed up someplace else. But of course I didn’t.
Darn it. So I’m going off what I remember. The few pictures I do have can give you a general idea how went about this project.
Playset lumber
Here is a list of lumber I was able to recover from the free pallets. This is what I used to build the tower.
Quantity (6) – 2 x 3 (9ft) solid oak boards, these are what I used for the frames on either side. Each board varied slightly by one or two inches in length. I’m rounding this to 9ft to keep it simple. Actual sizes shown with a tape measure.
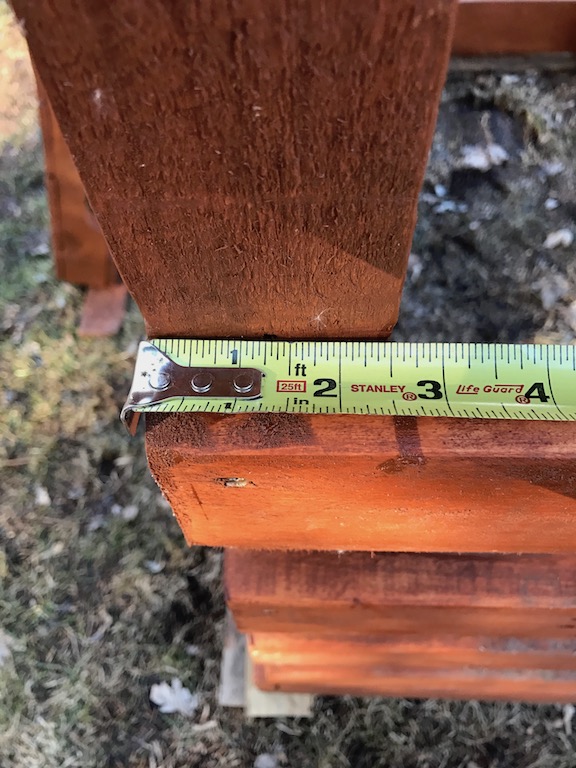

Quantity (12) – 1 x 6’s (5ft) these are the sides of the frame. Each one of these was slightly less than 5 ft. I used boards that were 57, and 58 inches. Actual sizes shown with a tape measure.

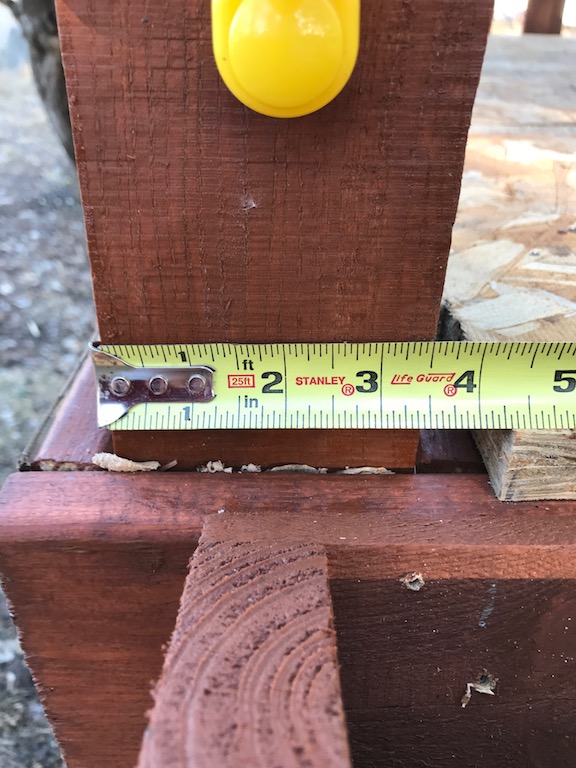
Quantity (3) – 2 x 4 (5ft) used for the floor frame.
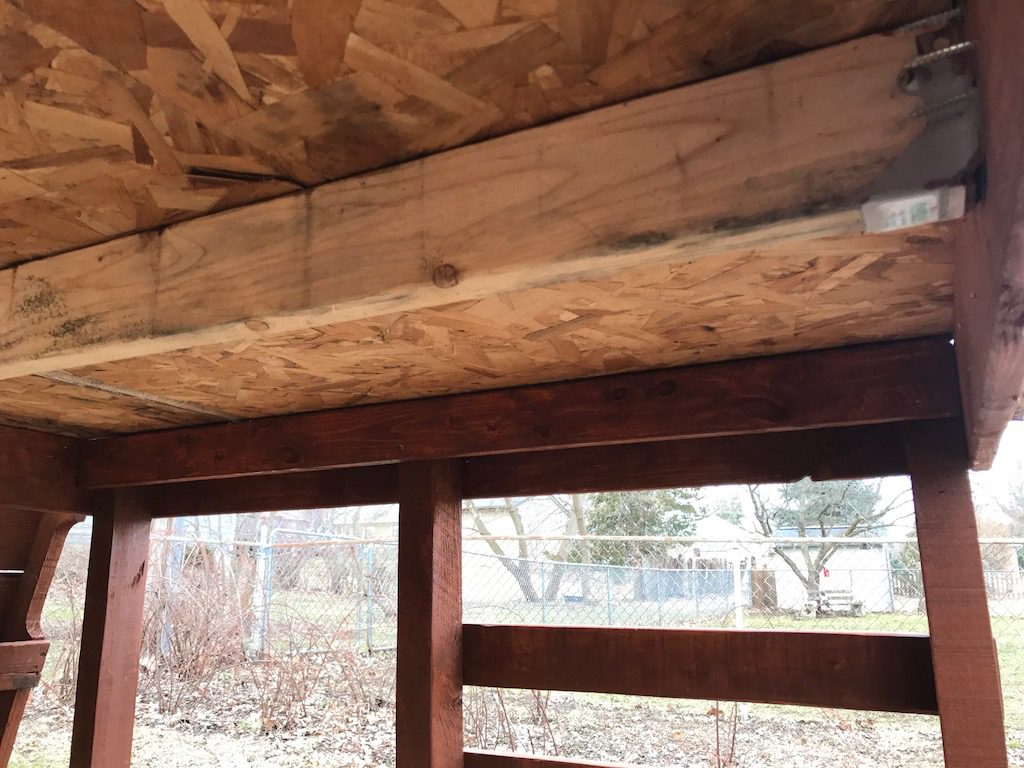
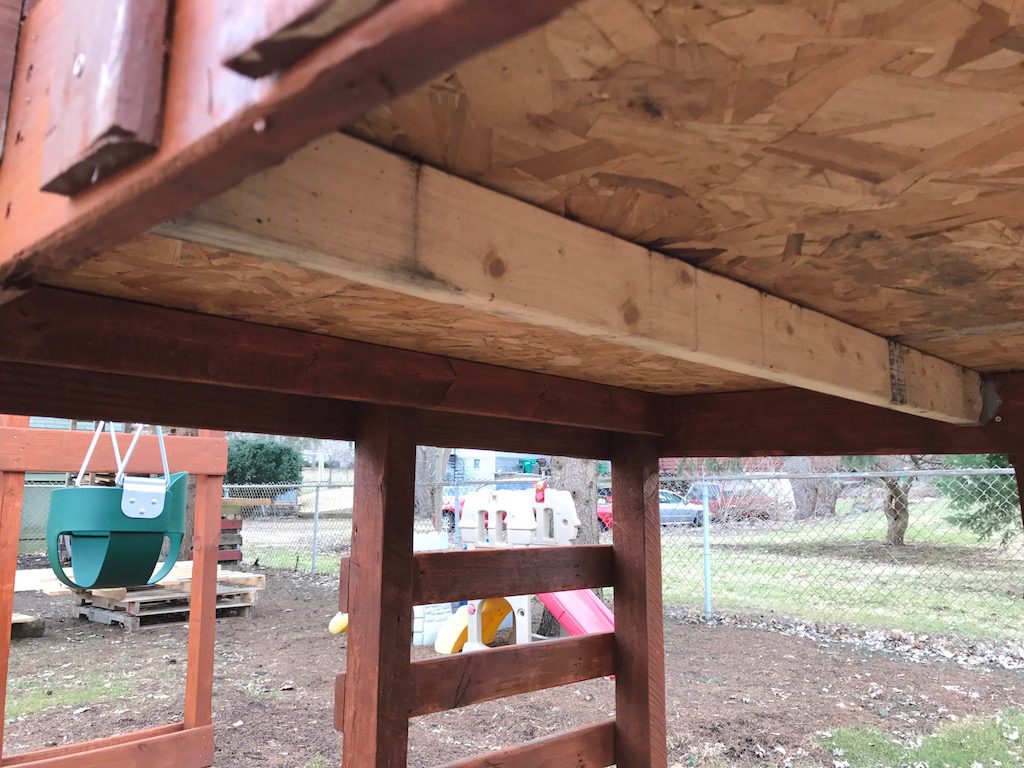
Quantity (3) – 2 x 3 (5ft) used for the top side of the frame and roof support.


Quantity (2) – 2 x 4 (5ft) used for the top side of the frame. Notice the cut-outs in the 2 x 4’s, these were the sides of a pallet.


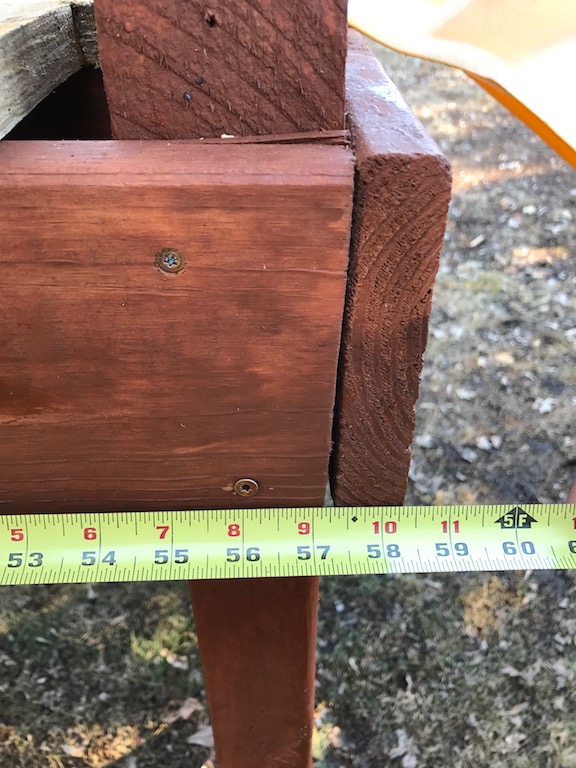
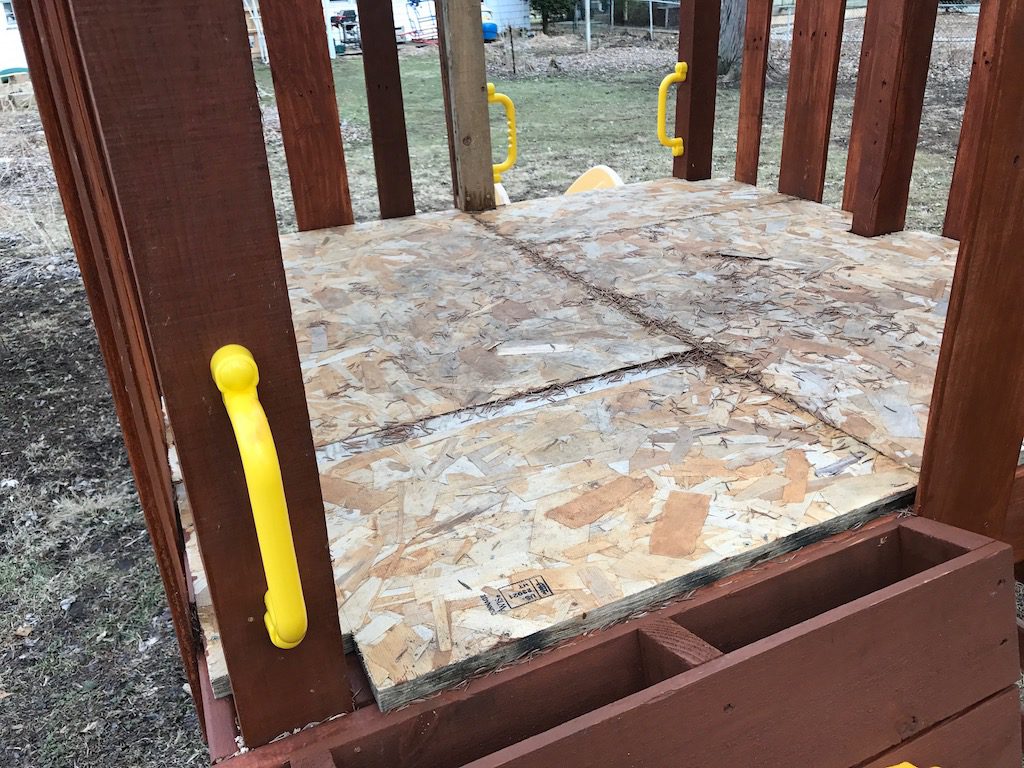
Quantity (1) – 3/4 OSB board for the floor. This was an odd size piece that I picked from the garbage. Surface area was 58 inches by 59 inches. I had to cut this into several pieces to make it fit the floor.
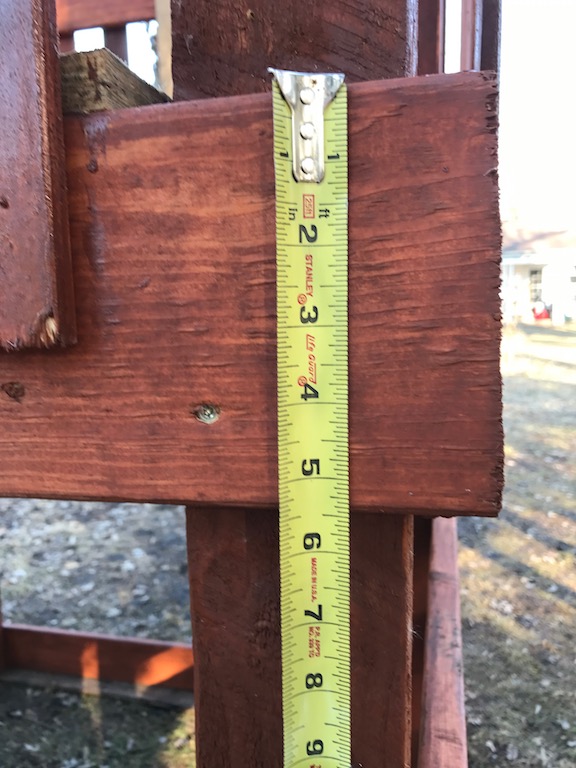
Quantity (8) – 1 1/4 x 30. These were used for the latter steps on either side of the tower.

Quantity (12) – 1/2 x 34 or 37 inches. The boards for the vertical railing varied in lengths from about 34 to 37, 38. These were the narrow slats you see in the images below.
Quantity (7) – 1/2 x 5 1/2 or 6. These are the wider vertical railings you see in the images.

Miscellaneous pieces, these kept the frame from sinking into the grass and to level the tower.
Playset hardware
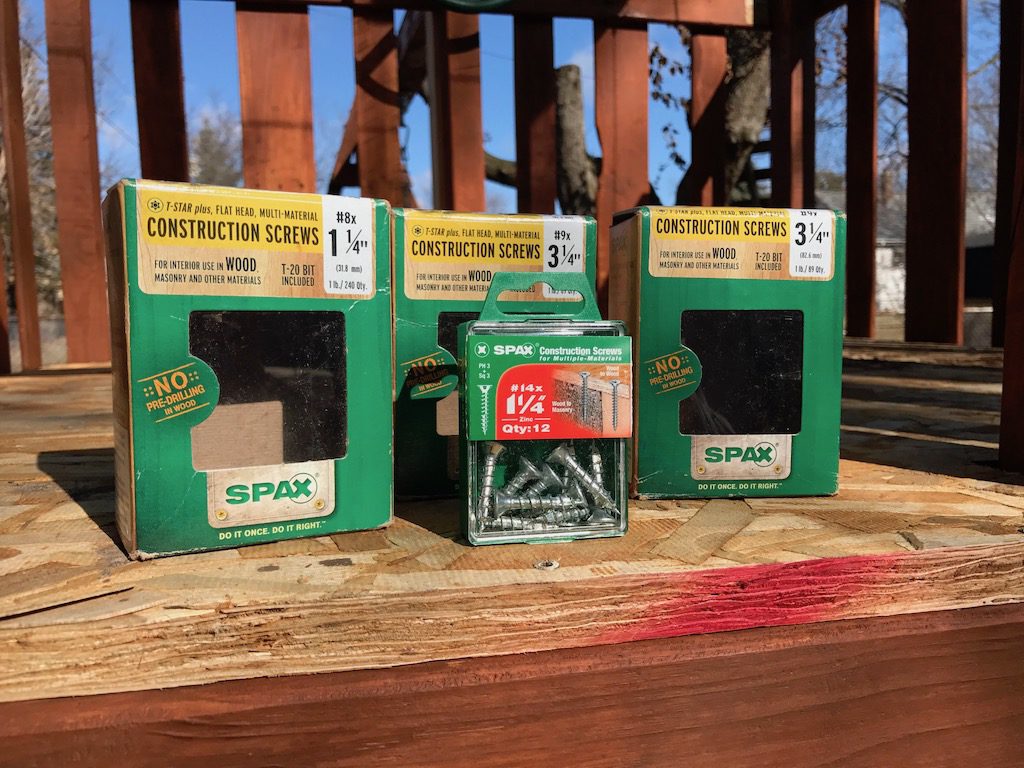
I purchased two boxes of construction screws. I ended up using the following.
- 3 1/4 T-Star Plus construction screws, these were used for framing the 1 x 6’s to the vertical post.
- 1 1/4 T-Star Plus constructions screws, these were used for securing the side vertical railing slats. I also used these for securing the OSB floor to the frame.
- 1 1/4 Spax construction screws, I used these for securing the slide to the frame.
Tools used for the playset project
It makes sense to specify the tools I used for this project. This is more to remind myself what I used at the time I built it. Maybe it will come in handy years from now when I take it apart.
Keep in mind that I also used a power washer and lime clean after I had the frame together.
Impact driver & bit – Ryobi Impact driver and star bits
– Used to drive the construction screws.
Cordless drill – Rockwell cordless drill
– Used to drive the screws for the slide.
Cordless drill – Ryobi cordless drill
– Used to pre drill holes for the swing frame.
Hand saw – Irwin hand saw
– Used to cut the various lengths of the vertical post/slats.
Belt Sander – Black & Decker Belt Sander
– I used this to sand the post and steps, this was sort of last-minute thing.
Circulate saw – Roybi cordless circular saw
– Used to cut the OSB board for the floor. I also used this to cut the 2 x 4’s for the floor frame.
Paint brush
– Used to stain the playset
Building the playset
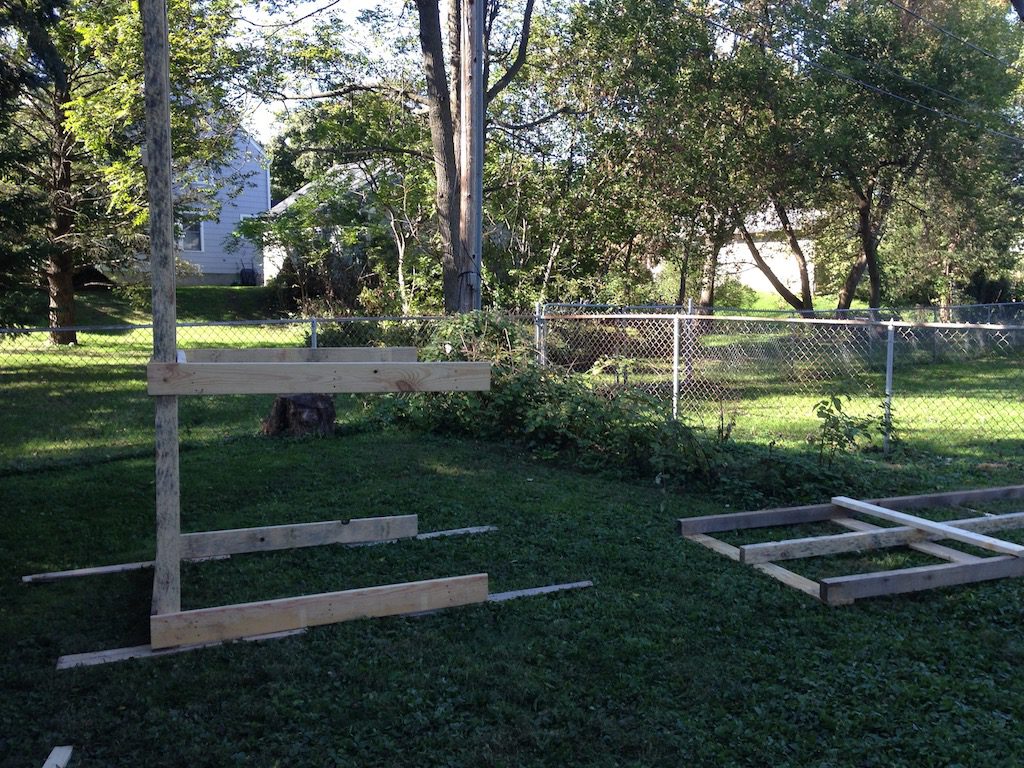
I found that building the side frames on the flat surface of the garage worked best.
What I did was place the 9ft boards on the floor. In order to figure out the space between the boards, I took the shortest 1 x 6 that I had and used this as the base/guide for the space between the ends of the frame.
Once I had this secured, I measured four feet up the post and placed another 1 x 6.
Four feet was the recommendation of the slide manufacturer of the PlayStar Scoop Slide, and was also the recommended height from the plans found on Hot 4 Cad plans.
These two sources helped to solidify the design requirements, and the reasoning behind building our playset.
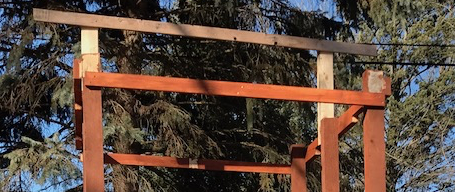
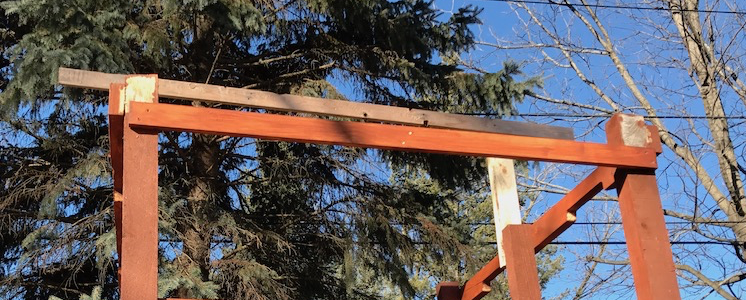
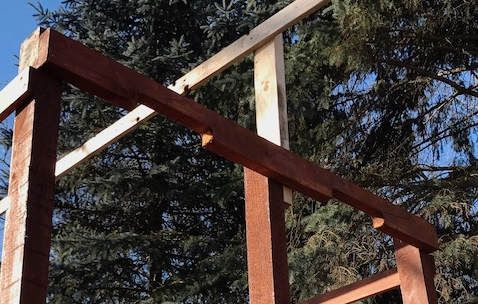
To finish up the side frame I added one more 2 x 3 to the top of the frames.
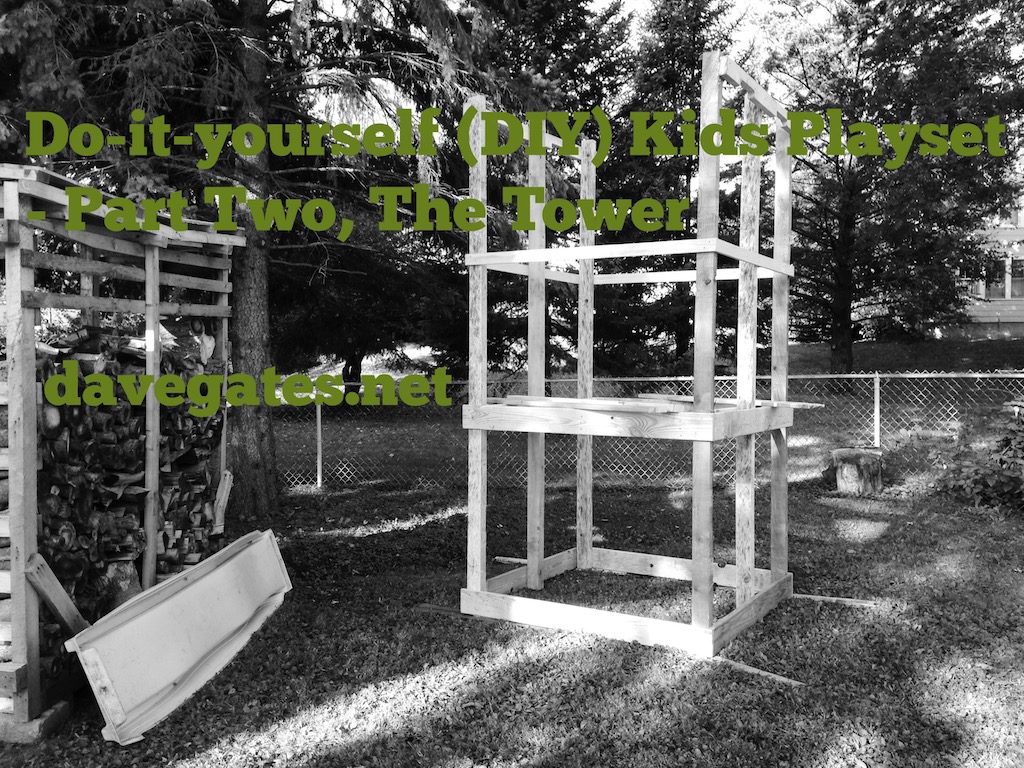
The image below shows one side of the frame on the ground off to the right.
I essentially made two of these before bringing them to the back yard.
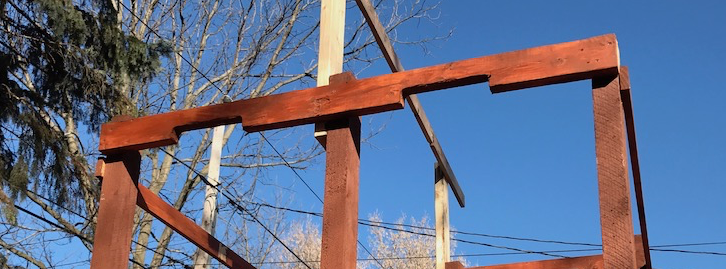
Once the sides were completed it was a matter of connecting them together.
I did this first by screwing in the 1 x 6’s to one side of the frame. These are the horizontal pieces you see sticking out from the frame in the image above.
After these were attached I stood the frame up as shown in the image.
Now that one side was up it was just a matter of standing up the other side and attaching the 1 x 6’s to the other frame.
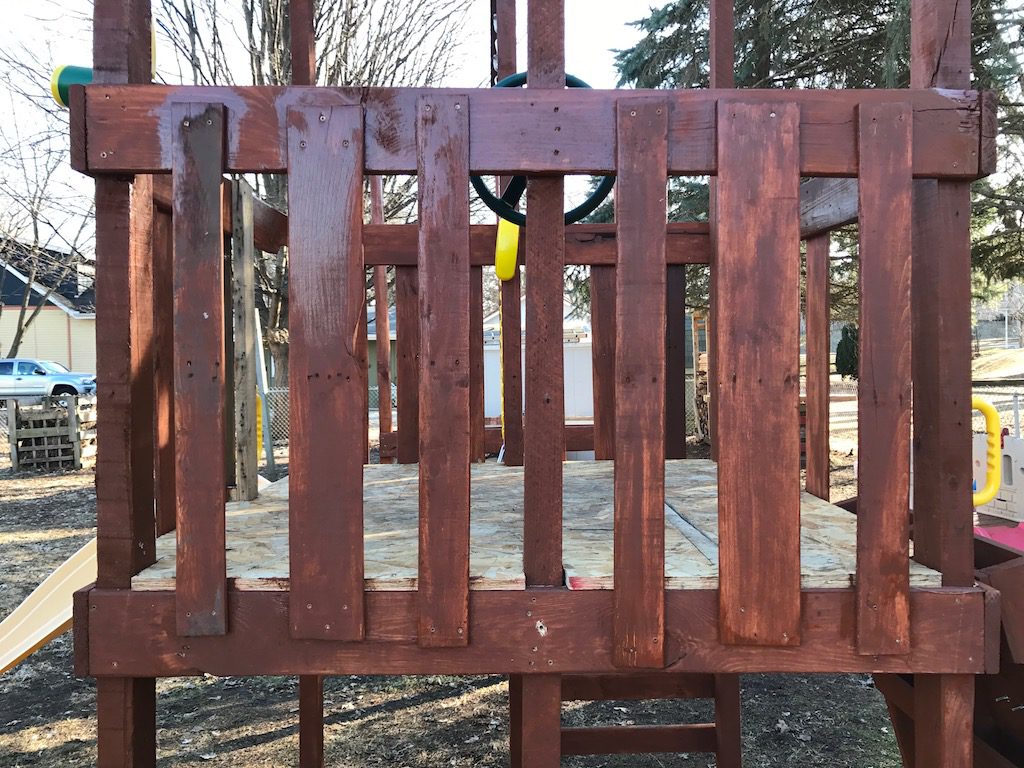
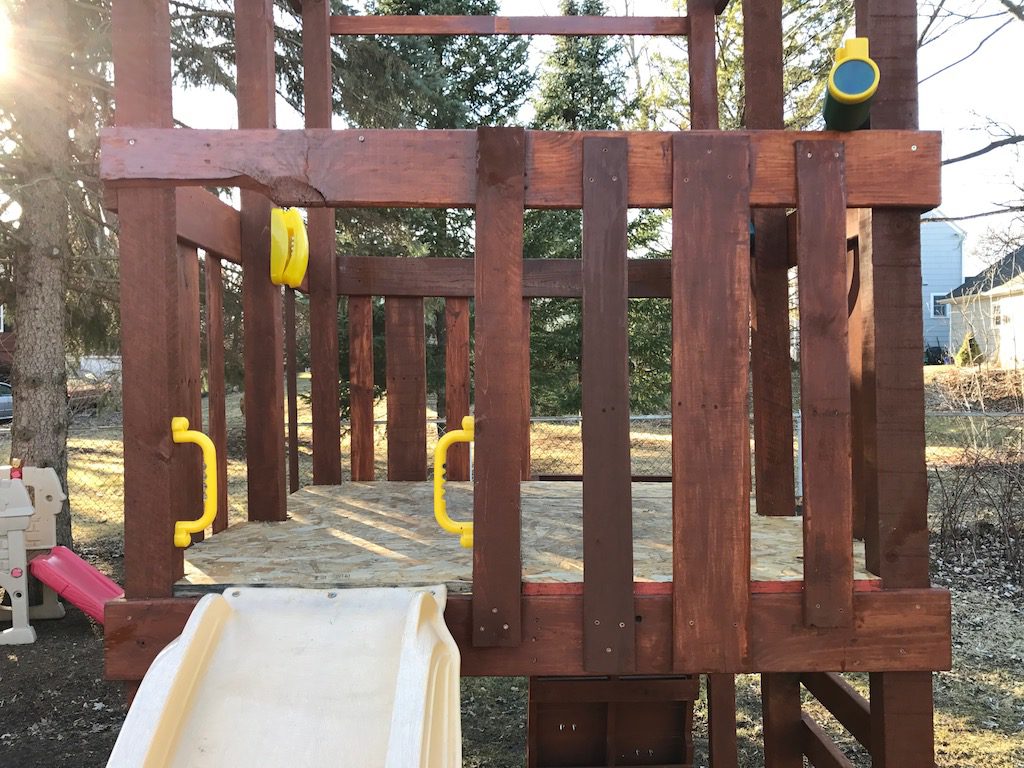
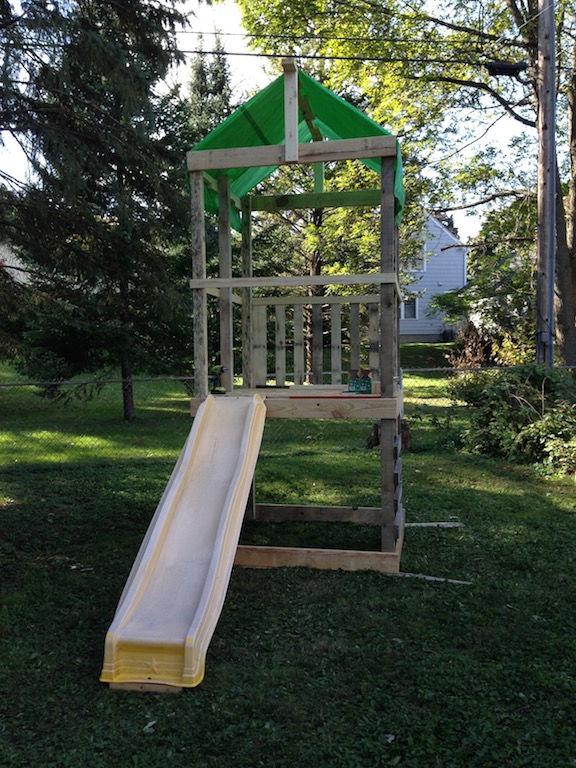
Once attached you will have a box like structure as shown here.

Initially was going to use 1 x 2’s for the top of the railing as you can see here. Once I figured out this wasn’t going to work, I ended up switching out the 1 x 2’s and using 1 x 6’s which matched the base and floor perimeter.
The additional surface area provided by the 1 x 6’s allowed me to use various sizes for the vertical railing.
In the image below you can see the various lengths taken from the pallets I took apart. I didn’t know at the time how many I was going to use. I just collected a bunch of different sizes.
I basically took pieces that I felt would make good vertical railing post and used these. The results are the pieces that are NOT stained in the image below.
As I mentioned a the beginning of this article, I only have a few images from when I initially built this.
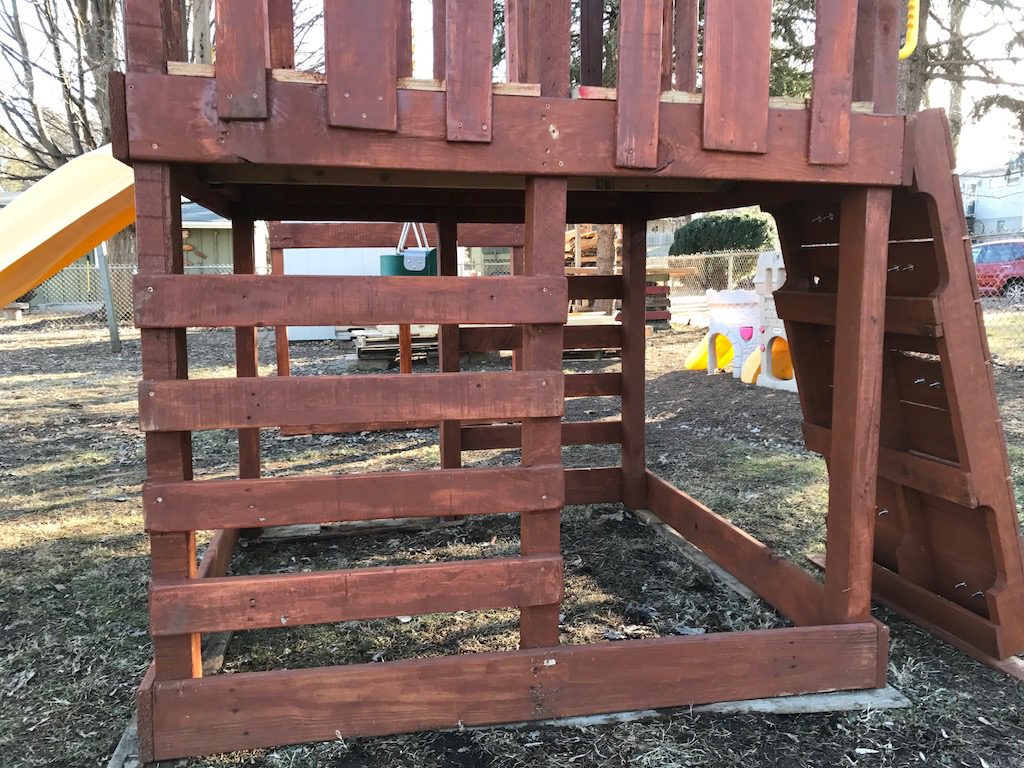
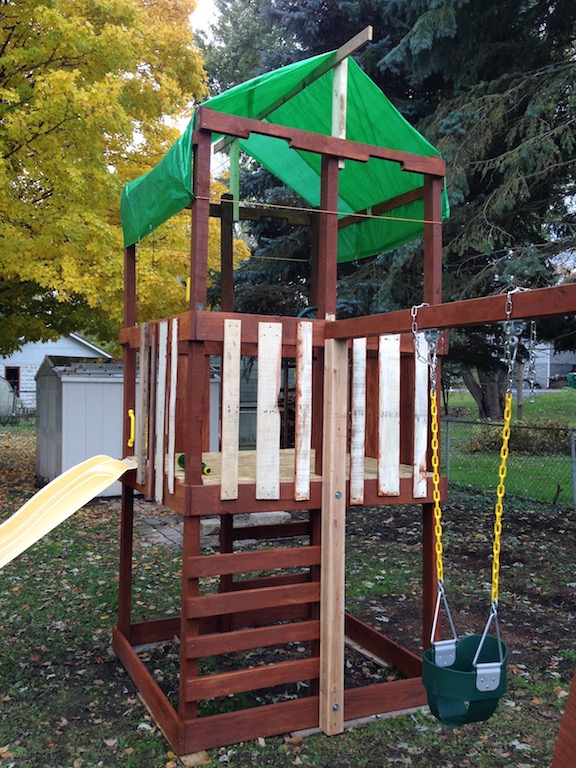
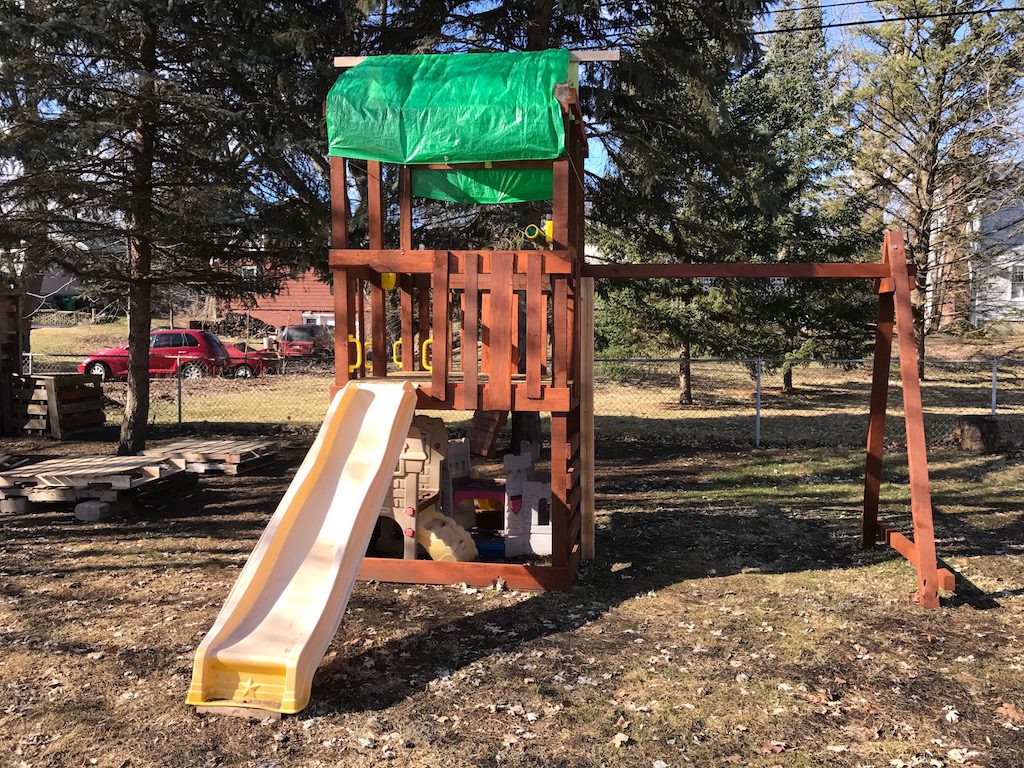
Here is what the completed tower looked like the weekend I put it together. It has evolved quite a bit since this time and I’m looking forward to make adjustments and additions.
Staining the playset
As for the stain, I wanted to go with something environmentally friendly. I knew from the start I wanted to stain it.
I’ve seen playsets made with pressure treated wood. Over time this turns an ugly grey color in my opinion. I’ve seen many playsets like this in my own neighborhood and it always turns me off.
I’m thinking long-term here. I want this set to last a long time, so staining it, will hopefully make this last a bit longer in our crazy midwest weather.
Since I decided to go with a company and product that is environmentally friendly, this meant paying a little more money for something that met this criteria. However, since I have very little money out-of-pocket, I felt it justified the higher price stain.
The product I went with is from EarthPaint and the item I bought was their Rainforrest Sealer. I also purchased the color tint, “cinnamon stick.” Here is a summary of my order.

One gallon almost covered the entire playset as shown in the finished playset below. I could have used about half a pint more to touch up some adjustments I made, but overall one gallon was sufficient. I think I could have stretched it out a bit, if I was more careful with calculating the surface area.
I knew that I was going to build a solid wood roof and this would require more stain. So once I was out of stain, I just figured I’d touch up the rest of the frame when I buy more for the roof.
Lessons Learned Building my First Playset
After assembling the tower structure, I ended up power washing the entire frame with lime clean. I was thinking the boards needed to be cleaned since they were used pallets. In hindsight, I don’t think I would have taken the time to wash them. This was a really messy job. Some of the images that lost when I changed phones showed how I went about cleaning the wood. It was a lot of work and in reality the boards really were not that dirty.
What ended up being a better idea, would have been to spend more time sanding the boards. Just about all the lumber recovered from pallets were rough cut. This meant the surface was pretty rough and prone to splinters if handing or playing with it. I decided to grab a belt sander and at least smooth out the latter steps where you place you hands.
I also sanded the bottom half of the post so if the kids playing around this area grab it, hopefully they won’t get splinters. So my lesson learned is that I would rather spend more time sanding the boards. This serves two purposes, it makes the playset safer by not having as much rough wood which could possible give you splinters.
In addition, there is no reason to power wash, if you are taking a belt sander to the boards. This step alone cleans up the wood and removes any surface dirt, toning or blemishes that reside on wood. Next up!!
Part Three – Do-it-yourself (DIY) Kids Out Door Playset – The Rock Climbing Wall
Do-it-yourself (DIY) Kids Out Door Playset – Part Three, The Rock Climbing Wall
Have any further question regarding this project? Please comment and share below.
Follow me on Twitter, or watch me on Instagram.
Looking for more DIY ideas? Sign up for our newsletter. I look forward to hearing from you.
Dave