DIY Playset Project
Goal: Install floor on the bottom of the playset and replace the OSB floor on the tower.
Have you ever shopped for a kids out-door play set before? Well, now that my son is three, I decided to see how much these things cost.
Yes, I had sticker shock when I started looking around. Even the options online were not much cheaper.
There is no way I was going to spend hundreds or even thousands of dollars for one. The way I figured it, I could make one of these for a whole lot less money. And besides it gives me something to build. I like building things, did I mention that?
If you are just joining us, I created an article series for this project. You may want to start with part one, Do-it-yourself (DIY) Kids Out Door Playset – Part One, The Project
You are reading part six, which talks about installing new floor on the bottom and upgrading the existing floor on the tower.
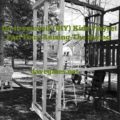
Playset overview
When I first built this playset my plan was to keep the bottom open to use as a sandbox. So I never installled a floor. However since we already have a sandbox area, I decided to frame the bottom and install a floor.
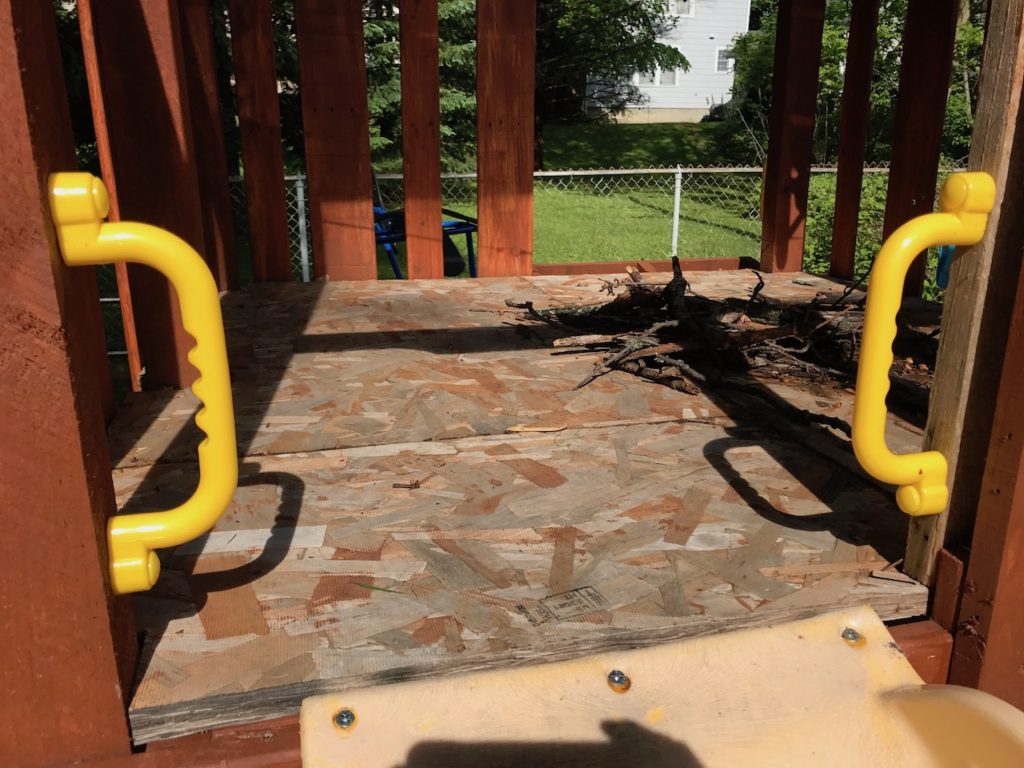
Initially I only had OSB, which I used as the floor for the tower section. This was not ideal since it does not last and is easy to get splinters.
In this image you can see the OSB floor, which we will be replacing with solid boards.
So this article reviews the install and upgrade of the two floor sections of the playset.
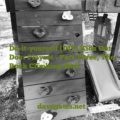
Playset floor lumber
FREE once again, all the lumber required for this project was pulled from discarded pallets.
I didn’t have to spend a dime on any of it. I just had to bring it home and cut it to size. It was one of the easiest parts of this project.
I was also able to use up some free 2 x 4’s for framing the bottom floor.
The boards shown below are 1 inch thick by 5 inches wide. The lengths varied, but all over 5 feet. Once I saw these I immediately thought to myself, these would come in handy for some project.


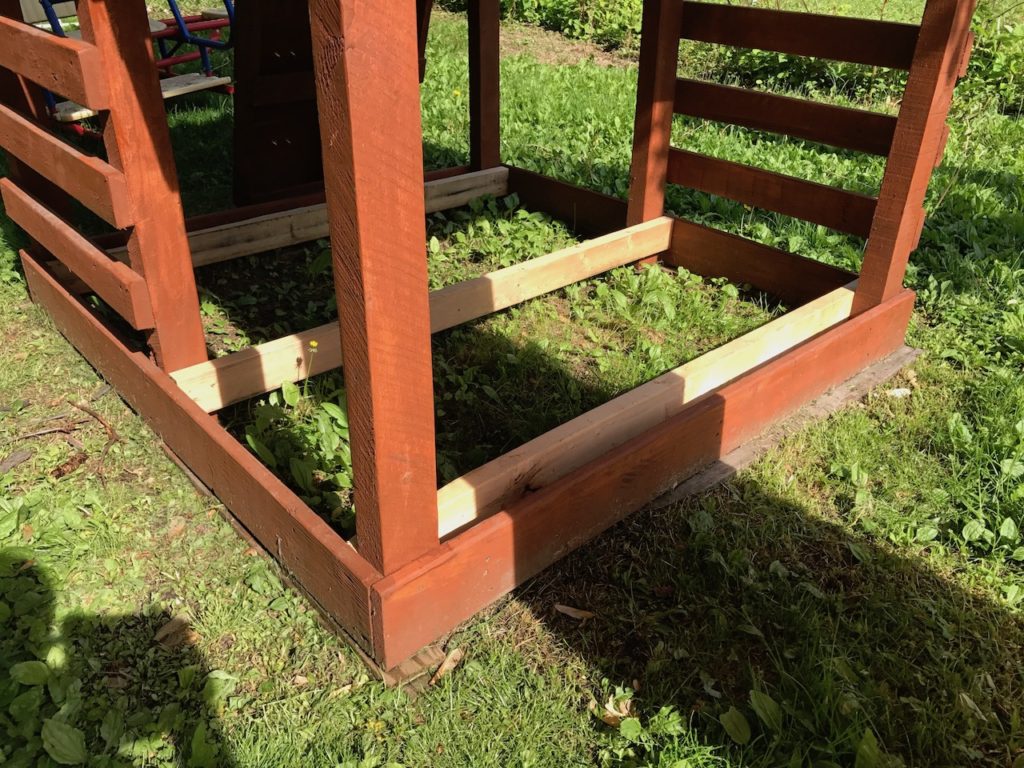
Framing the playset floor
The first step in the project was to frame the bottom with some 2 x 4’s.
These will add stability and also allow surface area to fasten down the floor boards used for this project.
Once I had the boards cut it was time to sand them.
Sanding the playset floor boards
The Craftsman belt sander I inherited from my dad came in handy for sanding the boards. Thanks Dad!
Most of the boards were already in great shape, but I’ve learned from previous experience that it’s a good idea to smooth out any rough edges.
This also creates a more professional look.
I used course sandpaper for this job.
Once the boards were sanded, it was time for staining.
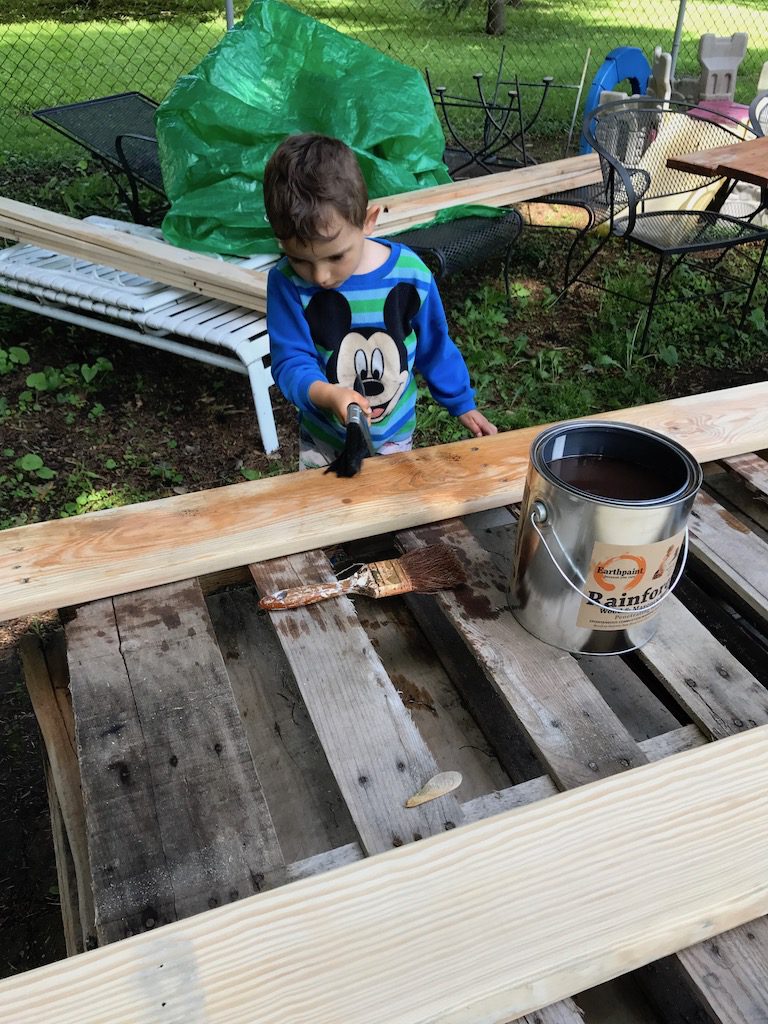
Staining the playset floor boards
I’m sticking with the EarthPaint Rainforest Sealer. However, I choose to experiment with a new color. EarthPaint products are definitely not the cheapest option, but I prefer the earth friendlyness of this company.
I settled with th Acorn Light color tint for both sections of the new floors. It turned out darker than I imagined, but I still like it. I think because the frame is stained in cinnamon stick this makes it look darker.
My son wanted to help with the staining which is a good thing since it’s his playset.
Here he is working hard. Daddy loves you.
Playset hardware
I used 2 1/2 spax construction screws to secure the floor boards to the frame.


Tools used for the playset floor
I wasn’t able to find a picture of the Craftsman belt sander I have since it’s pretty old. My dad reports he has had it for 40 years.
If I had to replace mine though I’d probably go with this one. I’ve been pretty happy with my Ryobi cordless tools.

I’ve also been using the Roybi impact driver my father-in-law gave me for Christmas. Thanks Al!

Roybi Cordless circular saw. This as used to trim the boards to size.

Installing the playset floor
I thought this was going to be the easy part. And it was actually not too difficult, but I did have to cut around the end boards so it would fit properly.
One of the boards needed to be cut to fit around the slide. Since I didn’t want to mount the slide on top of the board. I wanted the slide to sit below the floor board so when you are sitting at the top here, you don’t catch your shorts, if that makes sense.
On the other side I needed to adjust the length of the boards to fit around the corner post. And the last adjustment was the center piece which was not as wide and not as long as the other pieces.
Overall the squareness of the tower measurements are not exact since I’m using various sizes of free lumber I pulled from pallets. So this meant that I also needed to custom cut and size the final floor board to make it fit the area. Yes, a bit more tricky than just having the corrects sizes, but since the lumber is free, and its just a little extra work. I’m OK with that.
Playset floor complete
This was not too difficult of a project. I felt like it took a long time to complete but in reality, it wasn’t all that long.
The biggest challenge was setting aside time to work on it. In my particular case, I only have an hour here or an hour there to work on it. So it’s a bummer to start one part then have to stop and pickup at another time.
I’m also a early riser, so I’m a little hesitant to start using a loud belt sander and circular saw so early in the morning. I’d rather not anger the neighbors.
Since there was staining involved this added more time waiting around for stain to dry. But it is all worth it. Its late May early June here in the Chicago-Land area and the weather is nice making it enjoyable to work outside.
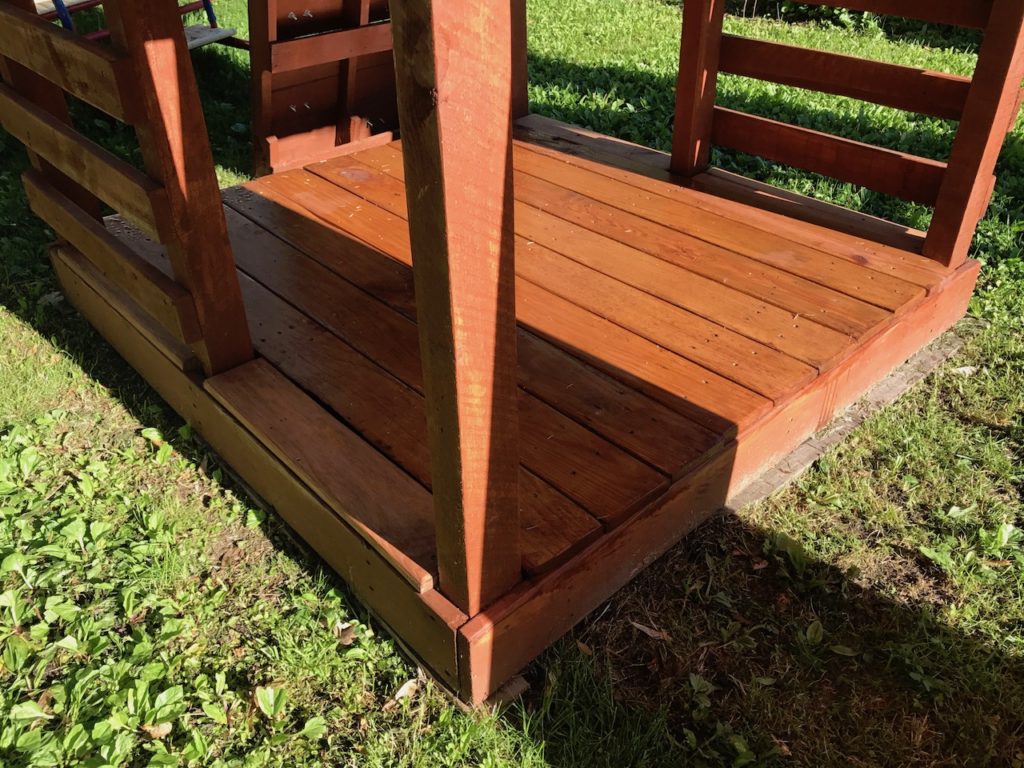
Here is what the bottom floor looks like.
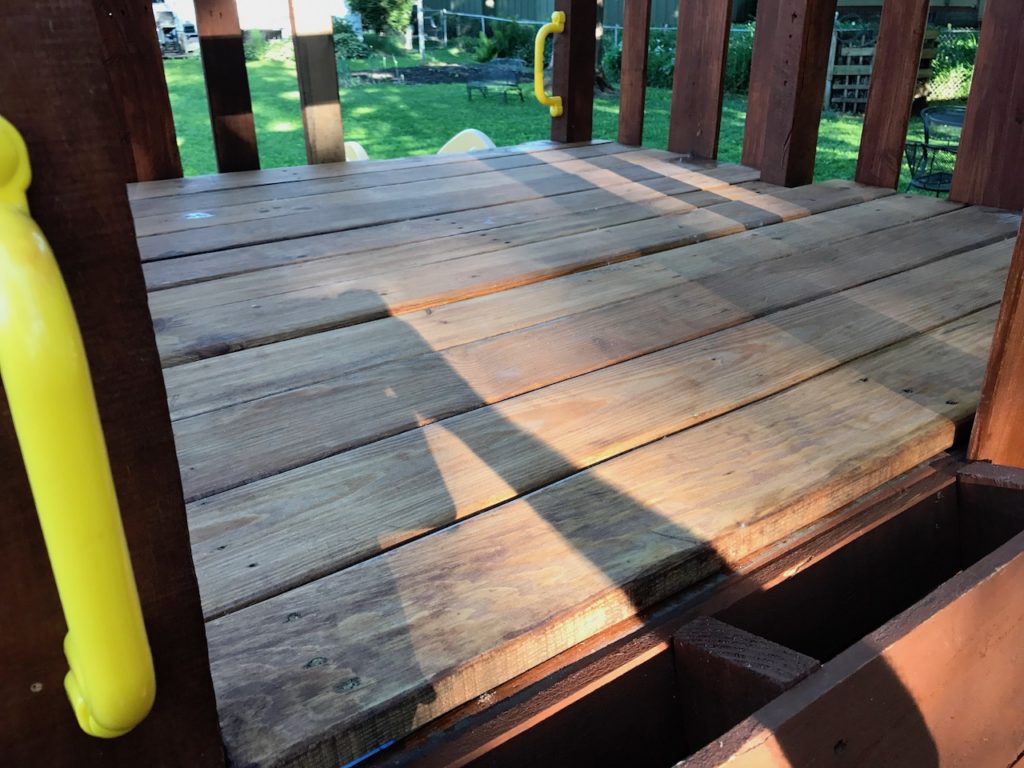
Here is what the tower part of the floor looks like. The bottom floor boards appear darker than the top floor boards. I added a second coat of stain to the floor boards which I think darken it up. There is only one coat of stain on the tower floor boards.
This is what is looks like after moving in the furniture.

Thanks for following along. Need to go back through this article series again. Start here with part five.
Do-it-yourself (DIY) Kids Playset – Part Five, The Roof.
Do-it-yourself (DIY) Kids Playset – Part Five, Building The Roof
Have any further question regarding this project? Please comment and share below.
Follow me on Twitter, or watch me on Instagram.
Looking for more DIY ideas? Sign up for our newsletter. I look forward to hearing from you.
Dave Gates