
Goal: Reposition existing tower and raise the swing on the existing playset.
Have you ever shopped for a kids out door play set before? Well, now that my son is three, I decided to see how much these things cost.
Yes, I had sticker shock when I started looking around. Even the options online were not much cheaper.
There is no way I was going to spend hundreds or even thousands of dollars for one. The way I figured it, I could make one of these for a whole lot less money. And besides it gives me something to build. I like building things, did I mention that?
If you are just joining us, I created an article series for this project. You may want to start with part one, Do-it-yourself (DIY) Kids Out Door Playset – Part One, The Project
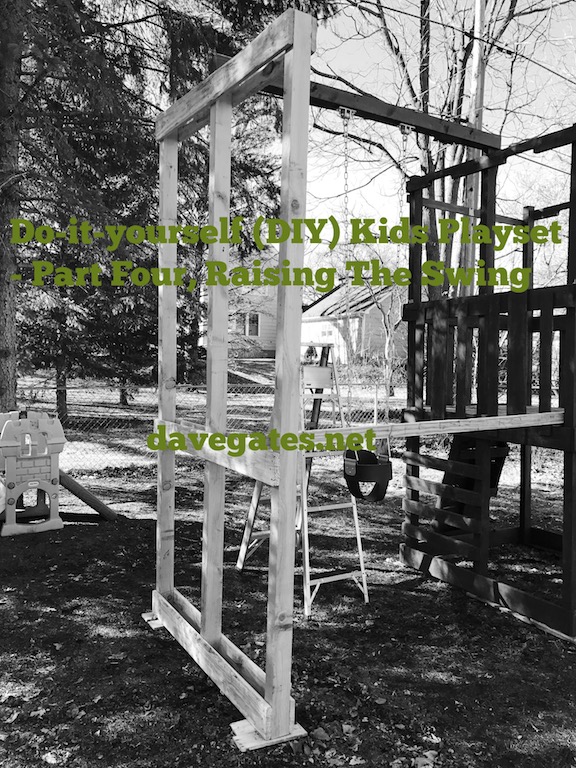
You are reading part four, which talks about repositioning the main tower and raising the swing frame on the existing playset.
Playset project overview
I initially started this project in the fall of 2016. I’m just getting around to writing up how I went about designing and building it.
The playset is done. However, my son wants the swing higher. Now I’m taking orders from a three year old. WHAT!!
The existing playset swing
Here is what the swing looks like right now. As you can see there is a lot of extra slack in the chain. To keep it from hanging, I’ve had to wrap it around the top of the frame. Not ideal, so there is room for improvement.
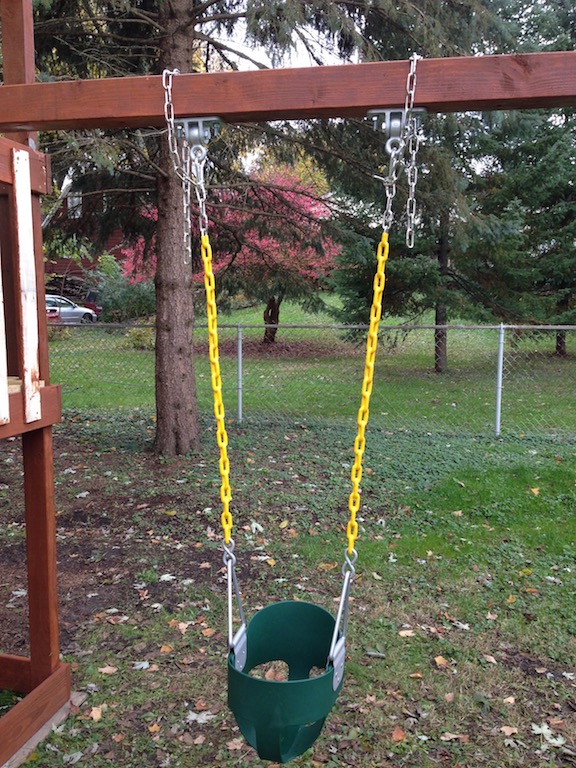
To be honest I actually built the swing frame portion of the playset before knowing that Grandpa & Grandma were going to buy a bucket swing and hangers. Thanks again Grandpa & Grandma. Love you!!
So at the time I didn’t have any specifications to design the frame to hold it. I used whatever boards I had at the time to build an A frame for one end of the swing. The other end I added a 4 x 4 post and attached this to the main tower.
My plan now is to build a new frame for the swing so it is level with the the existing tower structure.
This will allow us to use the entire chain as it was intended. I think this will also improve the functionality of the swing.
Daddy push me high!! I keep hearing my son’s voice as I’m building and writing this article!! There’s that voice in my head again.
A bonus is the additional frame will actually be sturdy enough to add another swing if needed.
My son mentioned he wants a swing for his cousin. In blue no less. We’ll see how that goes.
Playset swing set hardware
As I mentioned, grandpa & grandma were generous enough to purchase the swing set hardware required for this project. No money out of my pocket is always a good thing.
You have to purchase both parts, the bucket swing does not come with the hangers, just to be clear, these are two separate parts.
- Eastern Jungle Gym Heavy-Duty Hight Back Full Bucket Toddler Swing Set Seat with Coated Swing Chains & 2 Snap Hooks Fully Assembled Play Set in Green from Amazon.
- Jungle Gym Kingdom 2 Heavy Duty Swing Hangers for Wooden Playground Porch from Amazon.
Moving the existing playset tower
As with most DIY projects this took longer than I thought.
For starters, I didn’t just build and add a new frame. I ended up moving the entire tower over to the right of the yard. In order to do this I also had to remove the tarp roof and frame.
There were two reasons for this. One is that the center board on the tower was shorter on one side than the other. I wanted to utilize the taller frame board which of course was on the other side of the tower.
This meant I either needed to cut the entire new frame I built or switch the side where the swing set is installled to the other side if that makes sense.
The second reason for moving the entire tower, is that I wanted it closer to the tree stump. I think eventually I’ll build an addition that would connect the playset to the treehouse. I’d rather have the playset in place now.
Playset Lumber
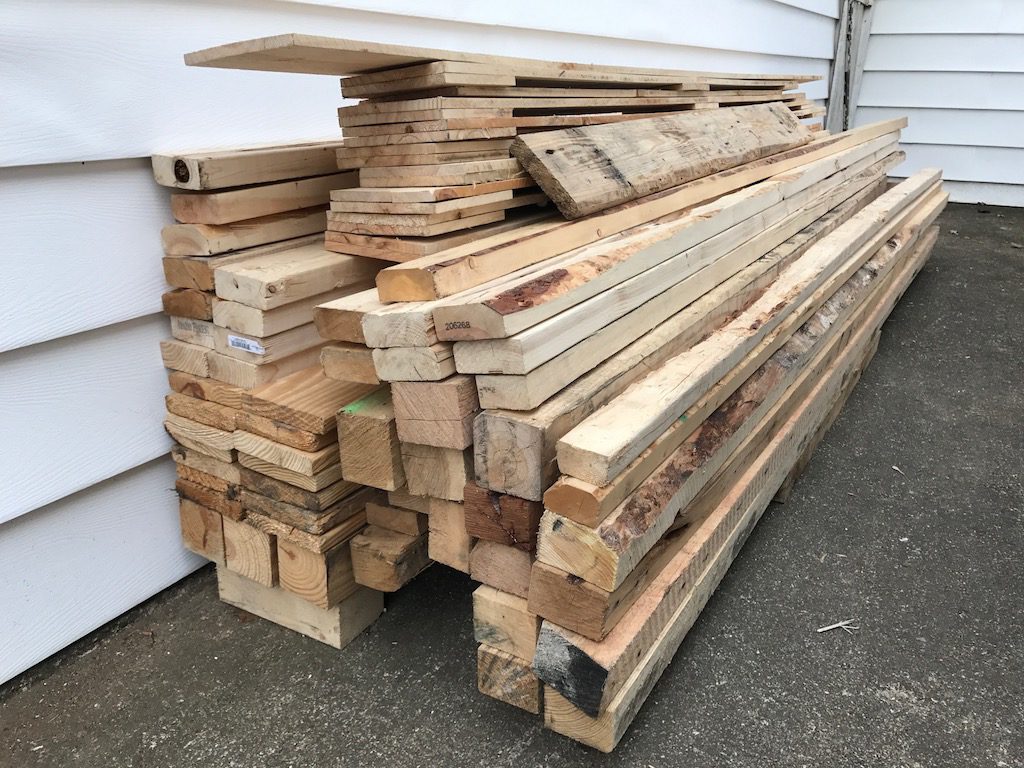
FREE once again, I was able to reclaim more pallets from the day job for this project. Here is a picture of the pile of free lumber I’ve been reclaiming from pallets. Its sort of a growing mass of lumber. I keep bring home more as they become available. I think I have enough to build a new work bench.

Building the playset swing frame
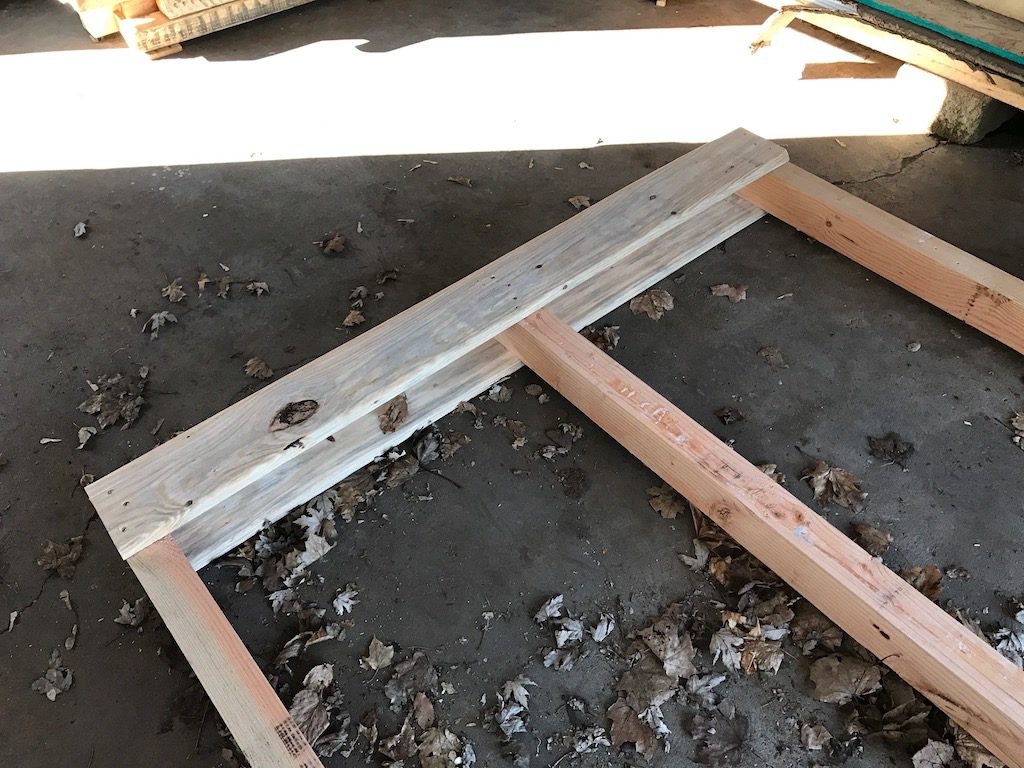
The frame I built is almost identical to the side frames on the tower. Here is an image of the frame.
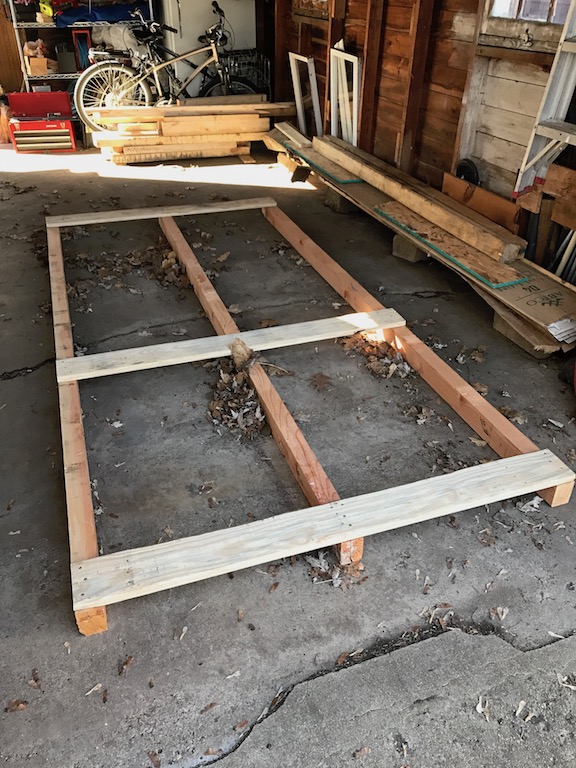
I’ve added another 1 x 6 to the other side of the frame for stablity. See images below.
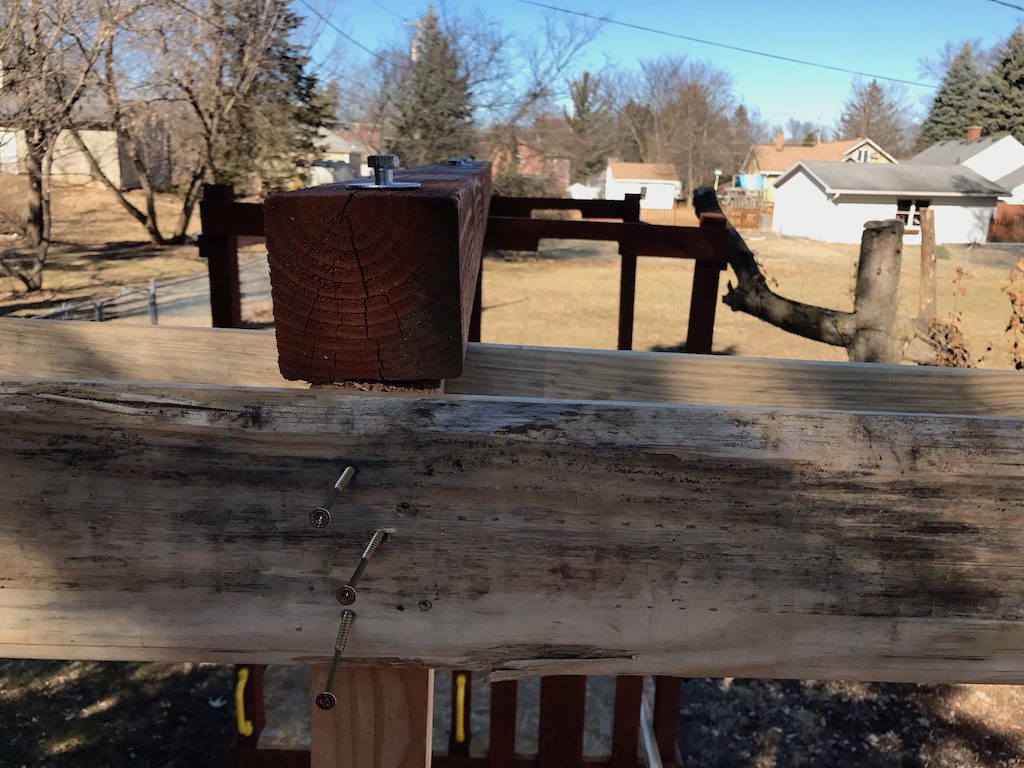
After moving the existing tower and building the frame, I brought the frame to the back yard and attached it to the existing tower.
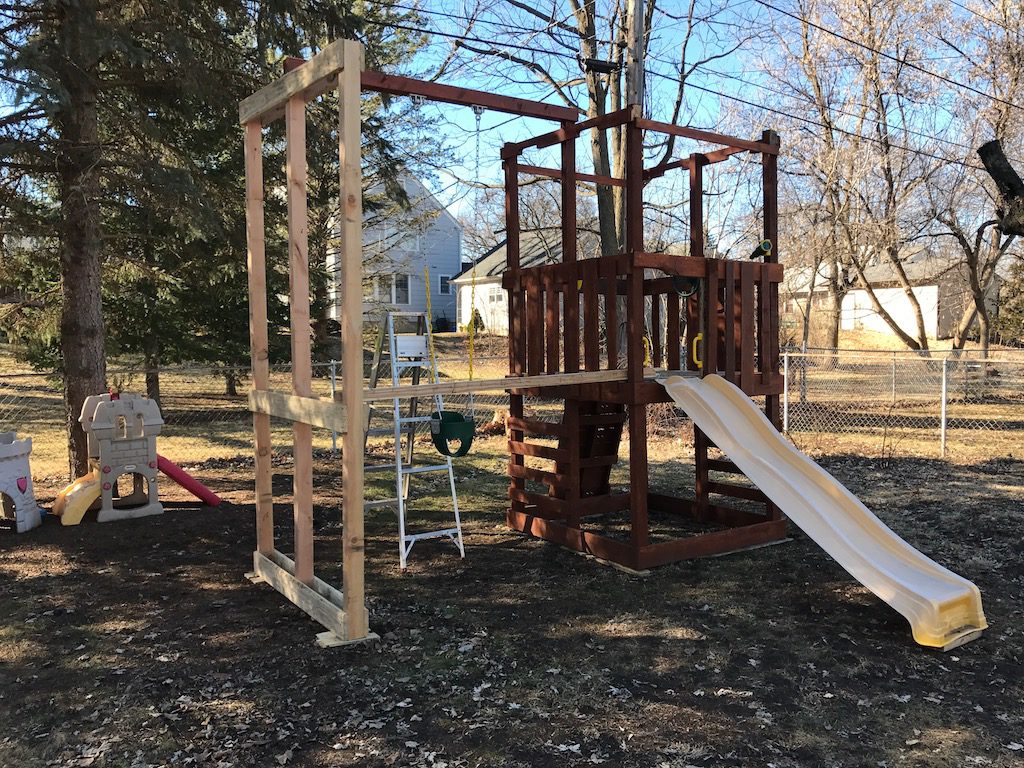
I was able to re-use the 4 x 4 cross beam where the swing hangers were installed. There are six-inch lag bolts used to hold the cross beam to the swing frame and main tower. (see image below)
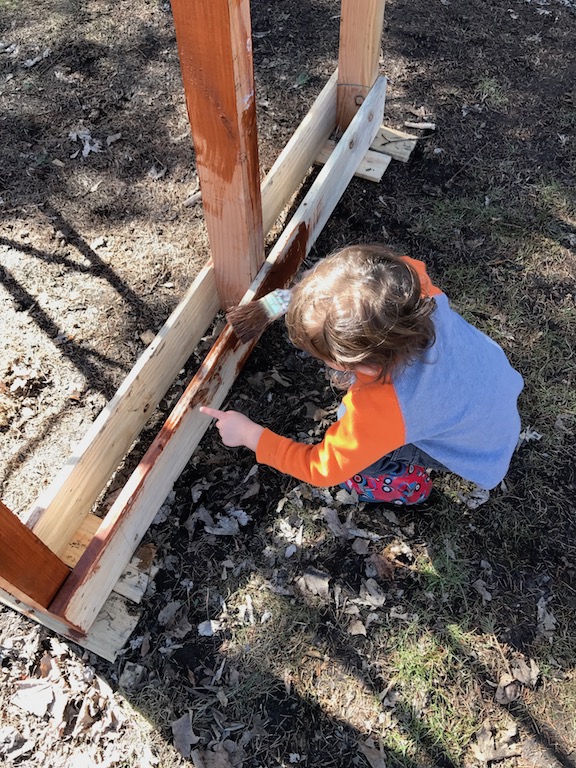
Once the frame was in place and secured, it was just a matter of staining it. I finally wised up and put the kid to work too.
Why am I doing all the work again? Afterall it’s his playset. Daddy loves you!!!
Here is the completed new swing addition. I’m pretty happy with it for now. Sort of medieval looking don’t you think?
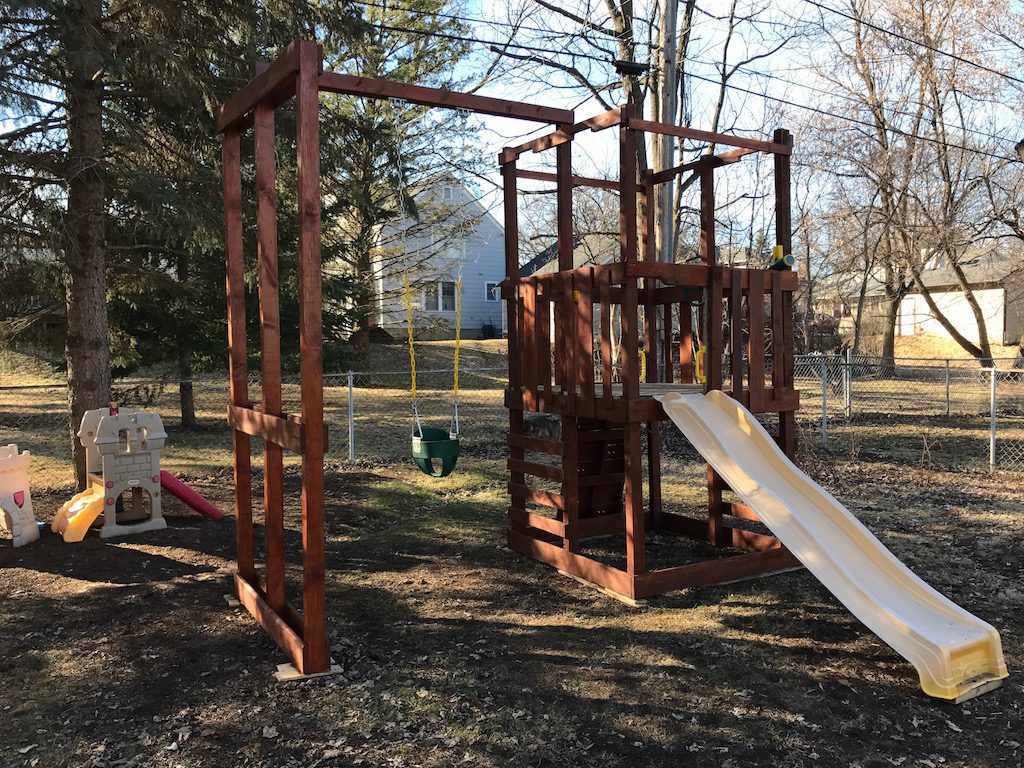
My son approves so l think we can close out this part of the project.
Next up is a new roof. I never liked the cheap looking tarp options you see on most playsets, or the green tarp I initially used.
I’ve been keeping my eyes open for some thin shingle type boards I can use for a new roof. Next up!!
Part Five – Do-it-yourself (DIY) Kids Playset – Building The Roof
Do-it-yourself (DIY) Kids Playset – Part Five, Building The Roof
Have any further question regarding this project? Please comment and share below.
Follow me on Twitter, or watch me on Instagram.
Looking for more DIY ideas? Sign up for our newsletter. I look forward to hearing from you.
Dave