
Goal: Build a wooden roof to replace the plastic tarp on the existing playset.
Have you ever shopped for a kids out-door play set before? Well, now that my son is three, I decided to see how much these things cost.
Yes, I had sticker shock when I started looking around. Even the options online were not much cheaper.
There is no way I was going to spend hundreds or even thousands of dollars for one. The way I figured it, I could make one of these for a whole lot less money. And besides it gives me something to build. I like building things, did I mention that?
If you are just joining us, I created an article series for this project. You may want to start with part one, Do-it-yourself (DIY) Kids Out Door Playset – Part One, The Project
You are reading part five, which talks about building a wooden roof.
Playset overview
When I first built this playset I used a plastic tarp for the roof. This also included using bungee cords to hold it in place. Not my ideal solution.
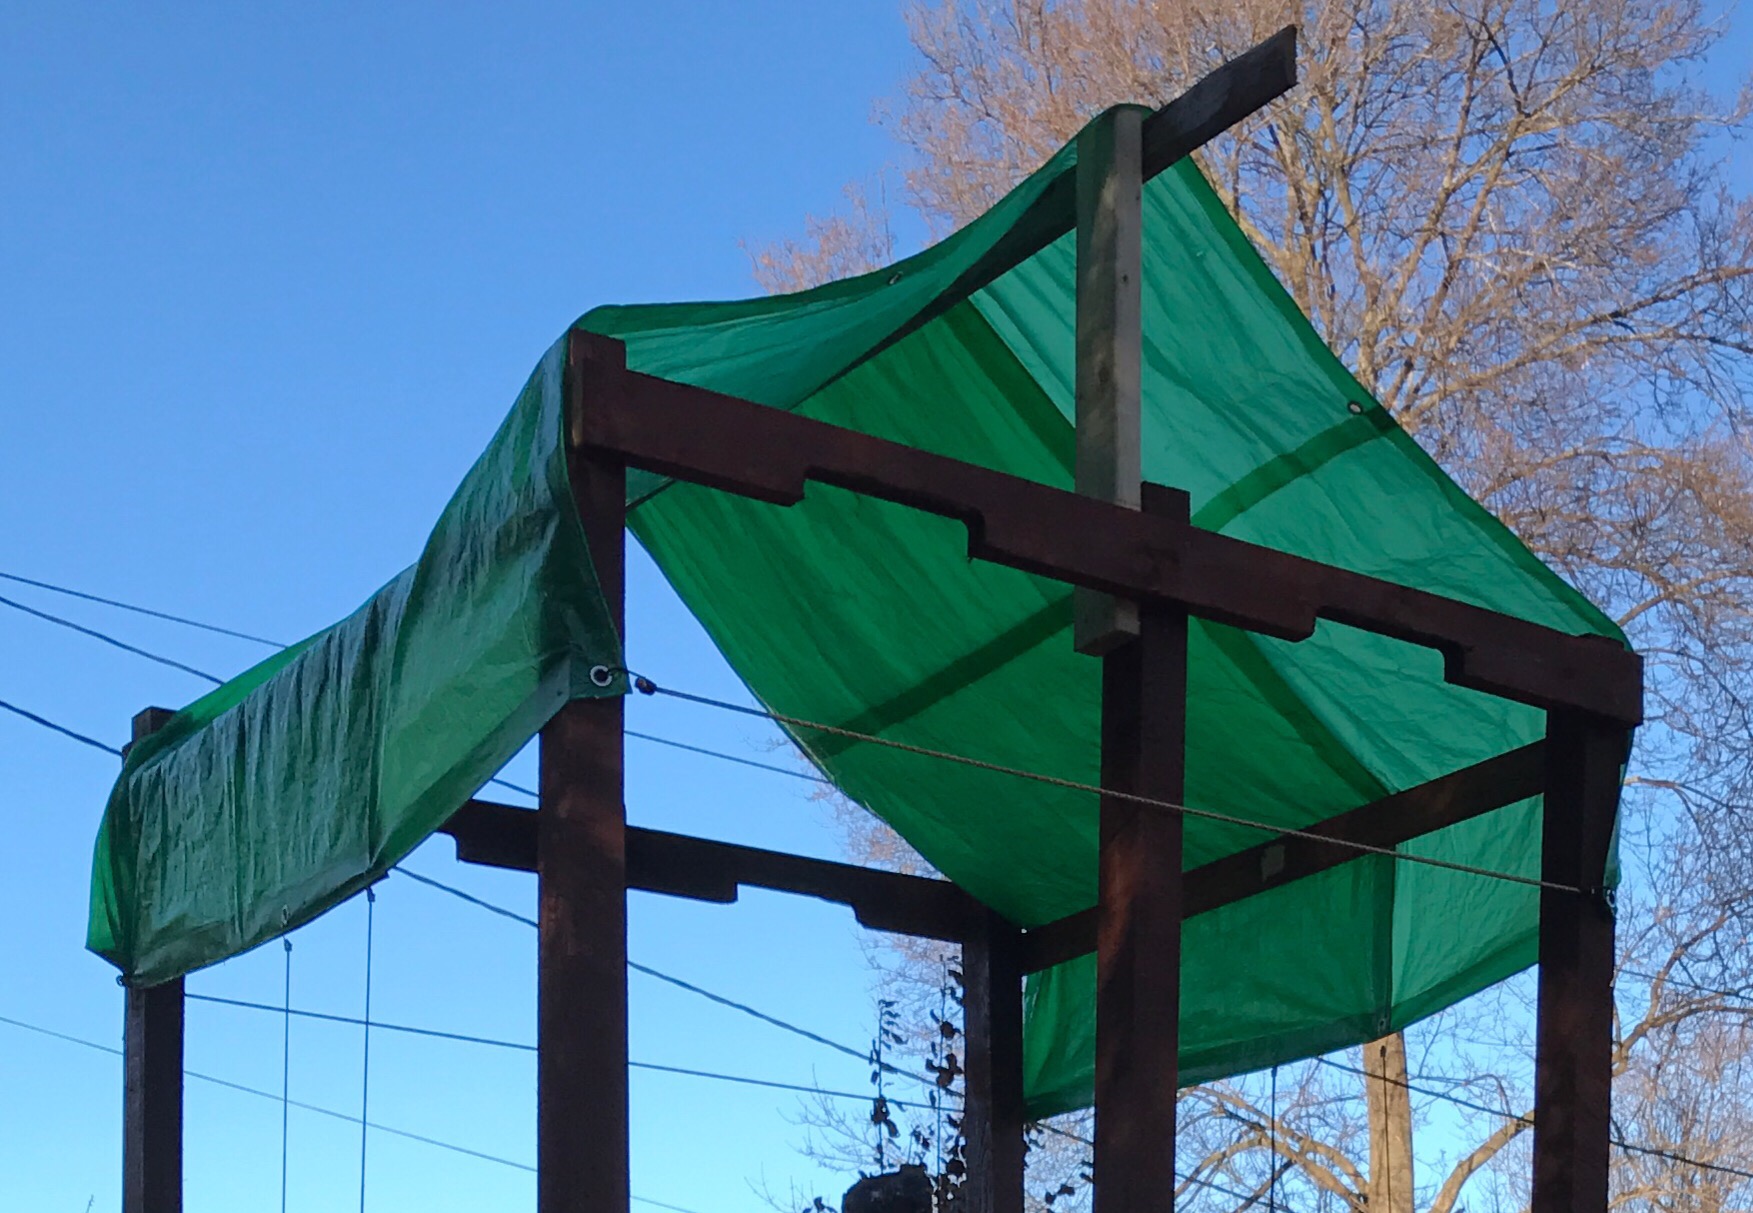
Over the winter it started to rip and come loose. I knew that once I started collecting more wood I’d be able to replace it with something more permanent.
This article explains how I went about this part of the project.
Playset roof lumber
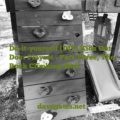
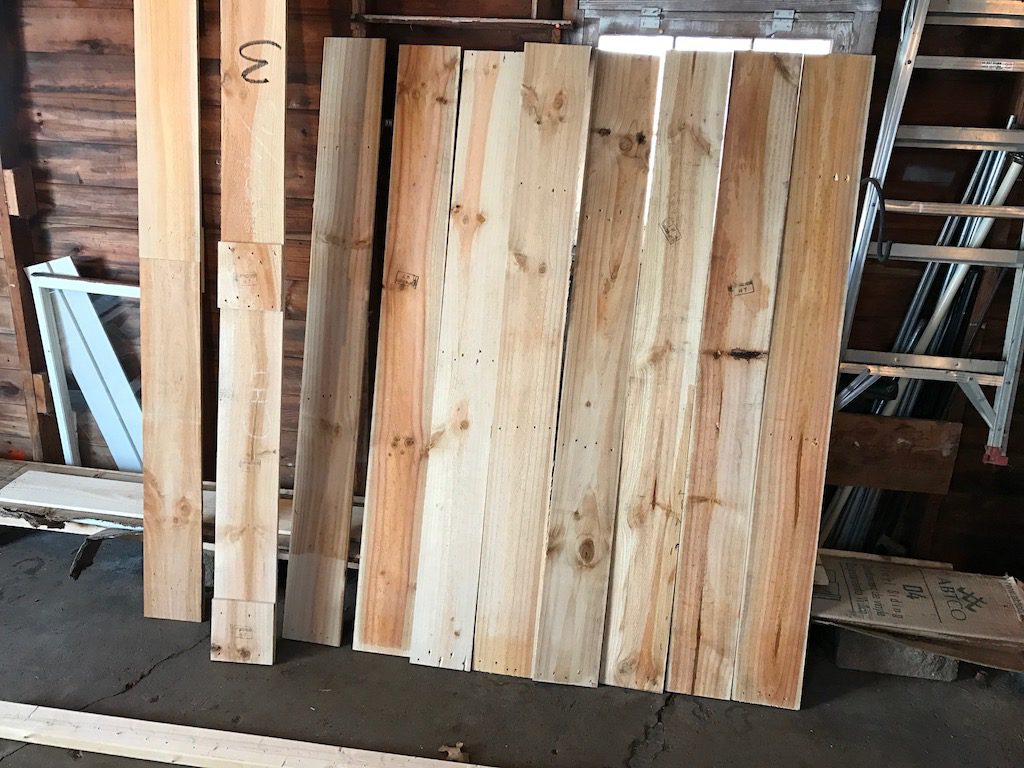
FREE! once again, all the lumber required for this project was pulled from discarded pallets.
I didn’t have to spend a dime on any of it. I just had to bring it home and cut it to size. It was one of the easiest parts of this project.
The boards shown below are light weight, 1/2 inch thick by 7 inches wide. The lengths varied but all over 6 feet. Once I saw these I immediately thought to myself, these would make the perfect roof.
- The shingle looking pieces are 1/2 inch thick by 5 1/2 inches wide. I ended up cutting them to 71 inches for the length.
- The 2 x 4’s for the frame are 4 ft in length.

Playset hardware
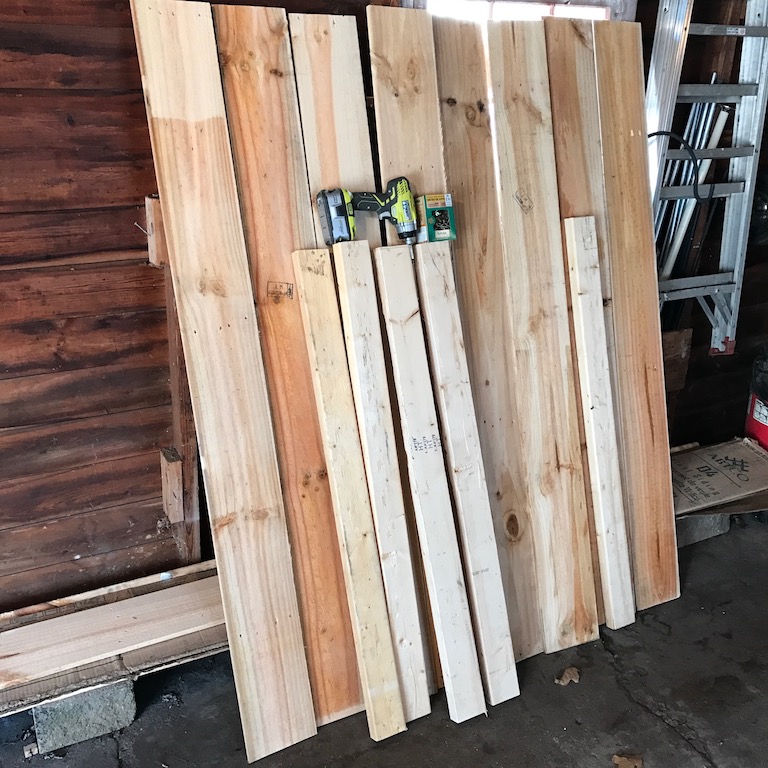
I used the 1 1/4 spax construction screws to secure the roof panels to the 2 x 4 frame.
I used the longer 3 1/4 length screws to secure the roof to the tower frame.
Tools used for working on playset roof
Circular Saw – Ryobi circular saw
– Used to cut he panels and 2 x 4’s.
Impact Driver – Ryobi impact driver and bits.
– Used to drive the construction screws.
Paint brush
– To stain the panels.
Tape measure
– For measuring the boards to proper length.
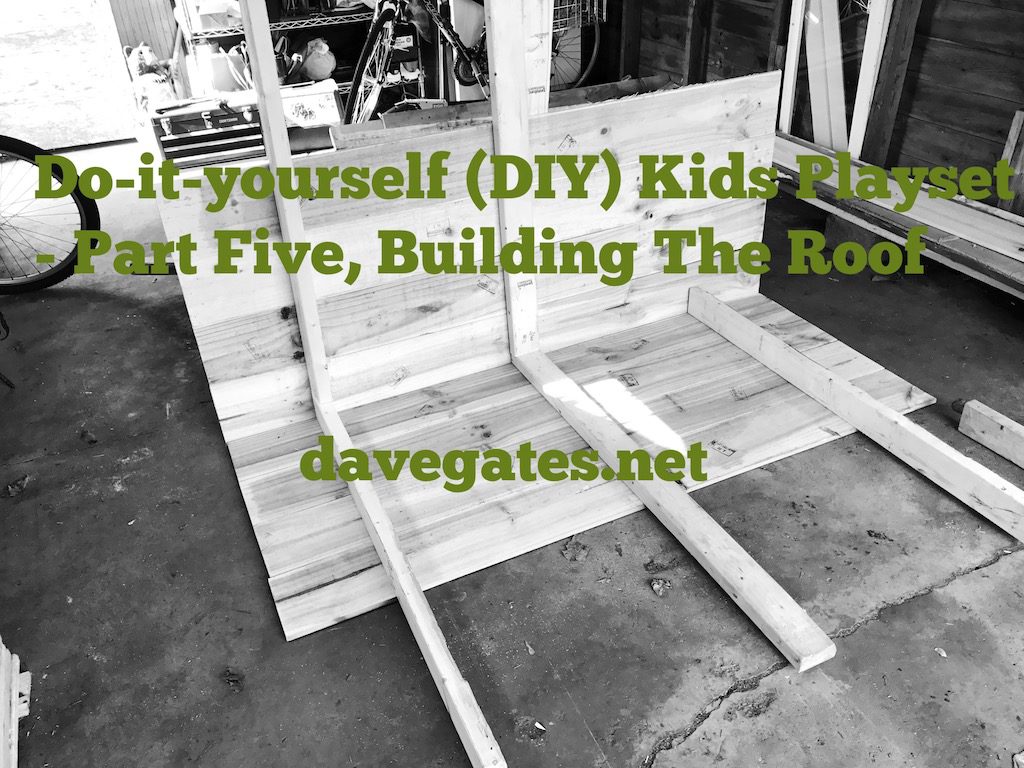
Building the playset roof
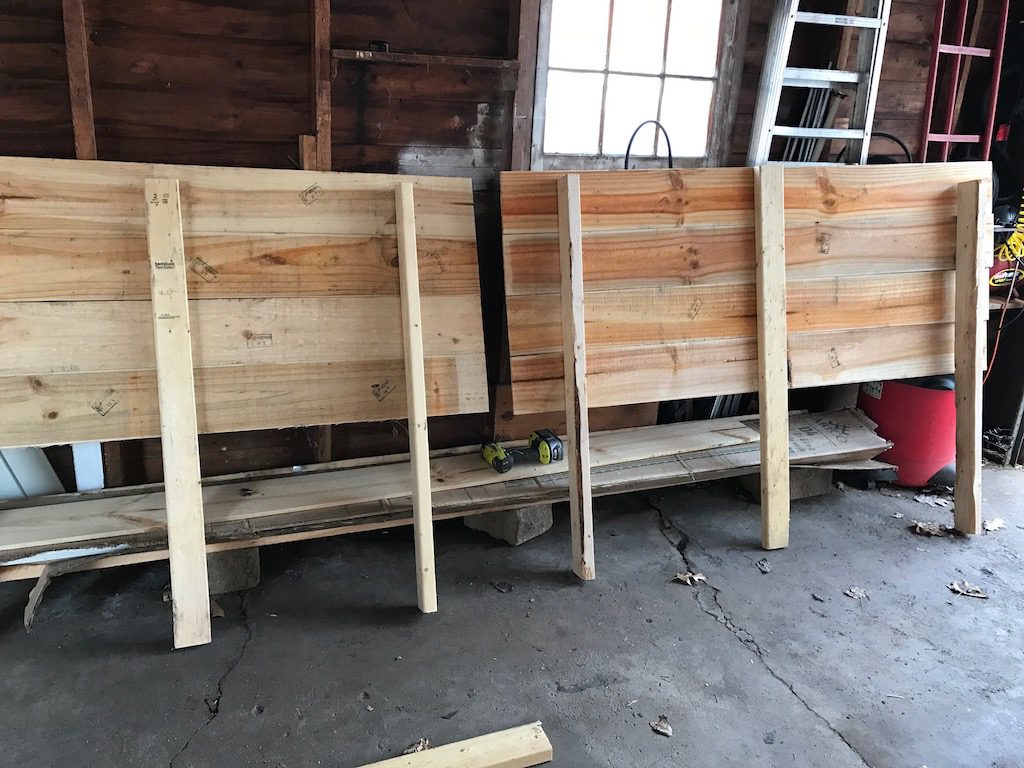
The fist thing I did was collected enough lumber needed to sufficiently work this project. I also reclaimed some 2 x 4’s for the frame in addition to the wider boards. It took several months to get enough wood, but I was in no hurry.
The second part was trying to figure out how wide to make the roof. In order to do this I took the measurements of the top portion of the tower. This ended up being slightly over five feet.
Since all the wide boards I reclaimed were pretty lengthy, I know I could add a little more so I’d have a little over hang. This seemed ideal to me and a better design.
Once I knew the dimensions of the roof panels I was able to cut all the lumber to size and then assemble the roof. I pulled the design concept from the playset on display at my local Menards. Pay particular attention to the 2 x 4’s under the roof. Once I knew the those were about 4 feet in length, this gave me dimensions to work with.
It was easy to cut the 2 x 4’s for the frame. Here is a picture of the wooden roof, I based my design from.
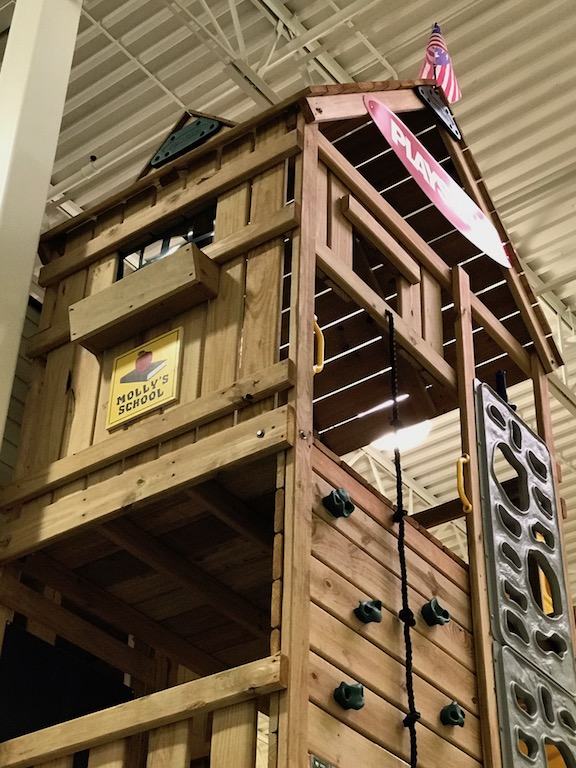

What is hard to see in the image is how the 2 x 4’s of the roof frame come together. But after analyzing it for a while I was able to come up with a plan.
Playset roof design
I’ve been working on this project for over 6 months now and have looked at several playsets.
It appears to me the length of the 2 x 4’s on this roof of this display model are about 4 ft.
I also asked random trades looking customers their opinion on he length of the boards. I’m very scientific here.
Their response is that it looked about 4 ft in length. I agreed and so this gave me a starting point for the frame.
Once I knew how the frame was going to come together it was really just a matter of cutting the boards to size and assembling it.
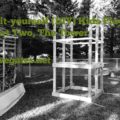
I created both sides of the roof. This left me with two panels as shown.
I was trying to avoid building the entire roof and then having to hoist the entire thing onto the top of the tower myself.
Here is what they look like when they are together.
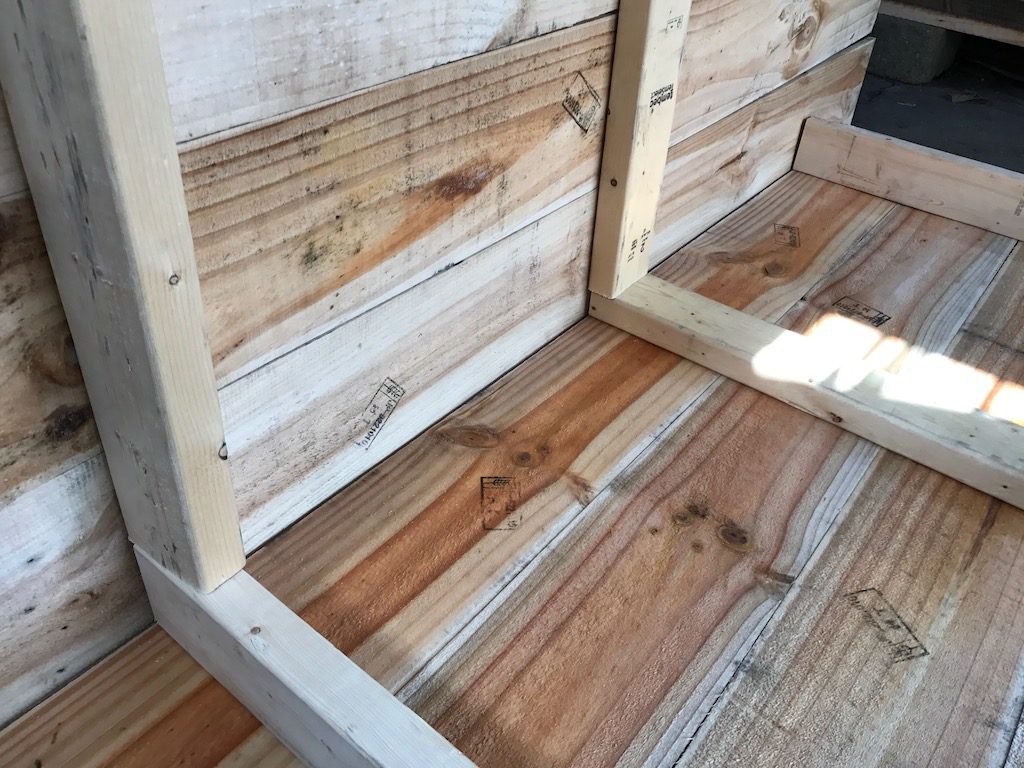
The reasons I went with two panels was simply because, I wanted to stain the panels first. In addition I was going to have to lift these up onto the playset myself.
So I figured if I had them in two pieces, this would make the installation more manageable.
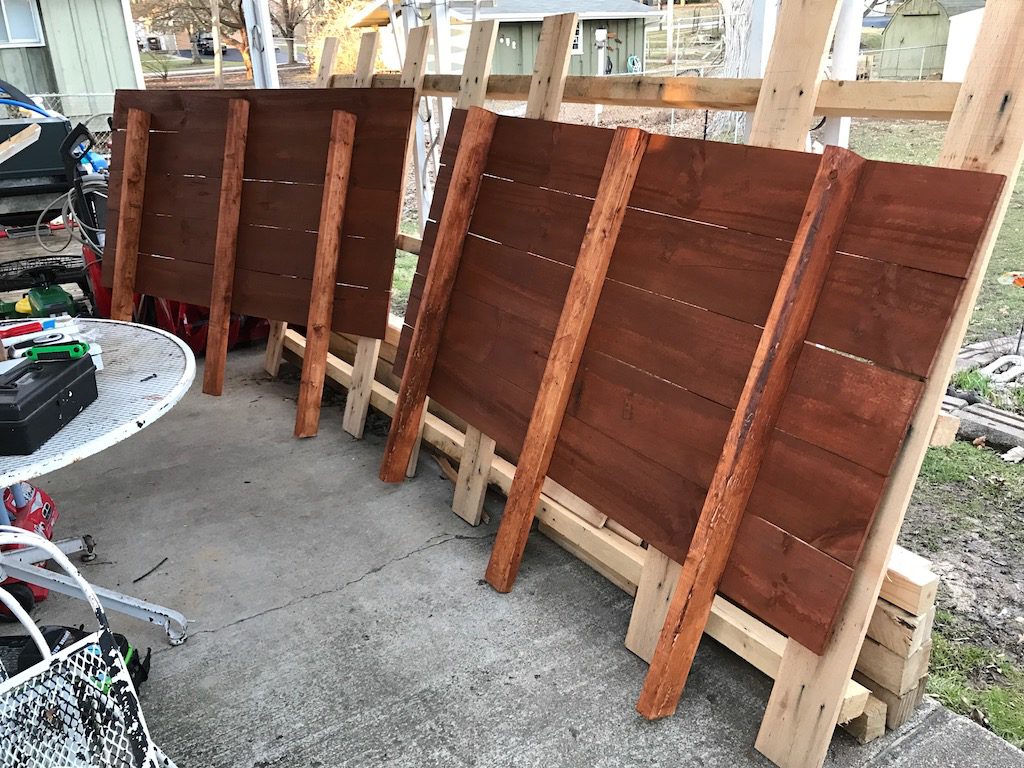
Playset roof stain
Once again, I’m using Rainforest Sealer stain from EarthPaint.
After staining they were ready to install.
Playset roof Installation
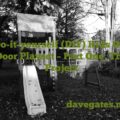
My initial thinking was to install one side on the playset. Secure it to the main tower.Once it is attached, I’ll use a long board to hold up the other end of the panel. Once I have one panel in place all I need to do is place the second panel and secure it to the tower. As you can see here I have one side setup.
Well, that was much harder and complicated than I imagined. The installation of the roof did NOT go as planned. The difficulty came in trying to get the second panel aligned with the one already up there. I ended up abandoning’ the one panel at a time installation.
Once I found out that attaching the panels one at a time was NOT going to work. I ended up assembling the entire roof on the ground and then hoisting this up onto the tower. Well, that didn’t go as planned either. And was much more difficult. It was nearly impossible given I was doing this all my myself. Sure, in hindsight I should have asked for help, but I’m stubborn and wanted to get it done.
Here is me trying to hoist this thing up onto the tower.
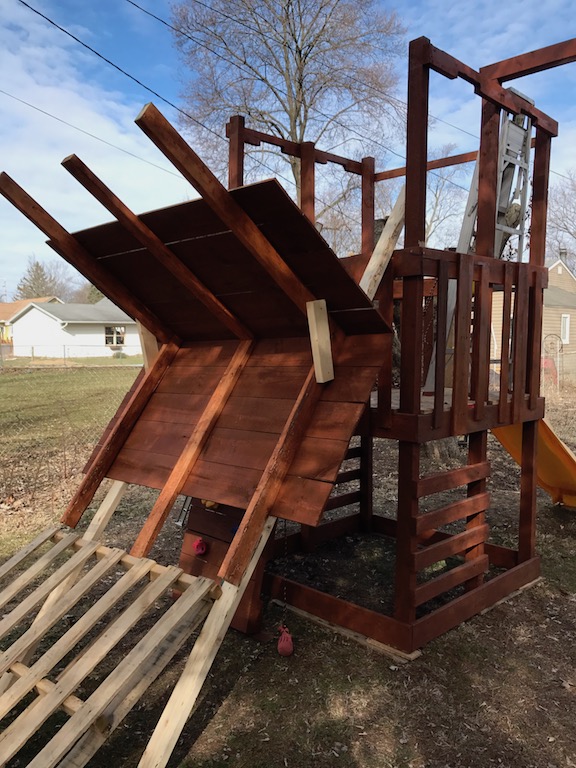
This almost looked as though it was going to work, but once I had the whole roof up so high it was too difficult to maneuver on my own. As you can see in the images below, I tried to building a platform to hoist this it onto, but the temp frame I built ended up collapsing.
I ended up dropping the entire roof and breaking it in several pieces. see image below. I guess this was a bit for one person. I should have stopped and asked for help at this point but I wanted to get this done before the snow started falling again. So I continued on. At this point I was kind of exhausted and I stopped taking pictures of all the ways I tried to get this installed.
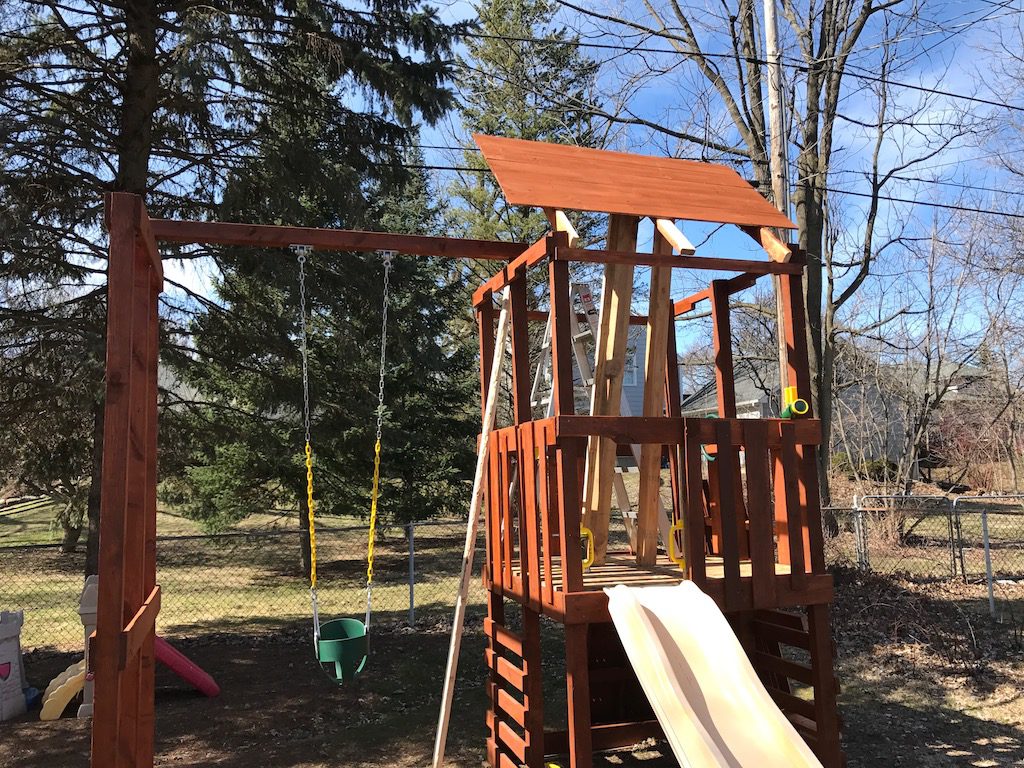
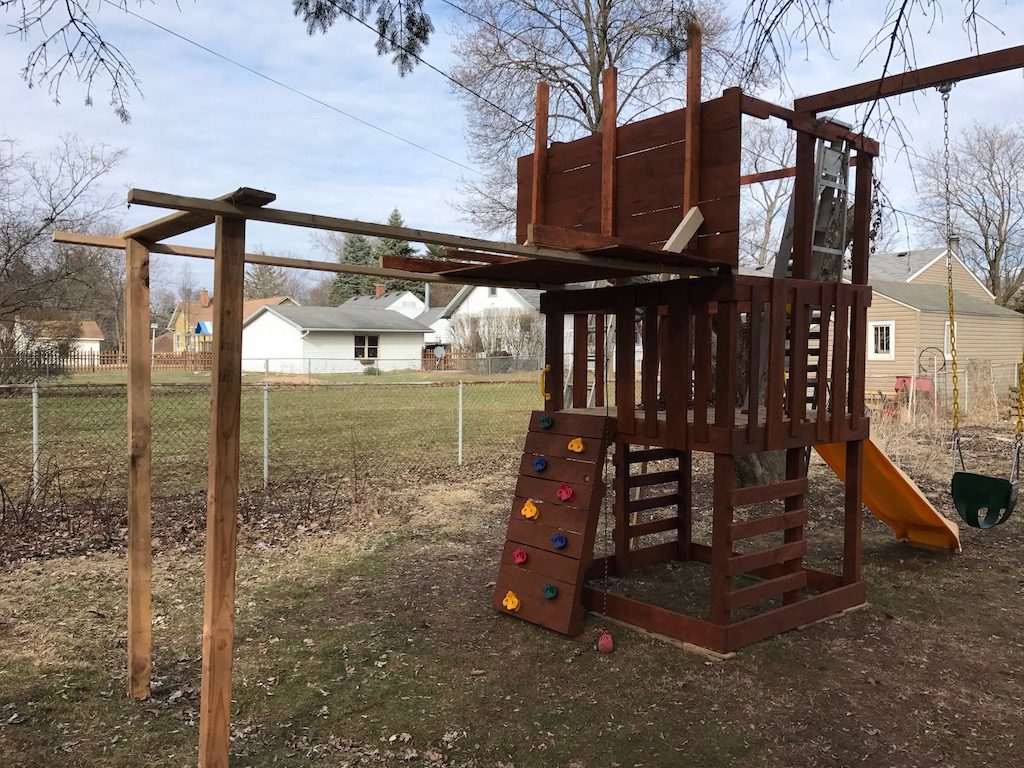
Eventually, I did get it up there after a lot of trial and error. I’ll need to fix the broken panels but now that the roof is secured, I’m hoping this won’t be a big issue. Here is another view of it installed.

It looks like I’m missing a panel on either side of the roof and you are correct. I purposely kept these off because I wanted to see how the roof was going to sit onto of the tower frame. I’m glad I did because the swing frame actually gets in the way of the panels and needs to be adjusted anyway.
At some point, I’ll remove the broken panels and replace them. But for now here is the completed roof project. Not bad for an amateur builder.

WOW! That was a big project and I think I’m done for a while now.
I do have other plans but these are all little things that won’t take long.
I’d like to create another article called, Do-it-yourself (DIY) Kids Playset – Part Six, embellishments., This would include adding a floor, a bench, maybe some solar lights. That sounds like a good summer project.
Thanks for following along. Up next!!
Part Six – Do-it-yourself (DIY) Kids Playset – The flooring
Have any further question regarding this project? Please comment and share below.
Follow me on Twitter, or watch me on Instagram.
Looking for more DIY ideas? Sign up for our newsletter. I look forward to hearing from you.
Dave