This is the ninth article in our tree house project. My plan this year (2018) is to build a tree house for my son. Click here to start from the beginning of this exciting project.
The idea is to build a hexagon shaped tree house. This article talks about the roof frame.
Roof Frame
Since we are building a hexagon structure the design is slightly more complicated. There are some unknown variables that I won’t be able to determine until build day.
As I researched and thought about the design for the roof, I discovered that it would be difficult to join all the boards at a central point at the peak of the roof. Several suggestions and gazebo designs have a small frame at the top where the boards come together. This is the approach I took with our design.
This center frame section is going to be at the top of the roof. The boards of the frame will reach up to this point and connect to it, forming a central point. Does that make sense?
I know, I know, there is going to be a hole at the top you say, but I have plans for that too, ok maybe not plans, but I have a very good idea in my head how I’ll finish it up. Hint, I’m thinking a form of cupola, of sorts for the top.
Dimensions
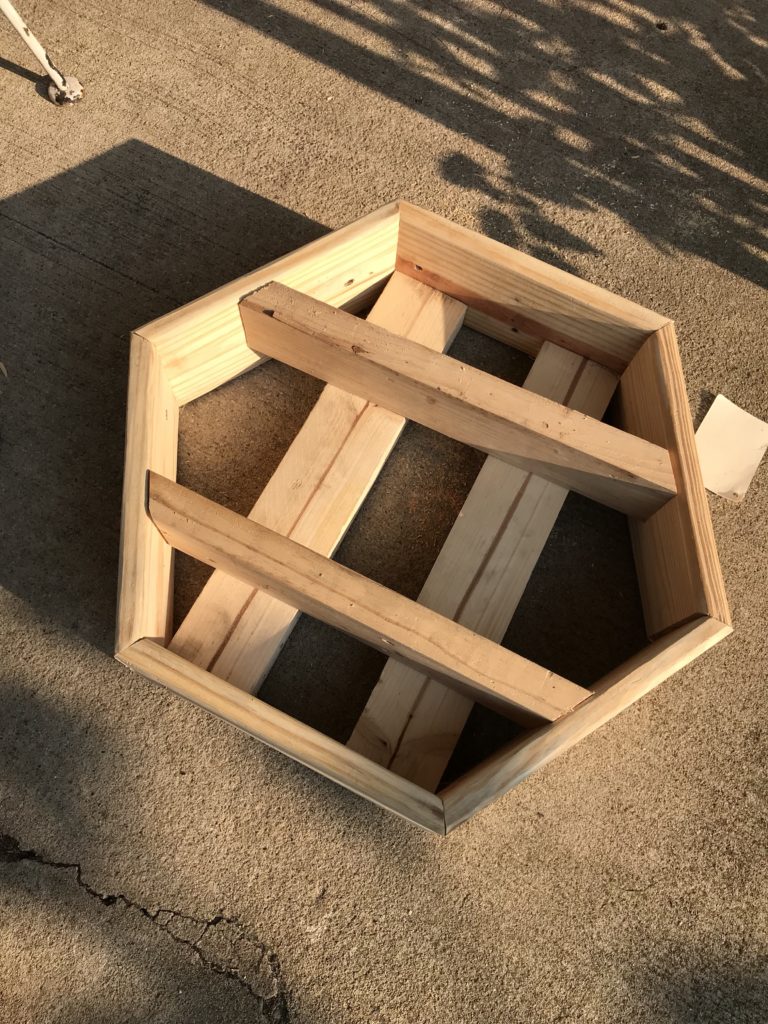
The hexagon shape for the top section is one foot on each side. The interior pieces are slightly less than one foot. I used left over honey color Earthpaint Rainforest sealer to finish this part. I had to build two sections in the garage in order visualize how this would come together. This is the image you see below.
What you see in this picture are five frame pieces, on the back side you see the frame with OSB cut to fit the triangle shape. This was just to get an idea how much plywood I’ll need for each section. It took one 4 x 8 sheet of OSB to cover one section. It didn’t cost me anything for the OSB as it was pulled from the garbage.
Here is the unknown, the frame may come down past the walls of the building, and how far it comes down we don’t know. So that leaves me with the decision as to whether to trim the edges of the frame or wait until build day to see how far it drops on the sides. Does that make sense. I don’t want to cut pieces of plywood until we see how far the frame will come down past the walls.
The plan is to place the plywood at the bottom and work our way up to the top of the frame. If we don’t know where we are starting the plywood it doesn’t make sense to pre-cut the large 4 x 8 sheets.

The frame consists of the following.
(6) 8ft pieces
(6) 29 1/2″ pieces
(6) 46″ pieces
(6) 64″ pieces
(6) 1ft pieces
(4) 1ft 2 x 4 pieces
Material
- (9) 8ft 2 x 4s
- (1) 10ft 2 x 4
- Stain
- 2″ Spax construction screw to secure it all together.
- Rafter brackets
Cost
$27.45 (9) 8ft 2 x 4s, I wasn’t able to reclaim any 2x4s
$4.49 (1) 10ft 2 x 4
$7.97 for another box of 2″ spax constructions screws.
$free – The one foot sections used for the center part were reclaimed pieces from pallets and other projects.
?? rafter brackets left take from another project.
Stain – Already had natural no tint stain left over from staining the full walls, which I used for this part.
$39.91 Total for the frame
Cuts
(6) eight foot boards for the rafters, needed to be cut on one end at 45 degrees.
(6) 29 1/2 boards were cut at 30 degrees on each end.
(6) 46 inch boards were cut at 30 inches on each end.
(6) 64 inch board were cut at 30 degrees on each end.
The center frame piece
The exterior cuts are the same as the perimeter of the structure at 30 degrees and screwed together. The interior of the frame are cut slightly less than one foot.
For the angle cuts in the center, I just cut the ends and fitted them up against the inside of the frame.There wasn’t an exact measurement, but more of a cut the ends and adjust it to fit the interior of the frame.

Updates
August 11, 2018
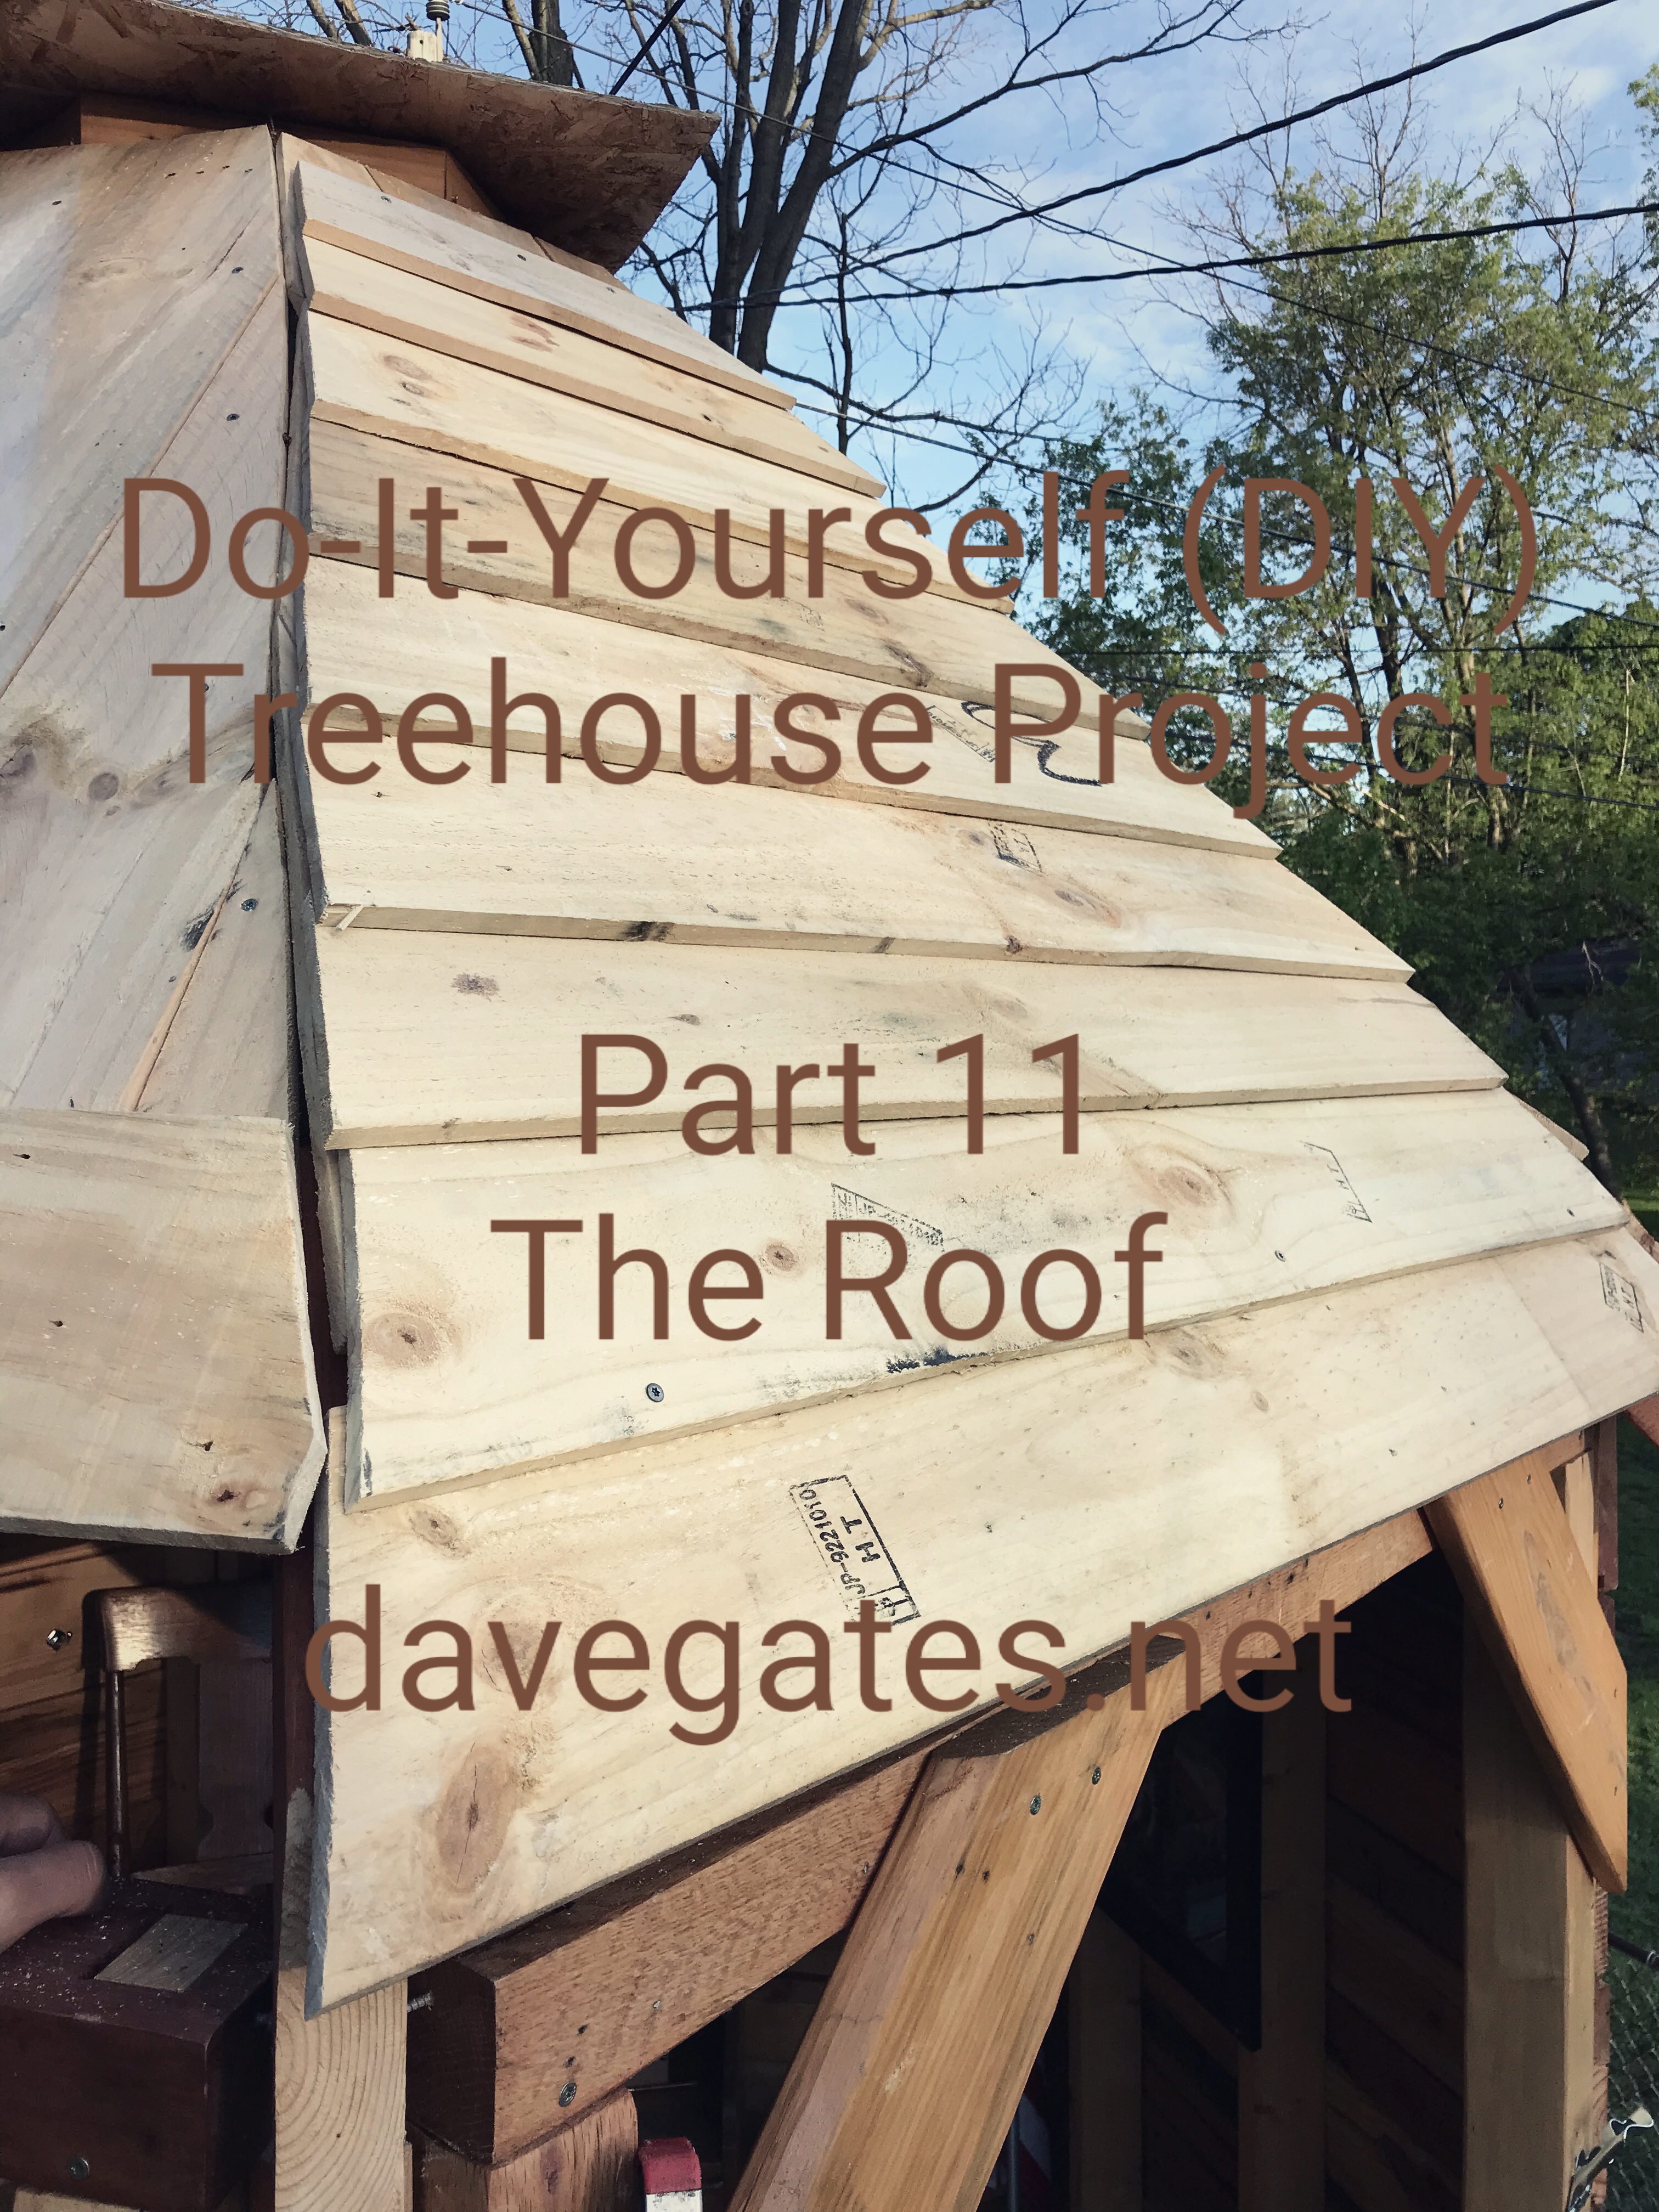
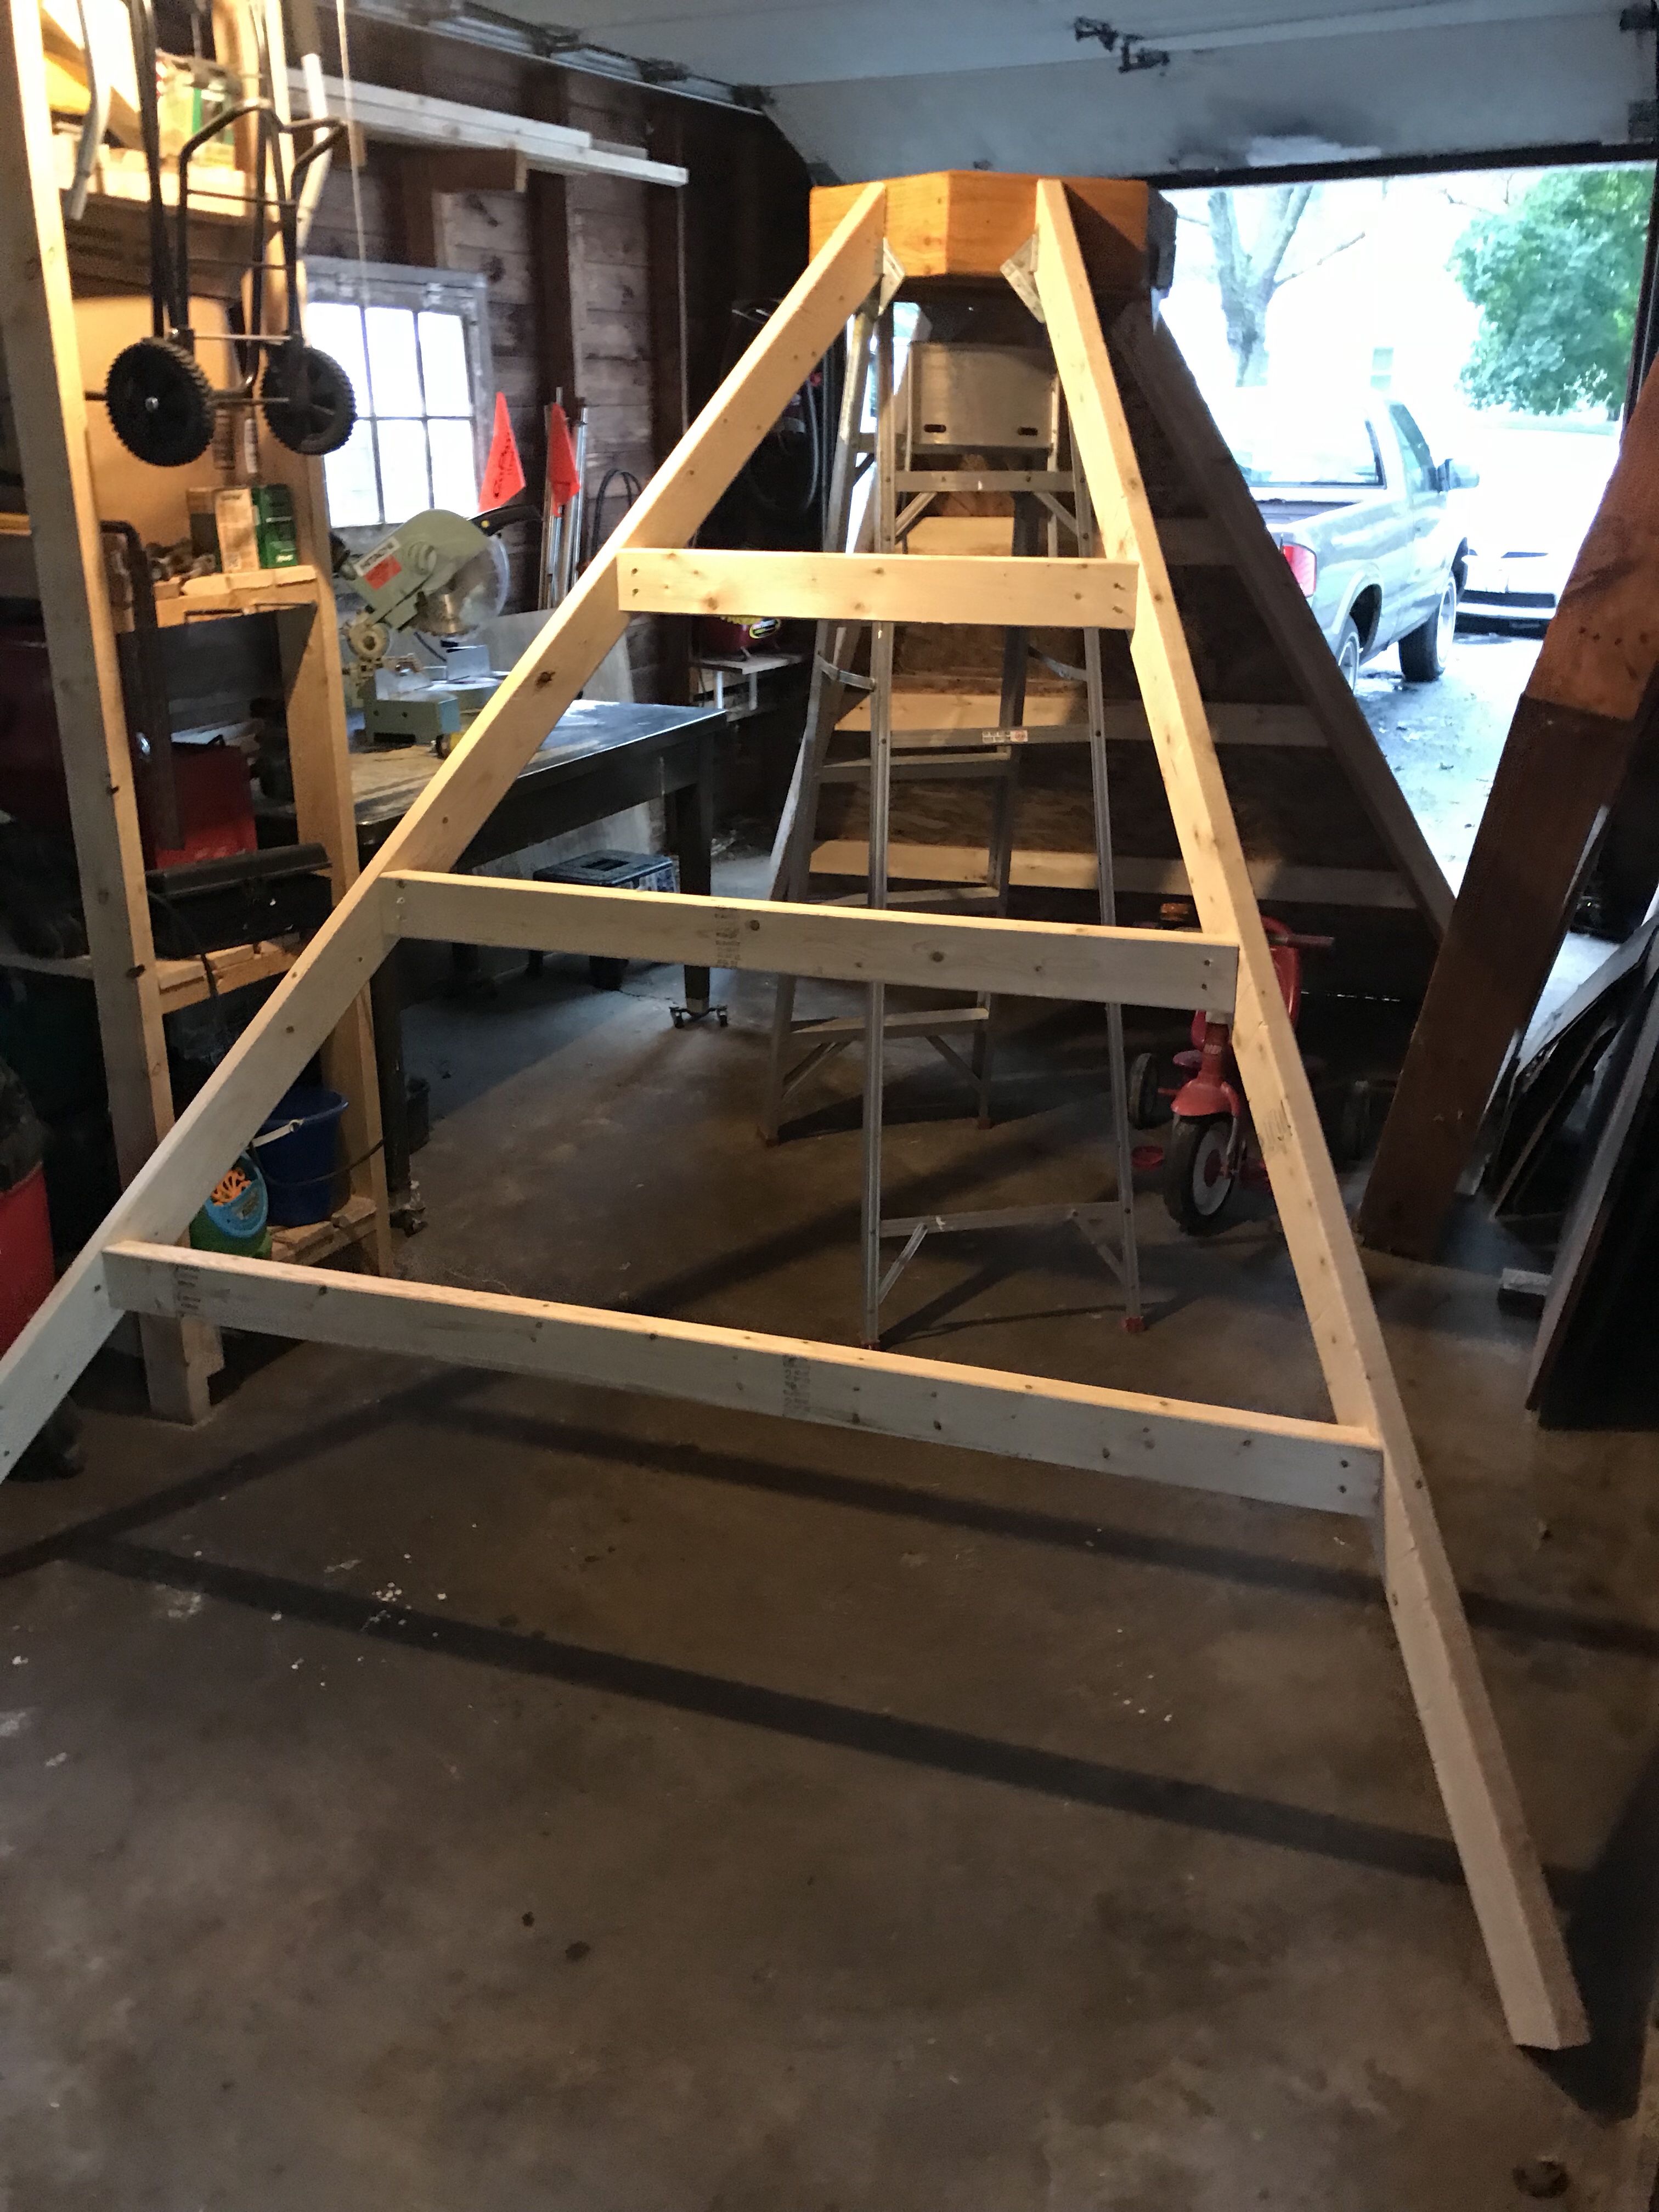
The top part of the roof frame shown here was completed in less than an hour. Both the wife and kid also helped to hold it while I was securing it together which was super helpful. We had excellent weather and I didn’t leave the house once which made for a very productive day.
October 2018
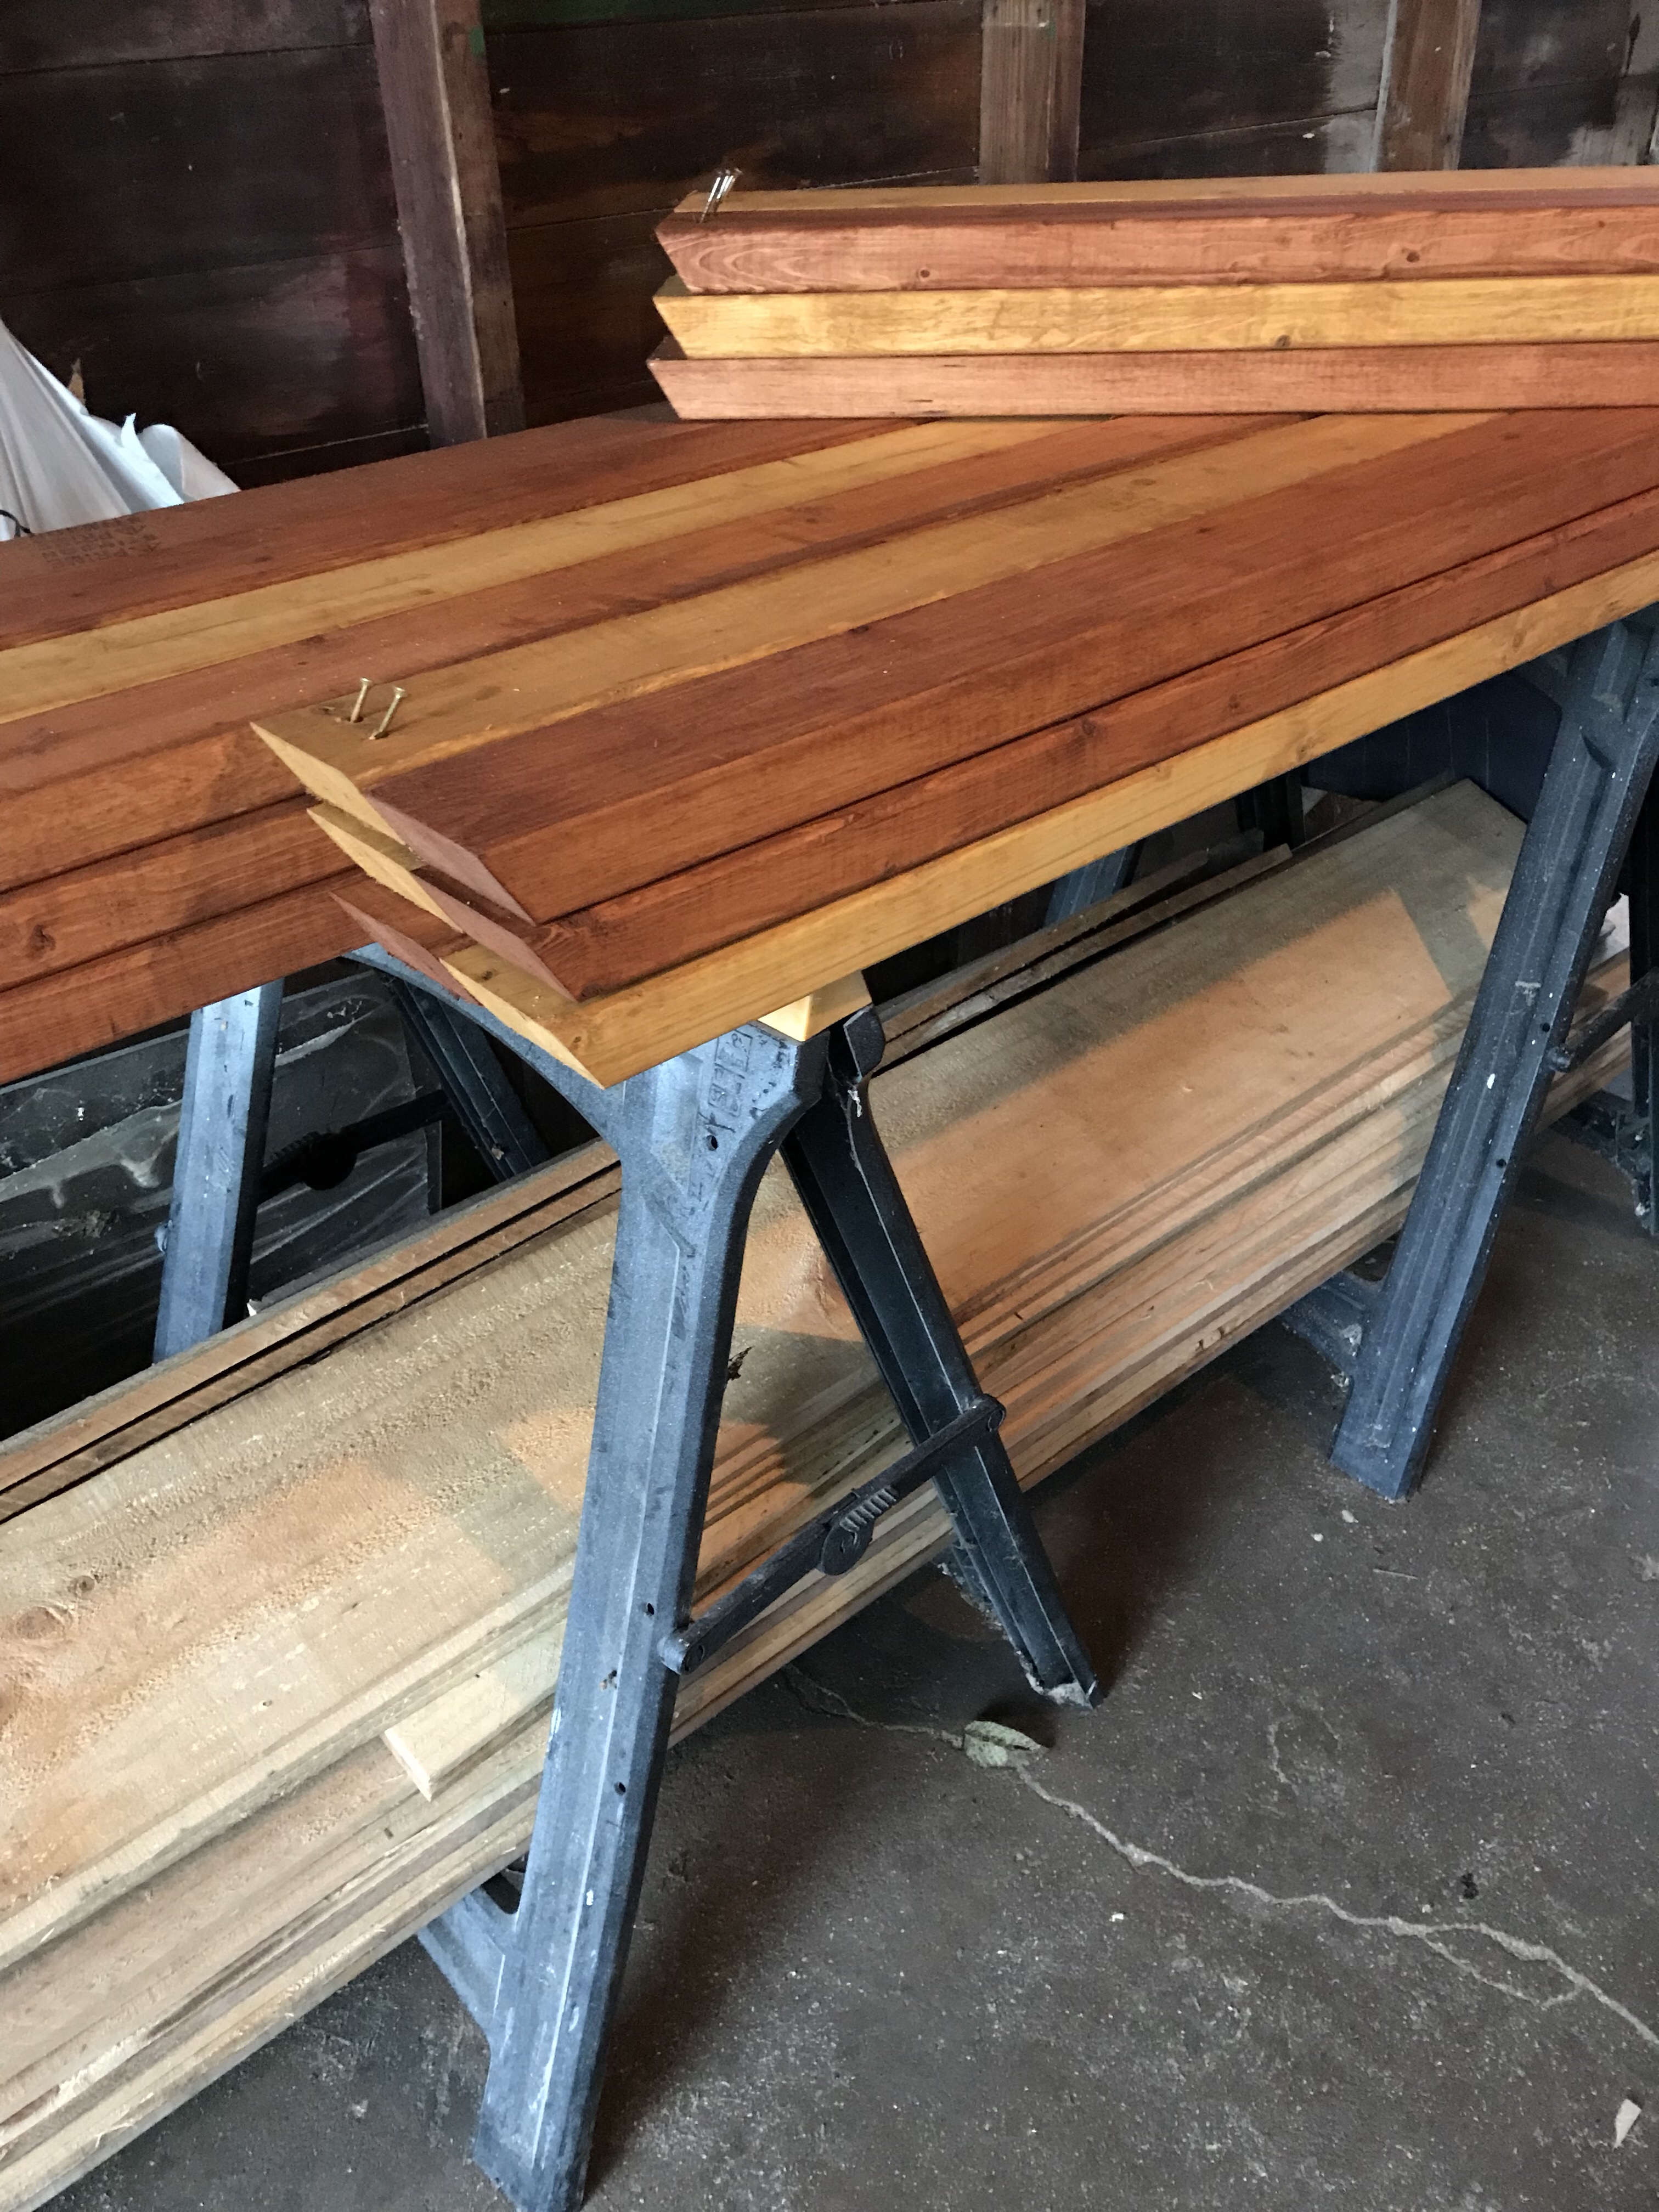
The frame sections were completed and stained over several days. I ended up heading to the store several times to purchase 2 x 4s, and screws, but the frame pieces are ready for build day.
The actual roof with plywood and shingles will be done onsite during build day.
What can you do?
- Part ten
- Part eight
- The building part will be in Saturday October 20th. Stop by to say hi or to help out.
- Comment below, Even if it is just to check in and say Hello. I look forward to hearing from you.
- Share this article with your family and friends.
- Sign up for our newsletter.
Like me on Facebook, follow me on Twitter, circle me on pin me on Pinterest, or watch me on Instagram.
Thank you,
Dave